
A few months ago I dove down a new rabbit hole to explore alternative processes and treatments for my photographs. It started with photo encaustic (more on that in the future), then morphed into cold wax and oil applications to my images (another later installment), then I thought I would try Sunprints (today’s post) as a treatment to apply to my photo encaustic work, and now I’m burrowing even deeper to cyanotype printing (who knows when I will be in a place to share that). So today, I’m starting with Sunprints. Its addictive and fun to do with anyone, photographer or not, young or old, the only requirement is a “what about” attitude. When I first ran across Cyanotypes years ago, I thought it was too hard and “why would I”? Don’t be intimidated by the chemicals, its not as hard as it looks (well, I haven’t quite cracked the “creating a digital negative” part, so I might amend this statement later).
Sunprints are a form of cyanotype. Cyanotypes involve treating paper with a chemical solution and then exposing that paper to UV light. They are an old form of developing photographs that morphed into also being used for photograms. Photograms involve placing objects on the chemically treated paper instead of photographic negatives. I thought I would experiment with Sunprints first to determine if I wanted to dive deeper (and not surprisingly I did). You’ll often seen Sunprints referenced as a children’s activity, perfect for me and how I was approaching this rabbit hole. Its also a cost effective way to dip in and try it and then determine if you want to invest more into creating cyanotypes.

Equipment
- Sunprint paper kit: This includes several pretreated pieces of paper and an acrylic overlay.
- Washing tray: I’ve tried both a disposable foil roasting pan and a cat litter tray from the dollar store. I prefer the cat tray.
- Piece of cardboard or wood that is larger than your Sunprint paper
- Clamps: These secure your “Sunprint Sandwich” and hold all the layers together and flat while you expose it in the sun.
- Hydrogen Peroxide (optional): Adding this to the final rinse will give your Sunprints a deep blue color

Process
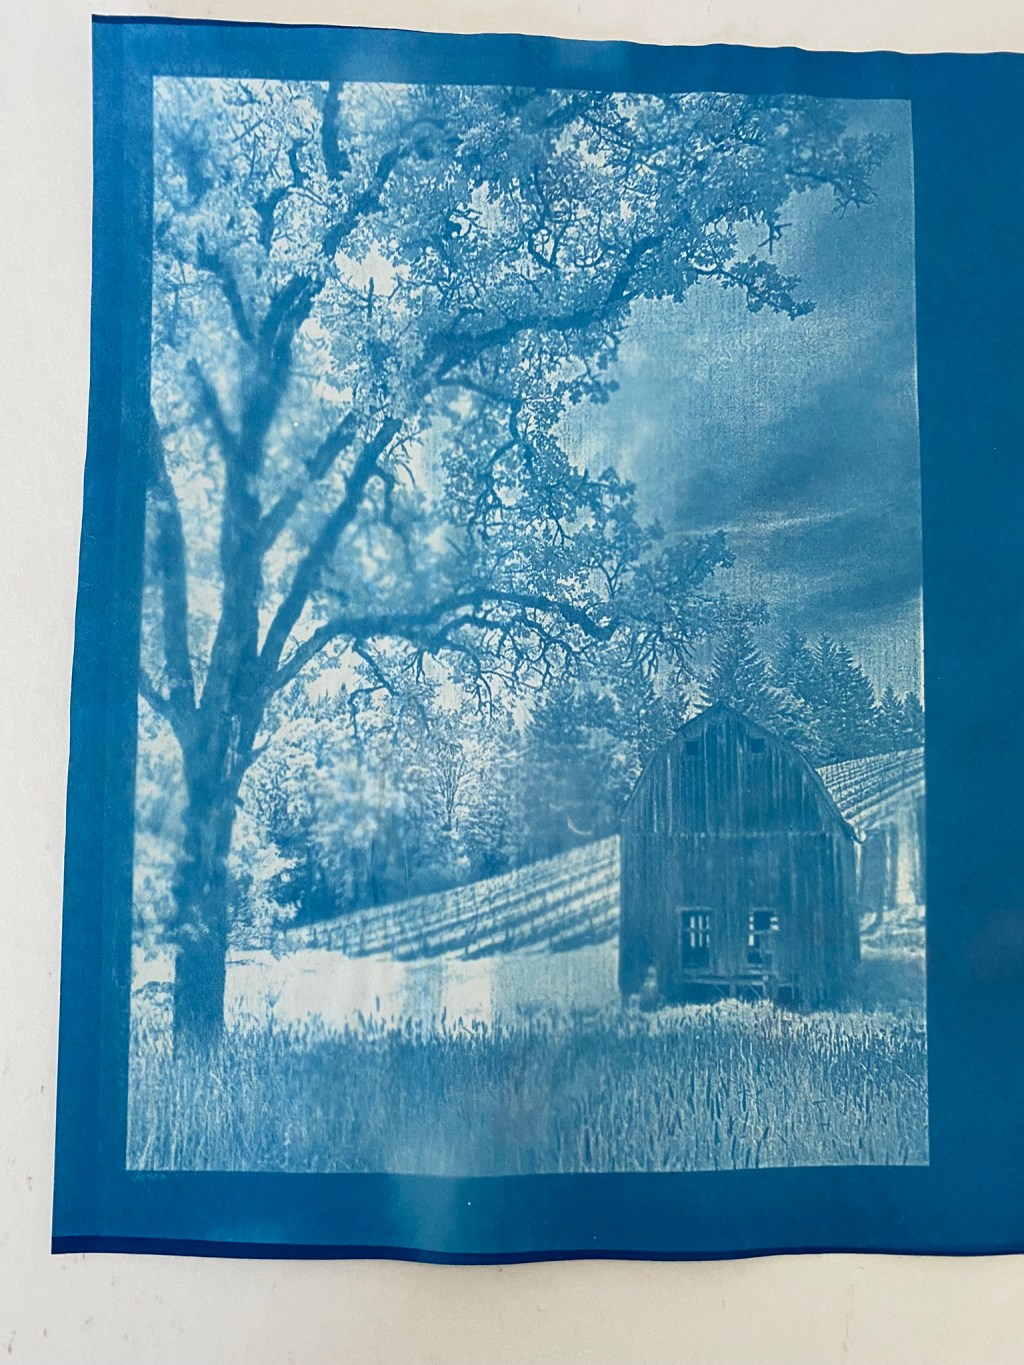
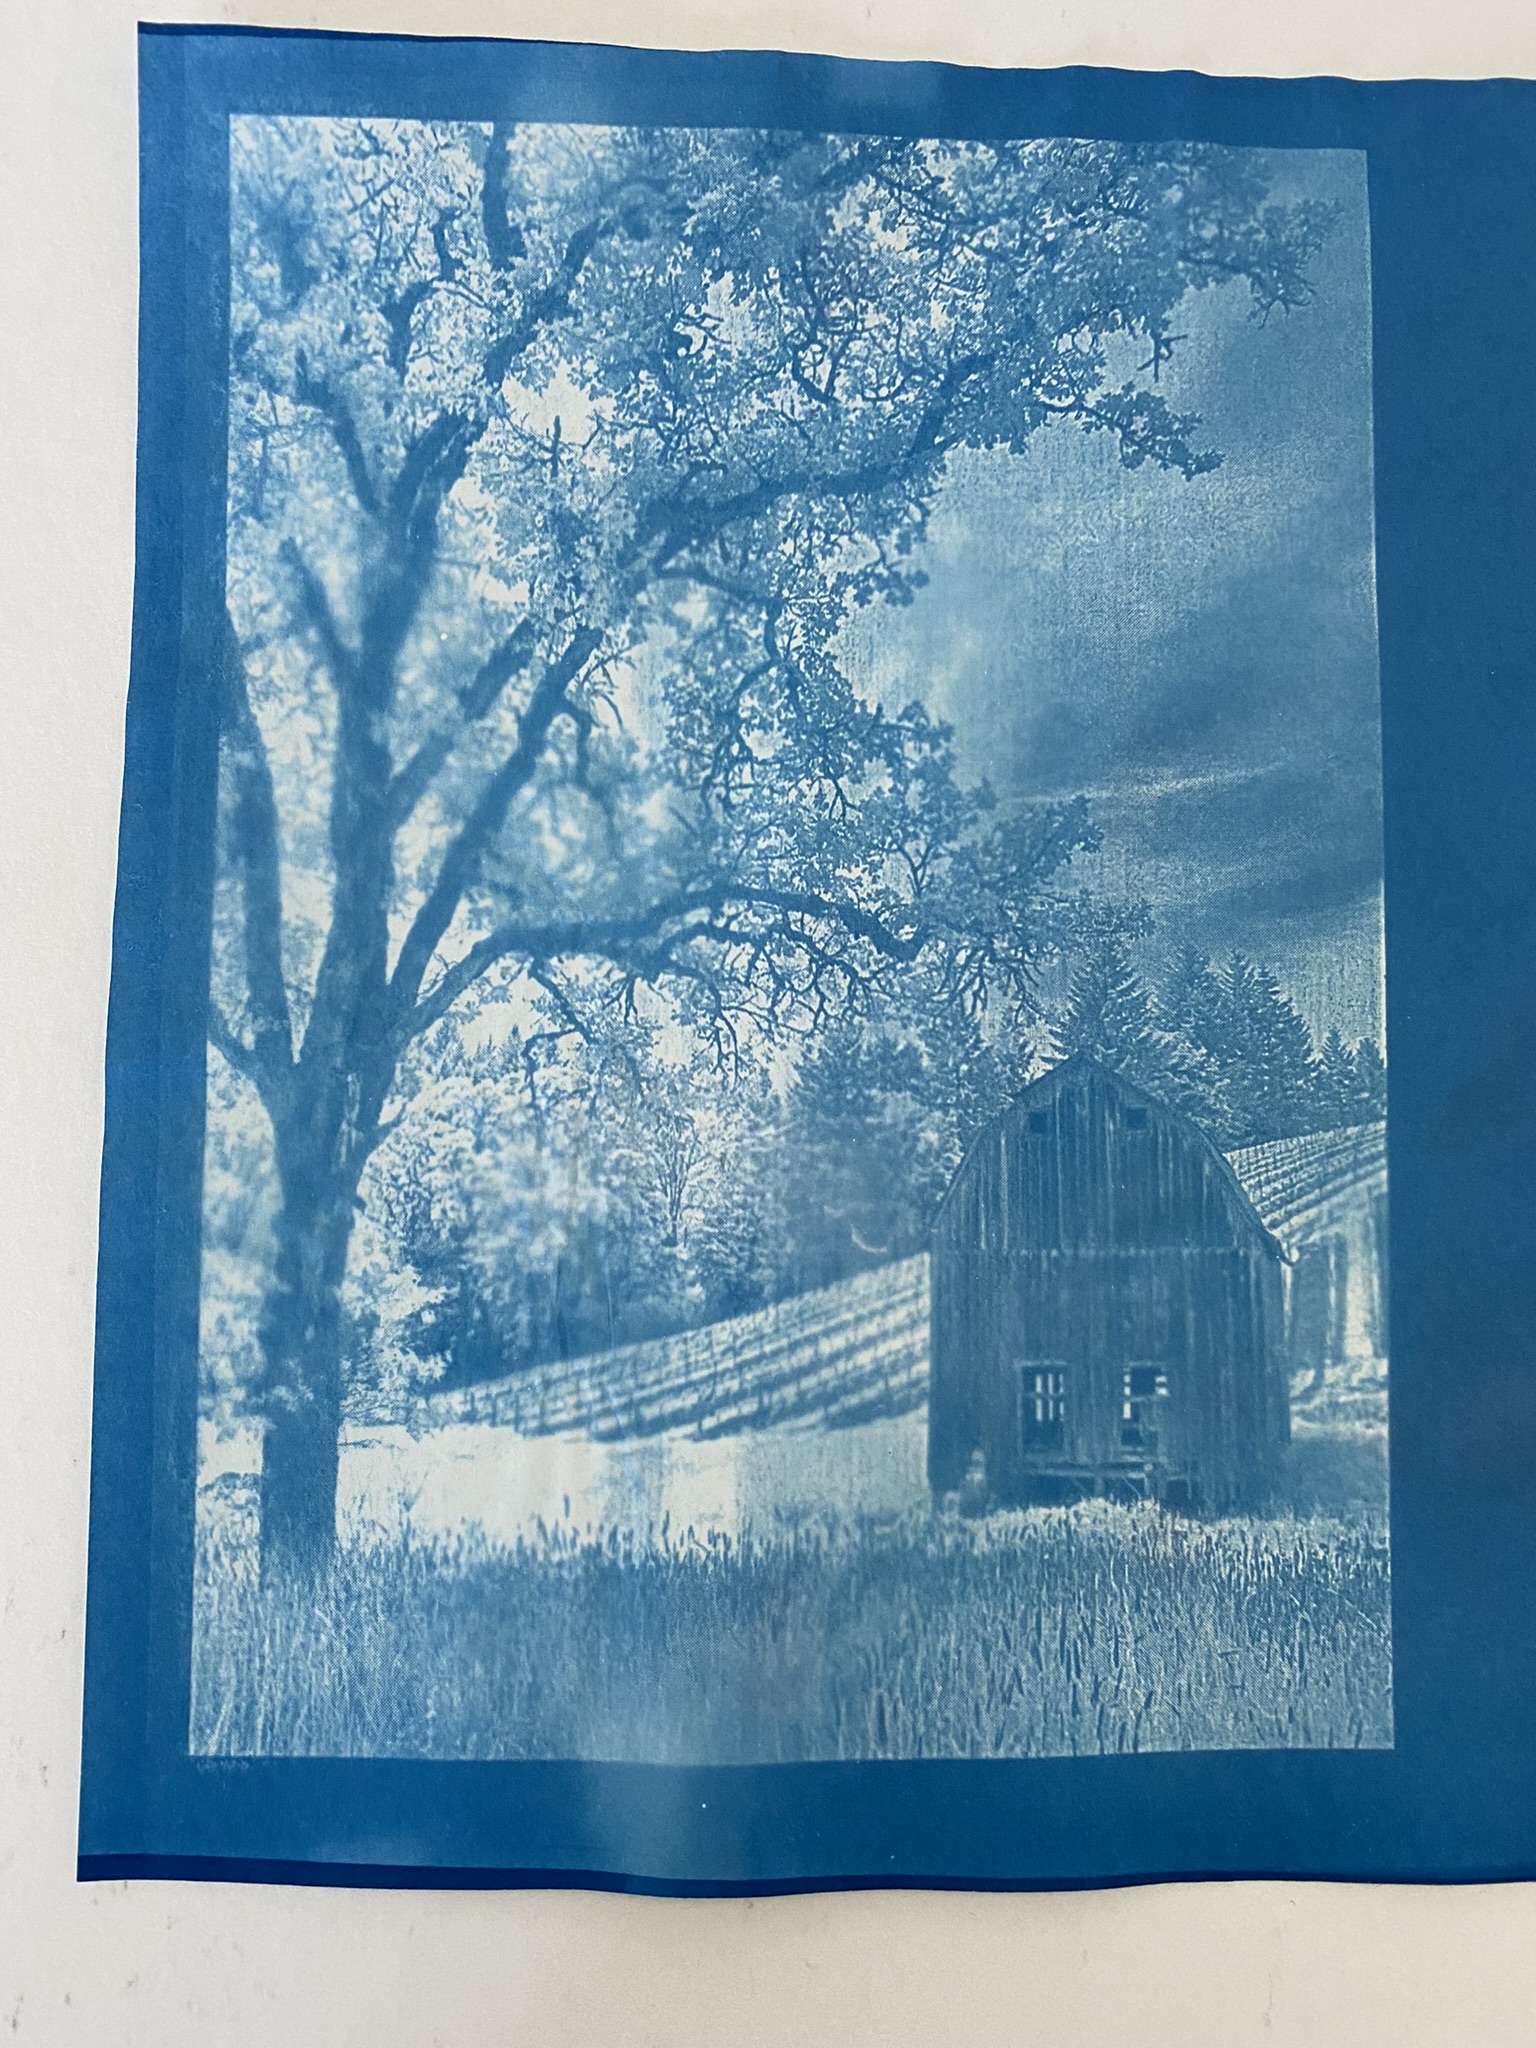
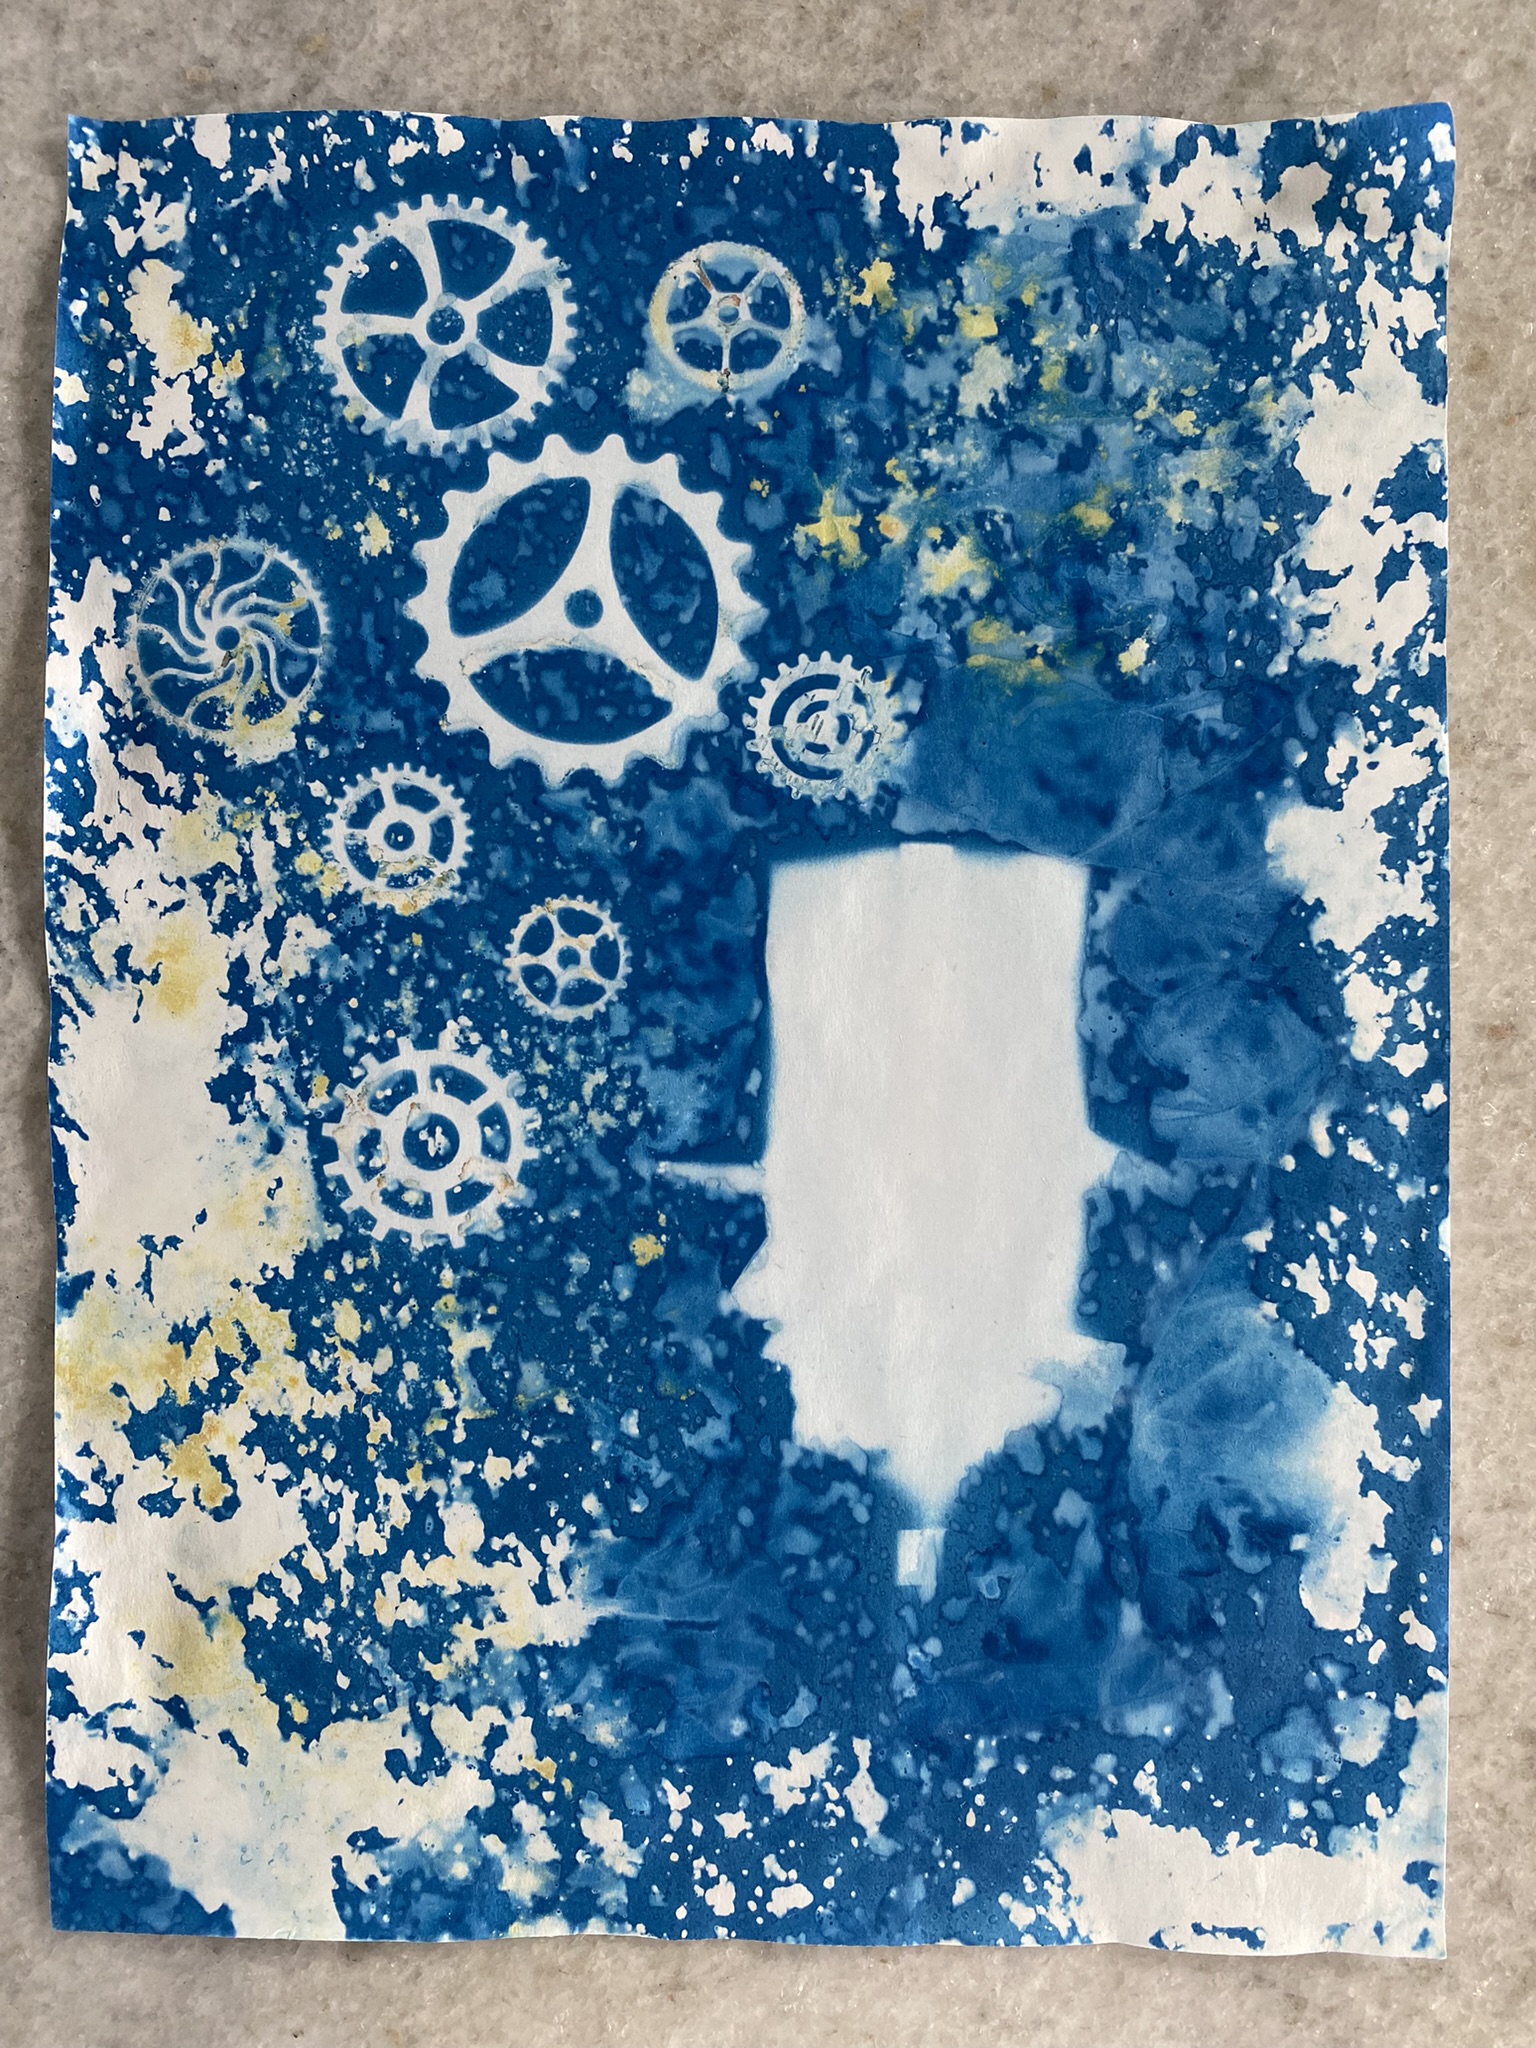
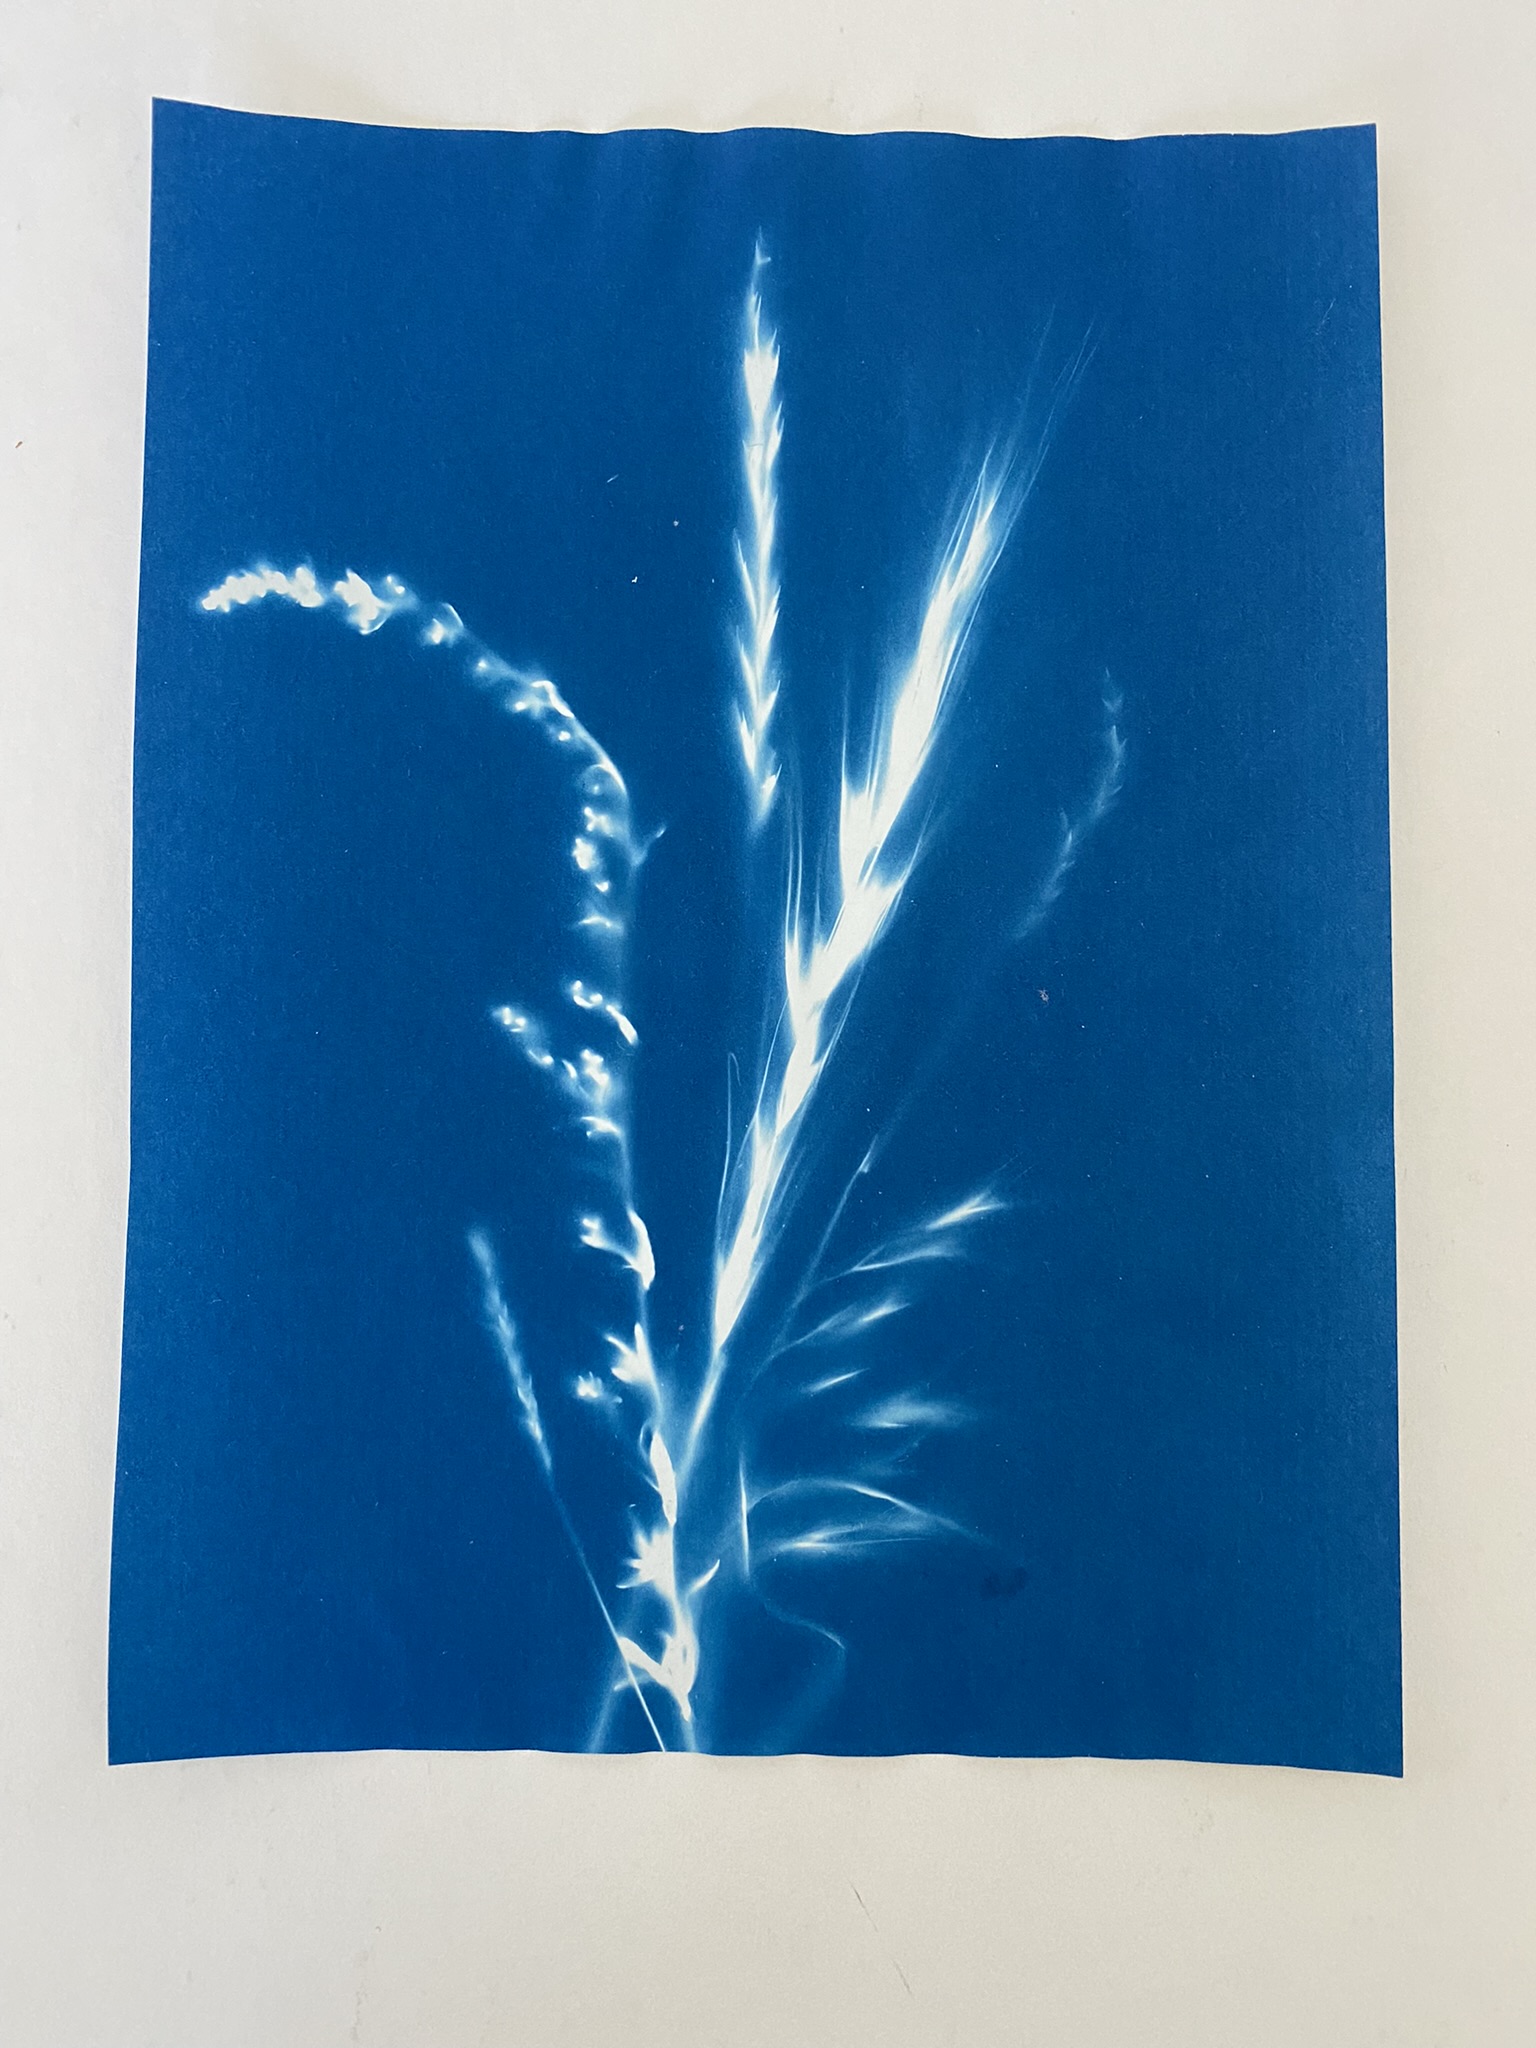
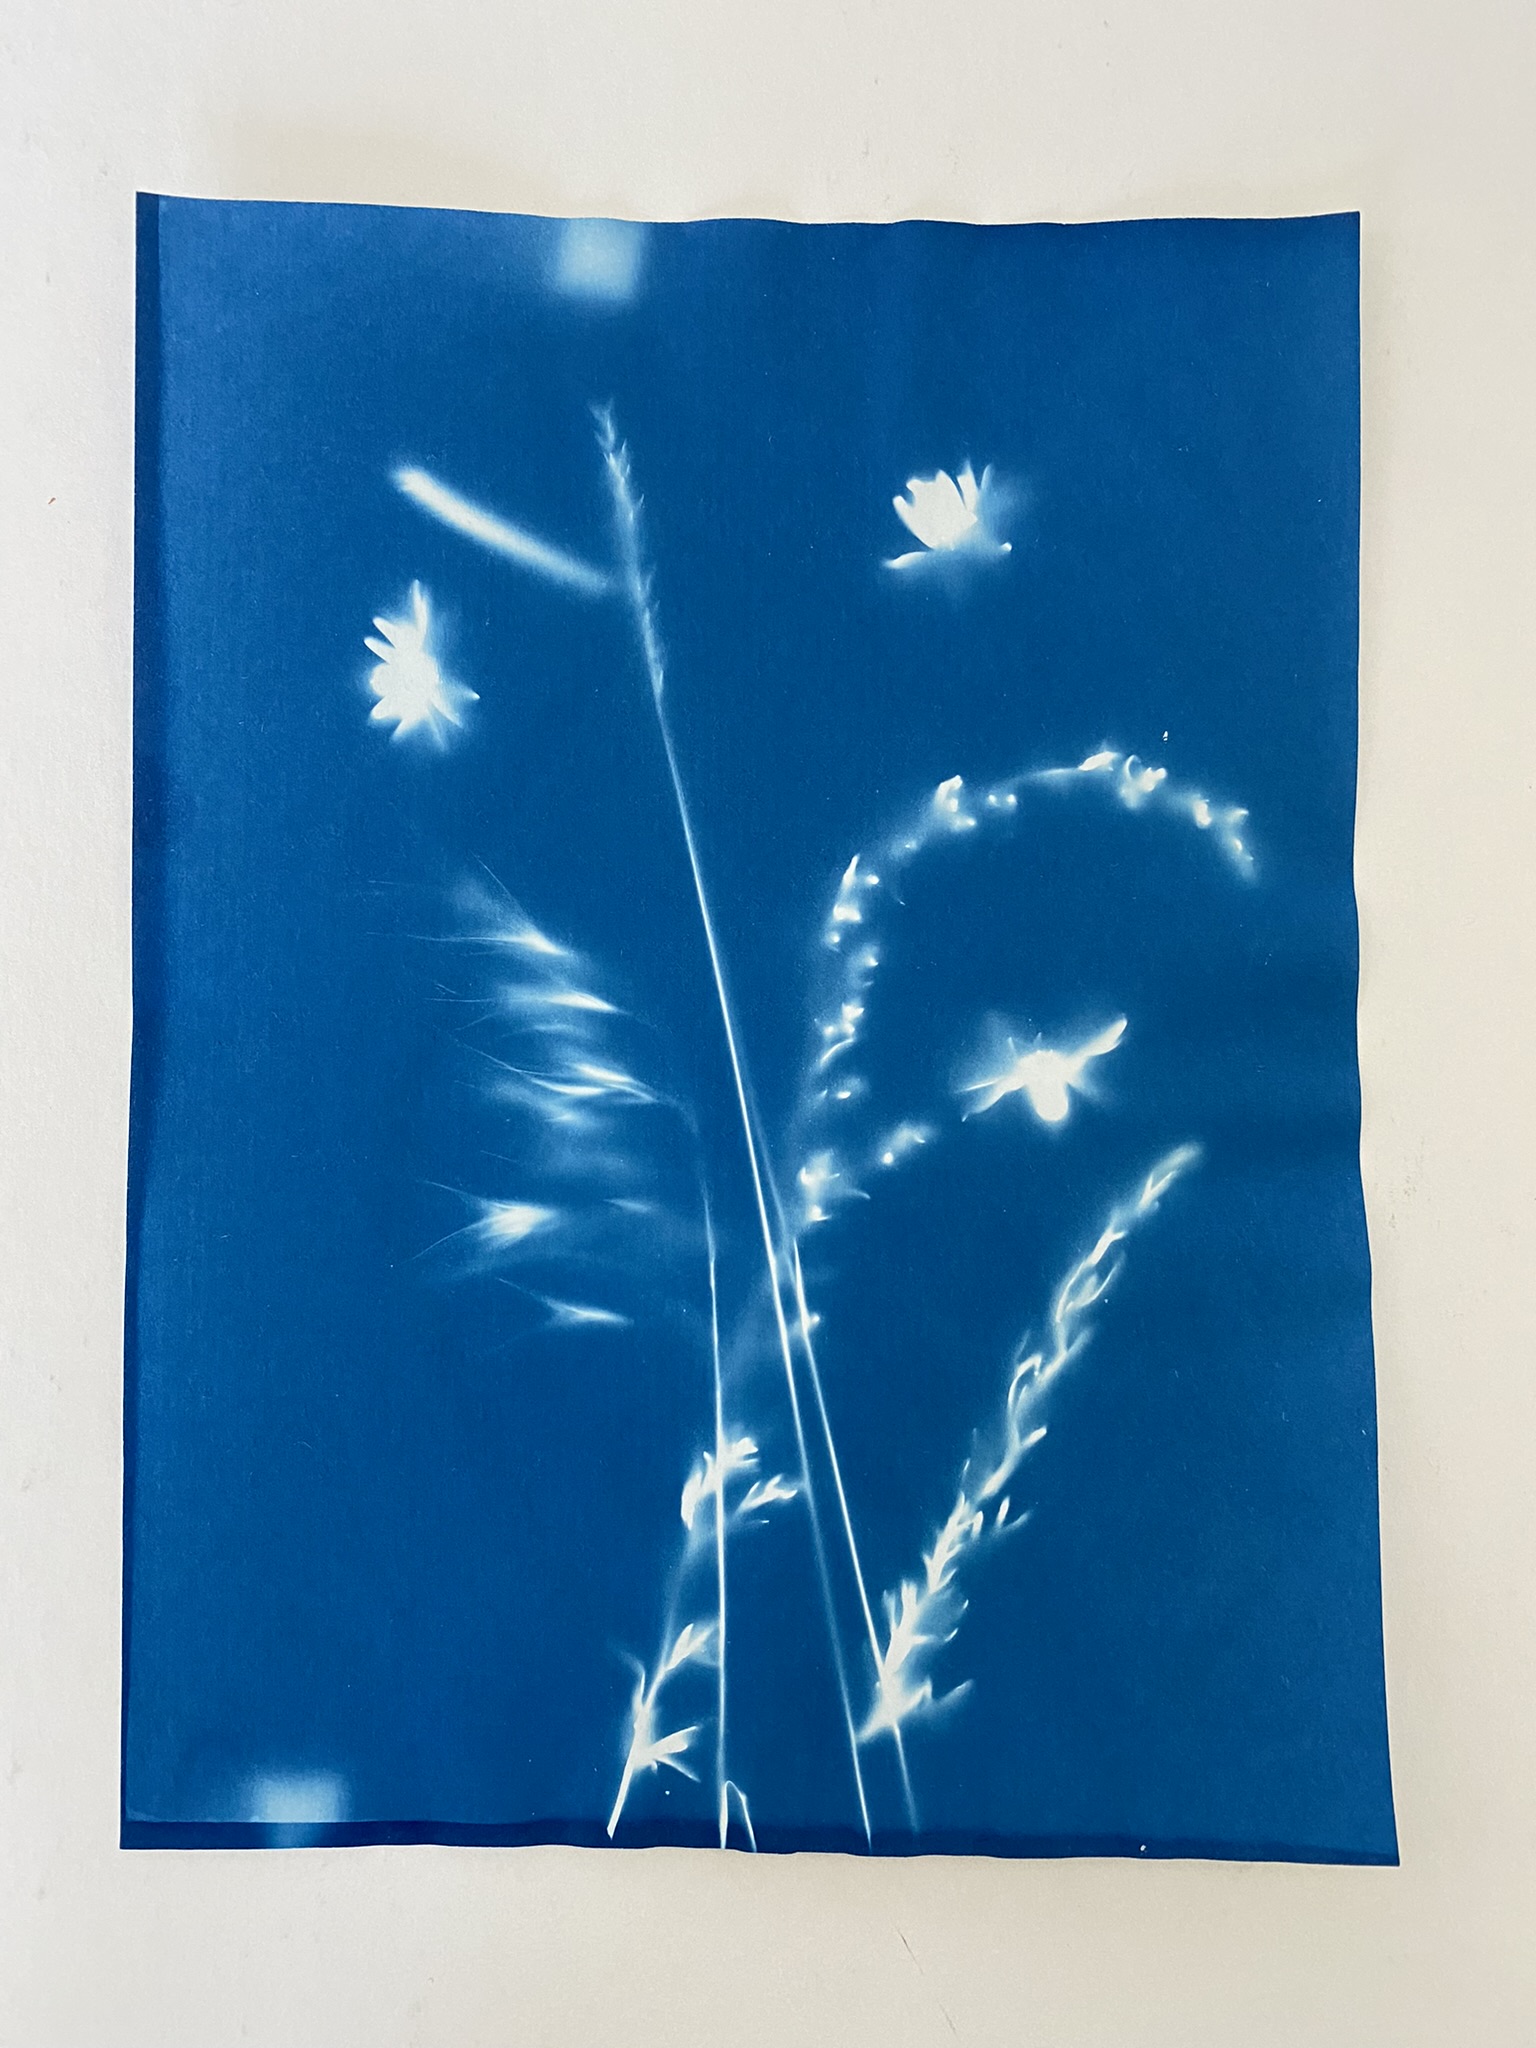
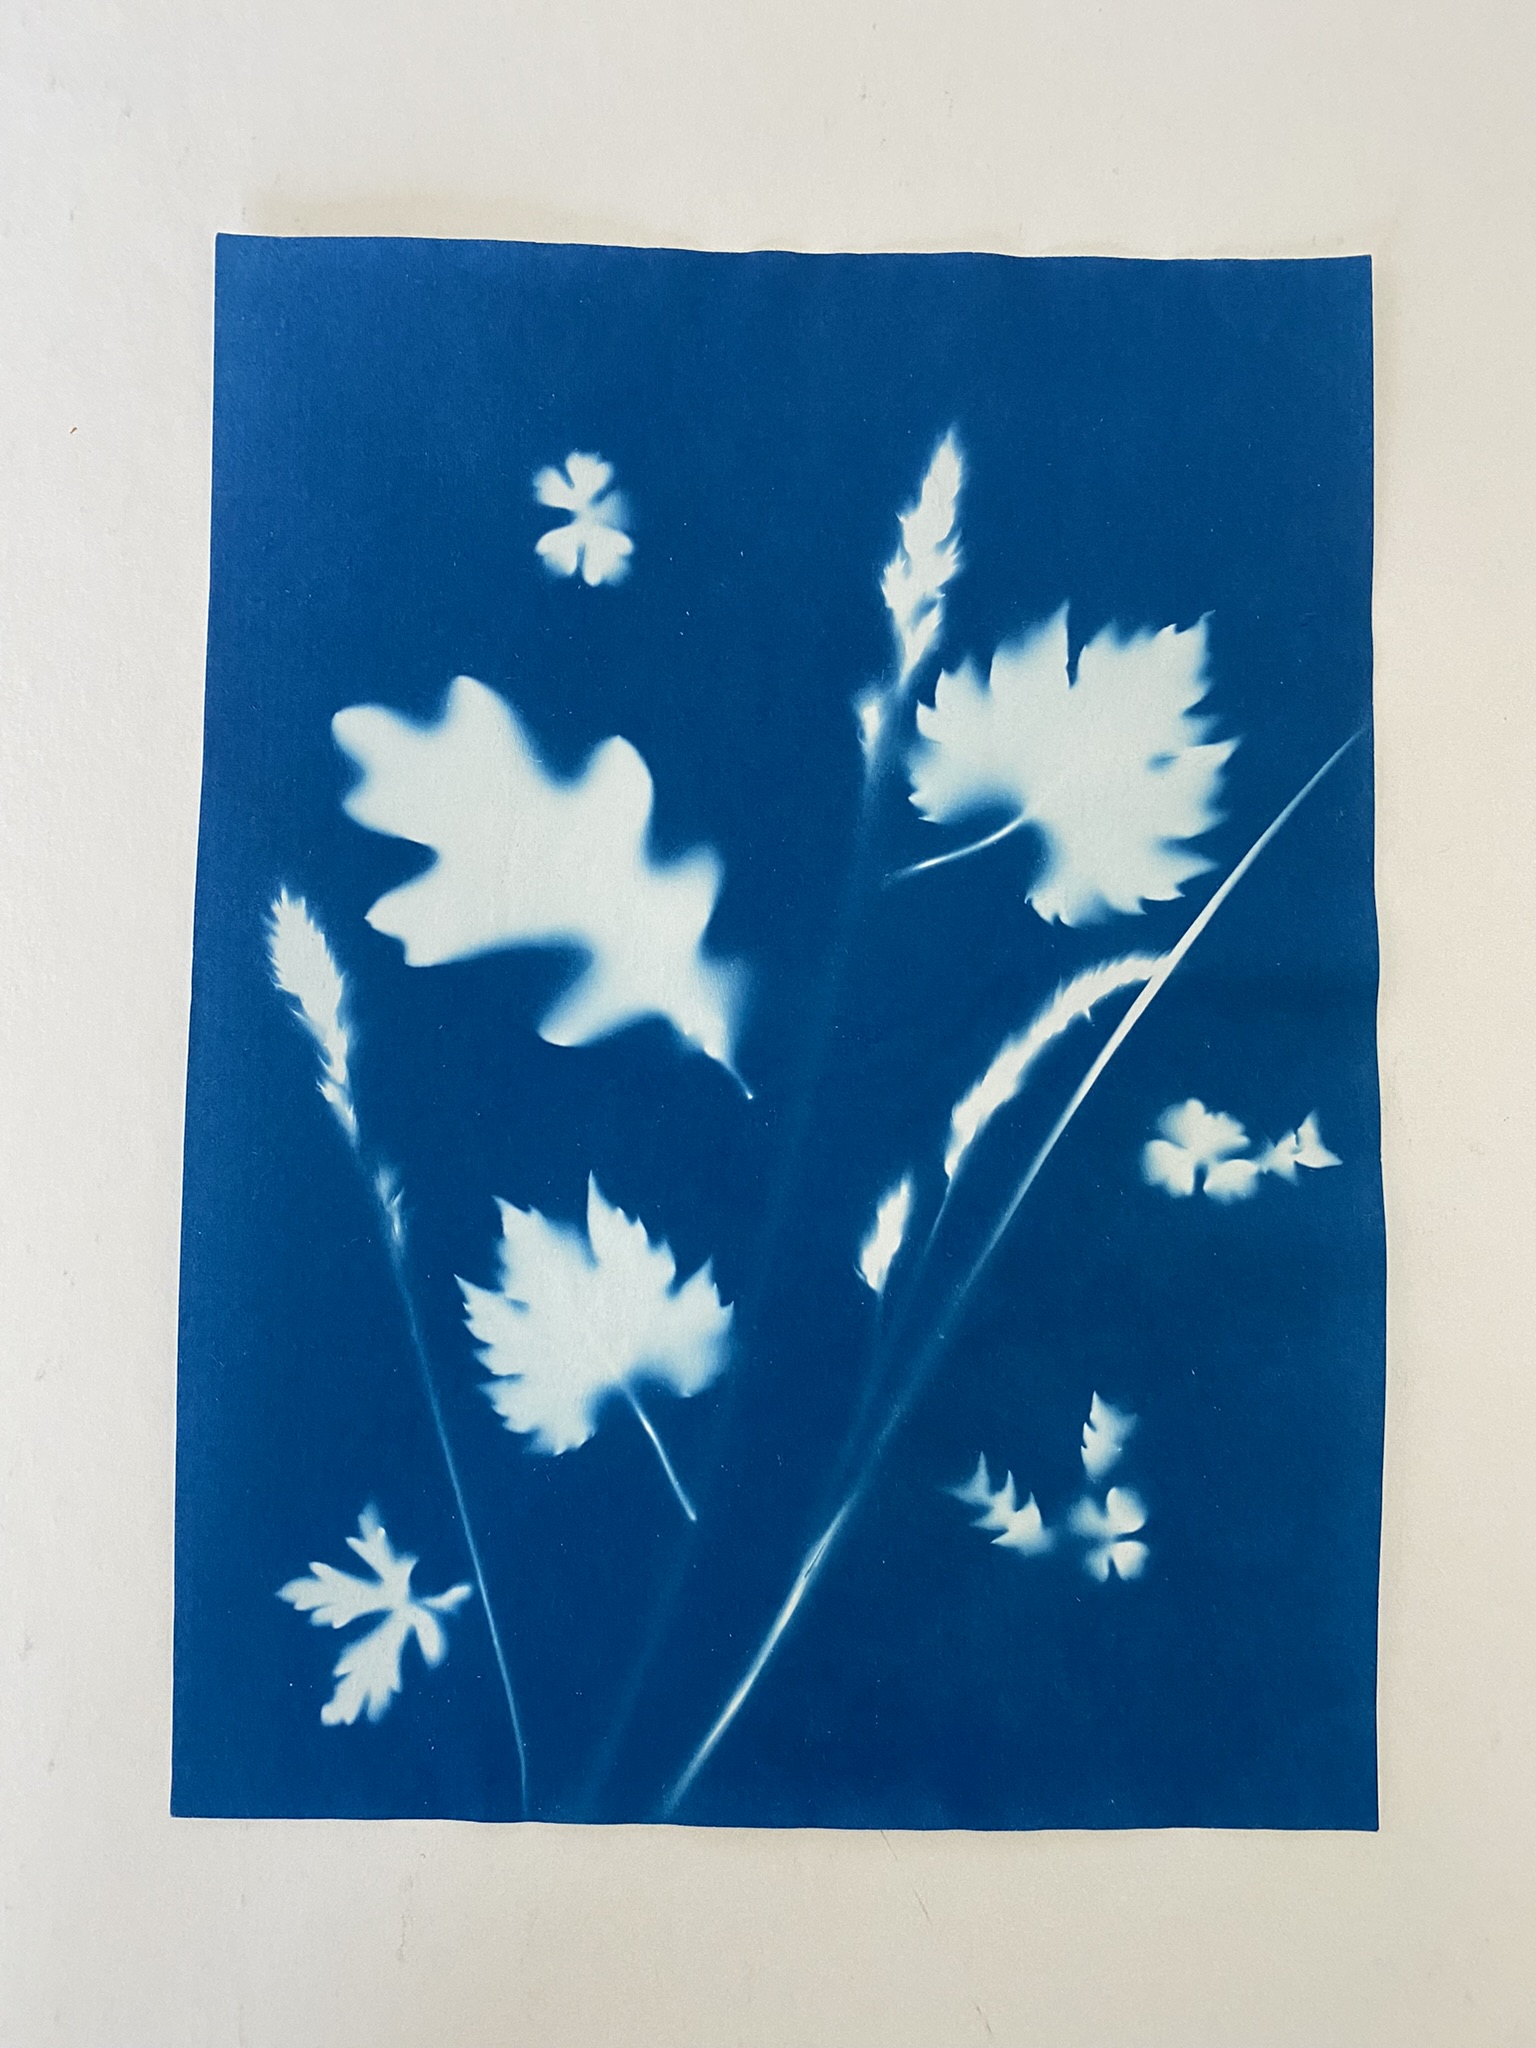
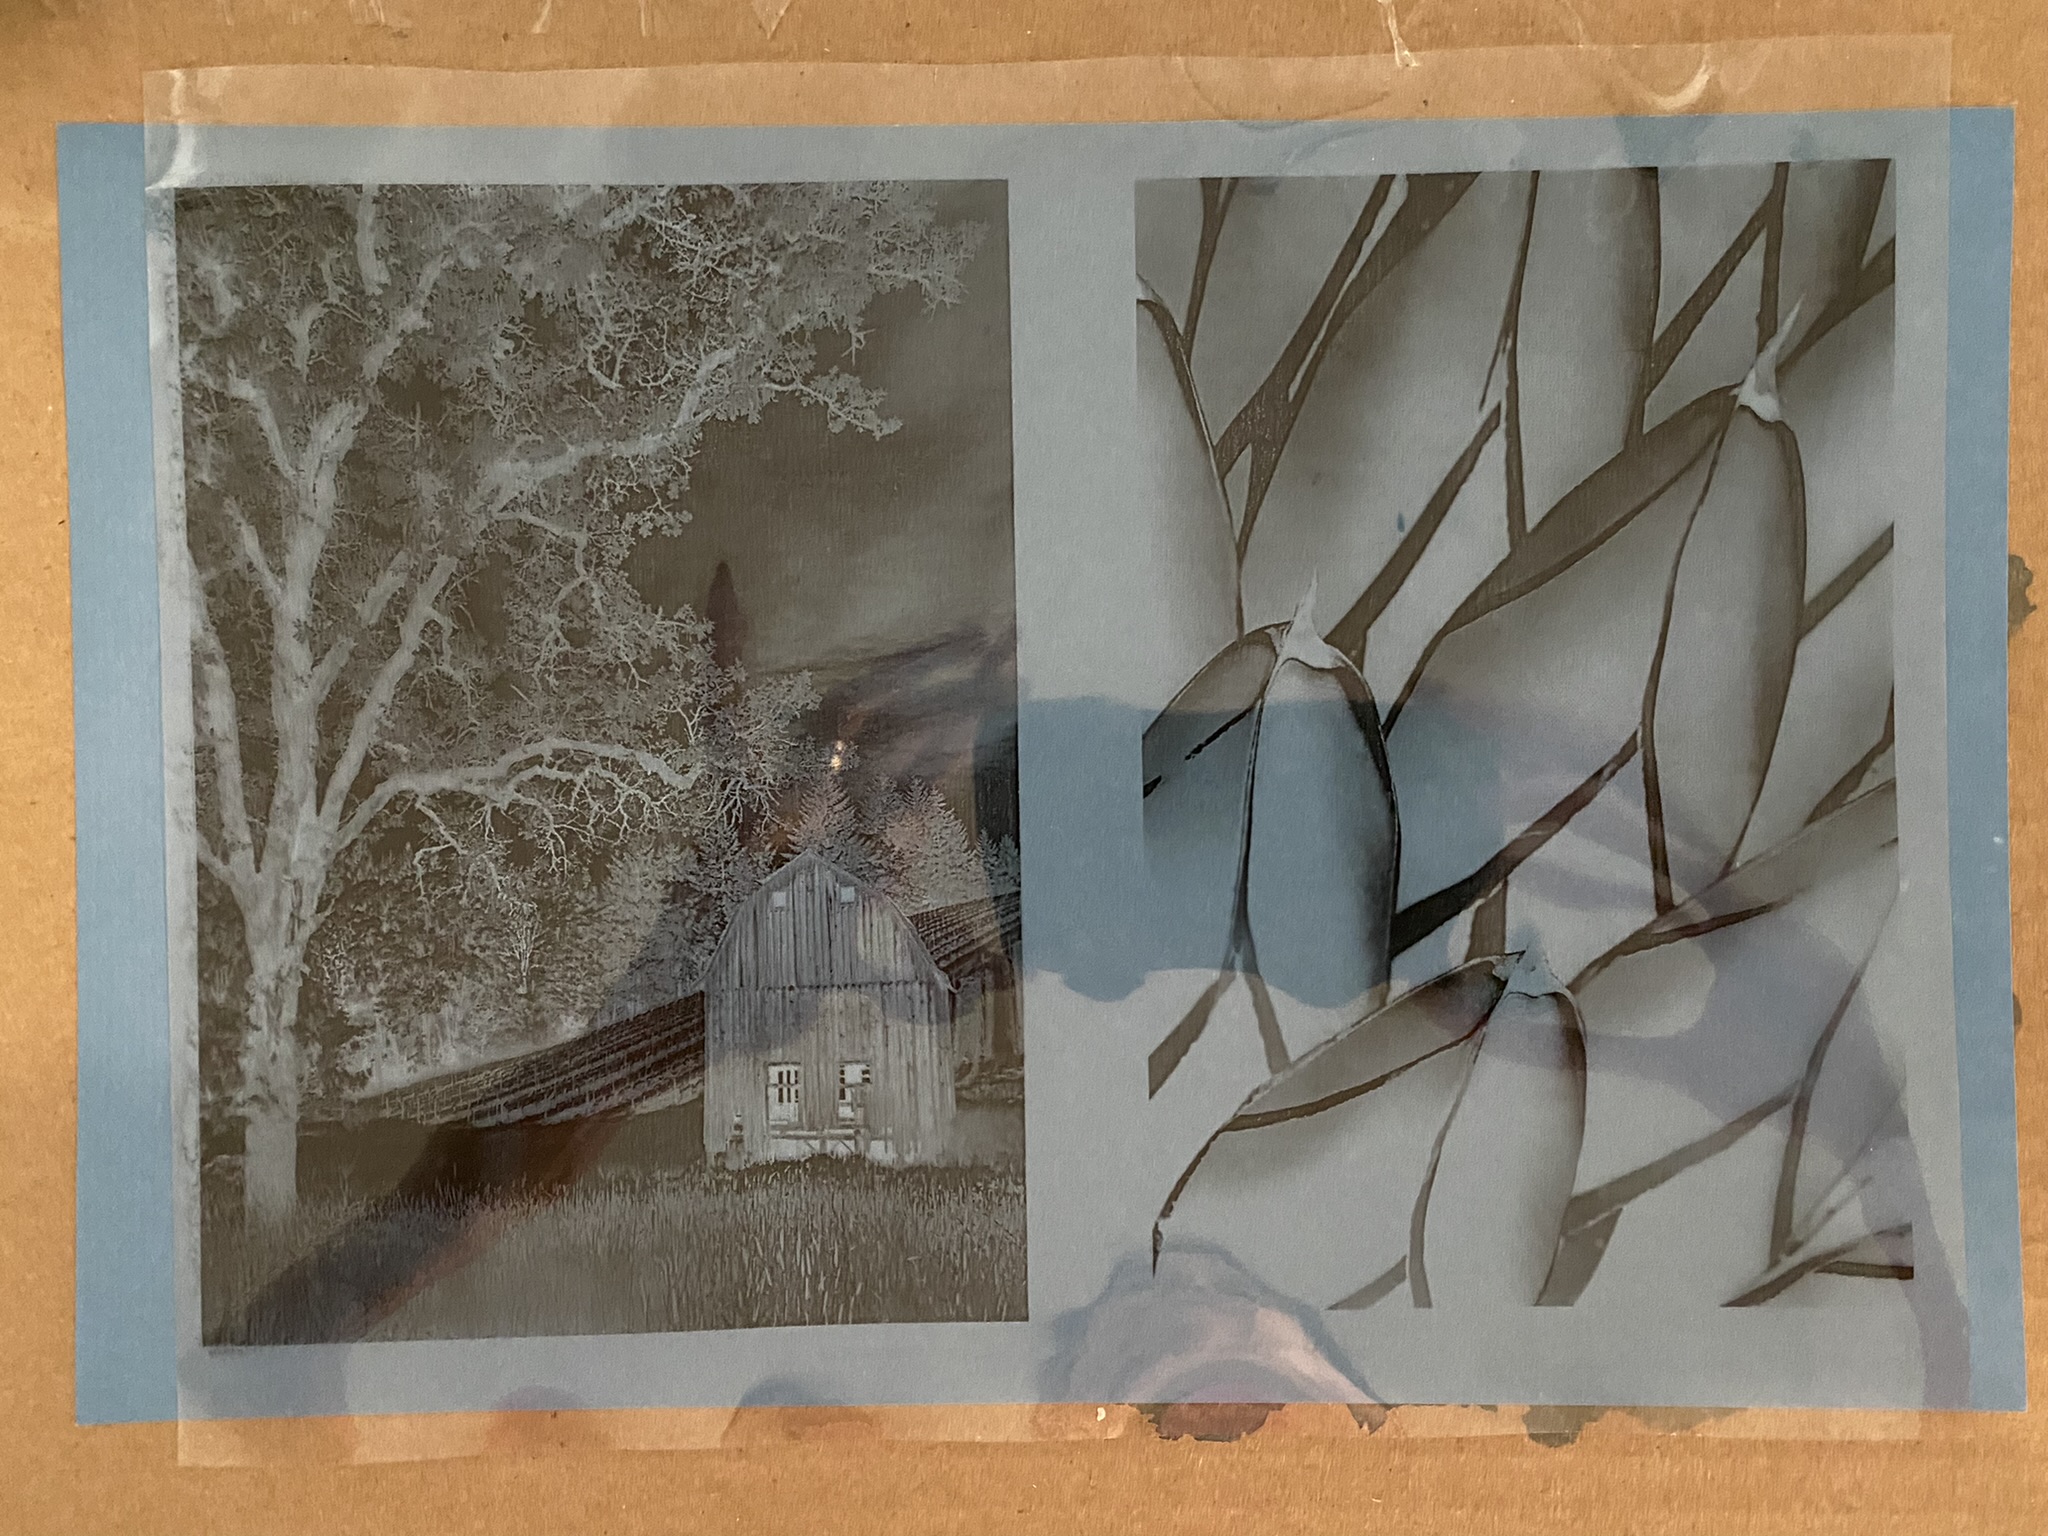
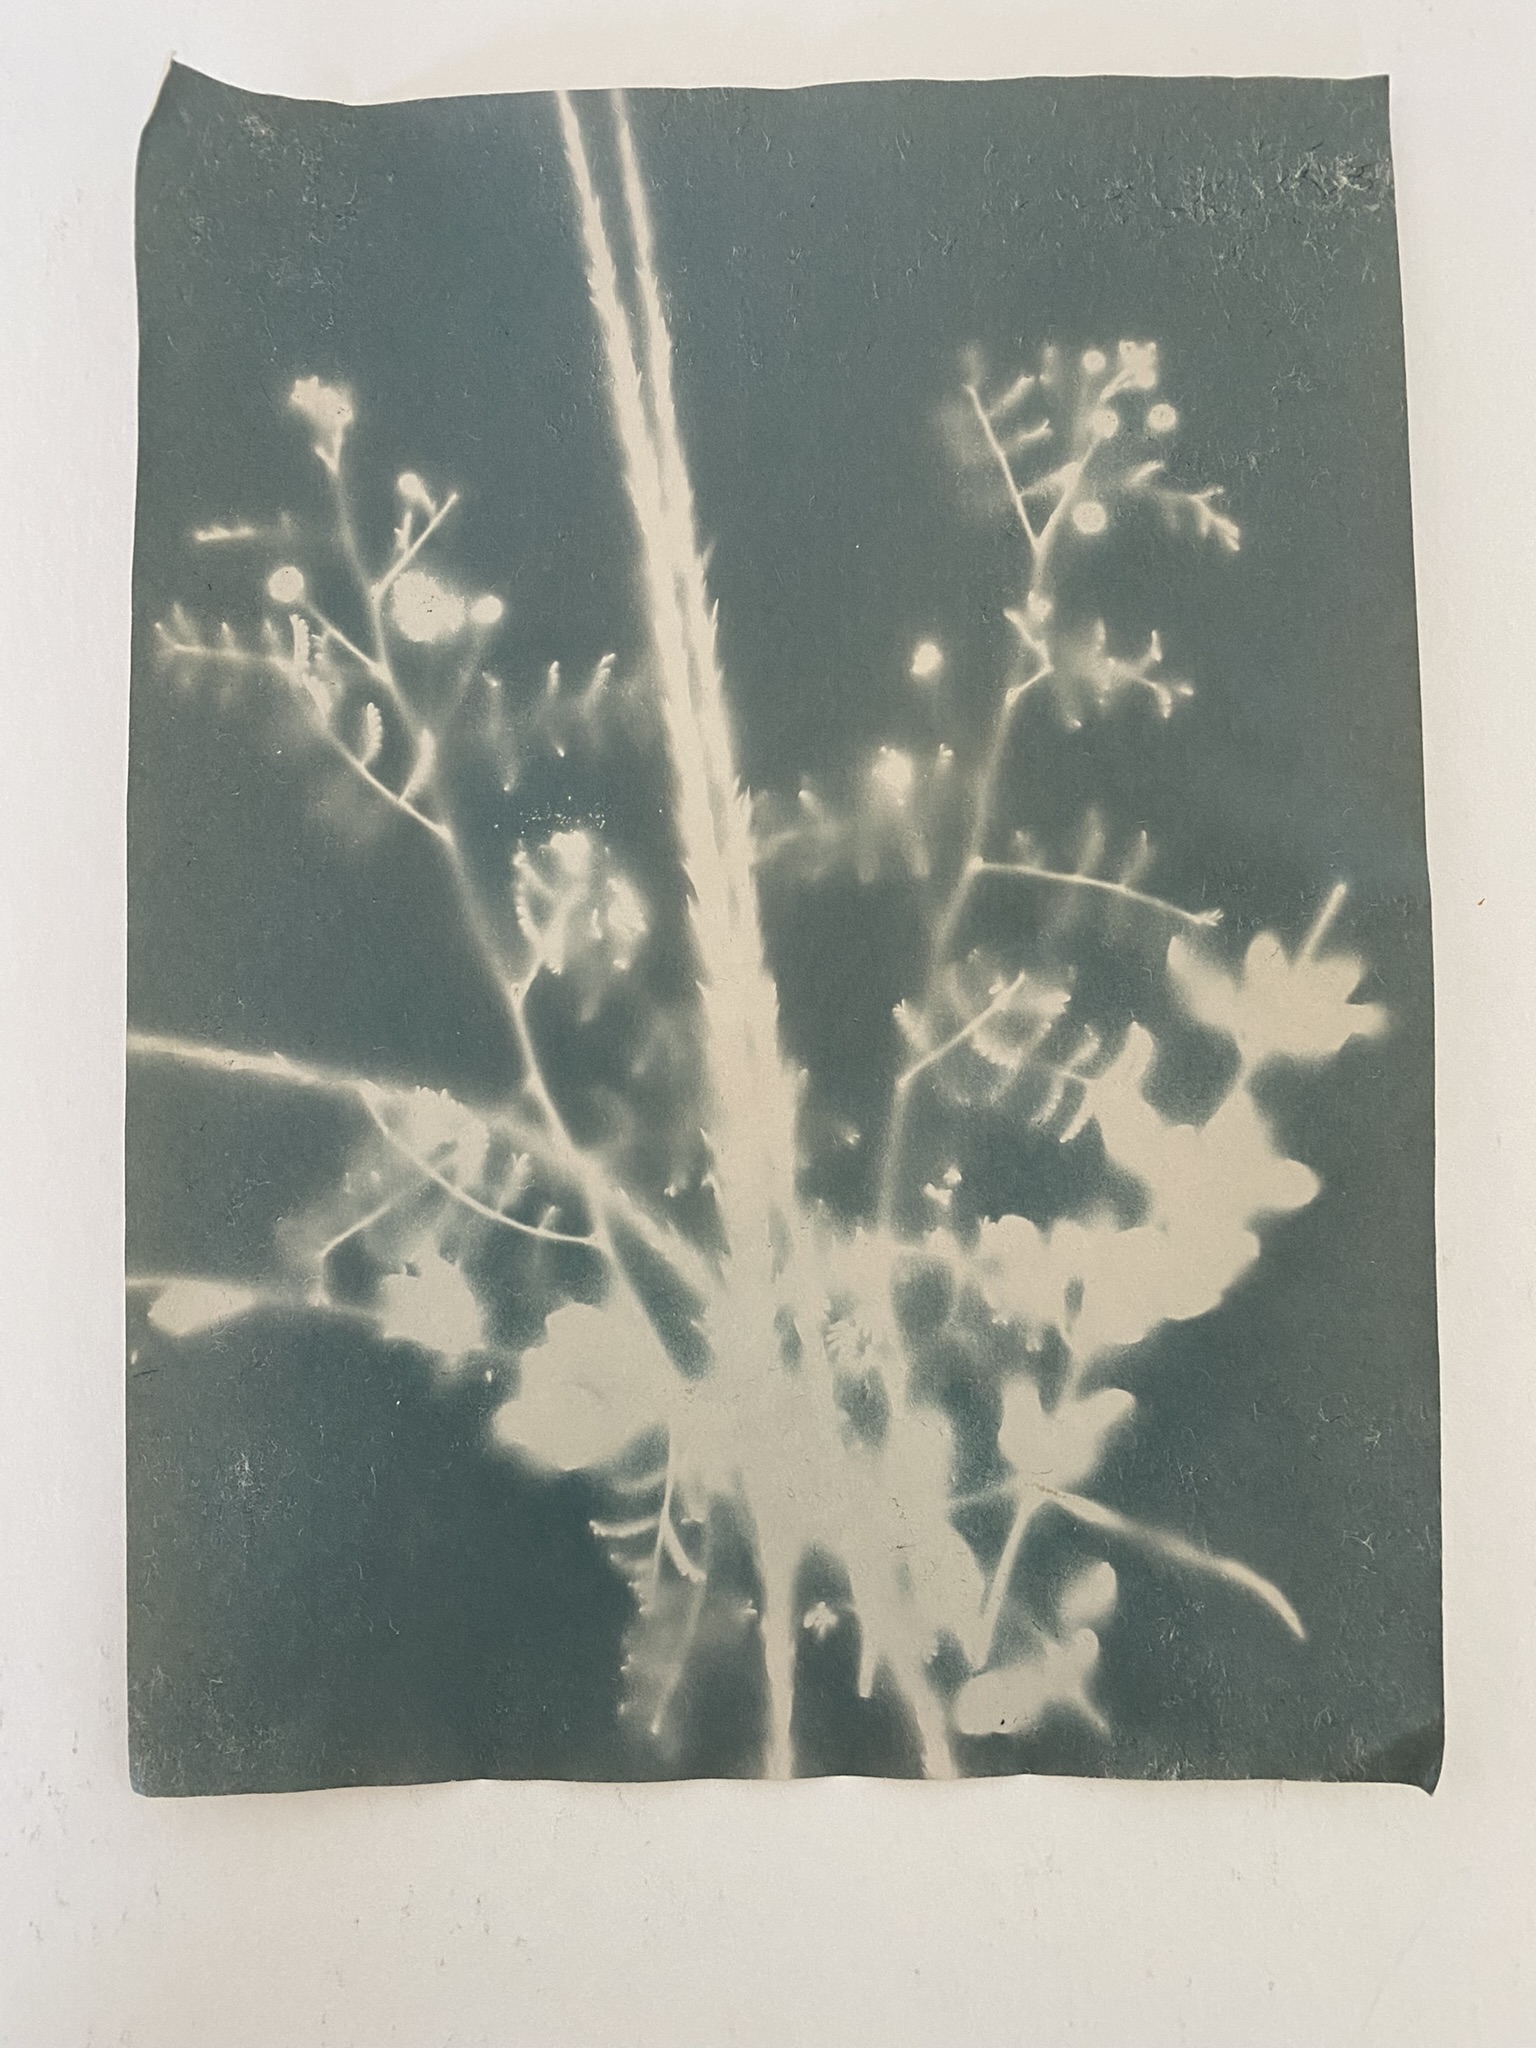
Now the fun begins. What to place on the pretreated paper to create your Sunprint? You will want to look for things that will lay flat when sandwiched between the paper and the acrylic overlay. I started with cuttings from our yard, progressed to cutouts using paper and then the glossy advertisements that appear daily in the mail (paper was too thin and the sun penetrated through the cutout), then stencils, next up was a negative from the film camera I used a few weeks ago (not contrasty enough), and finally a digital negative. I ended up taking the kit with me on the road and tried a few botanicals as we were traveling through different environments.

Step-by-Step
- Find a place that has little to no direct sunlight. In my case, I used the drop room next to the garage.
- Lay your pre-treated paper on your board and cardboard with the chemical side (blue) facing you
- Place your object (s) on the paper
- Cover with the acrylic overlay and clamp down
- Place in the sun. I recommend cutting a piece of paper into small sizes and experimenting with how long to leave it out in the sun. Place a simple object on each piece and vary the duration of sun exposure. For me it was about 5 minutes
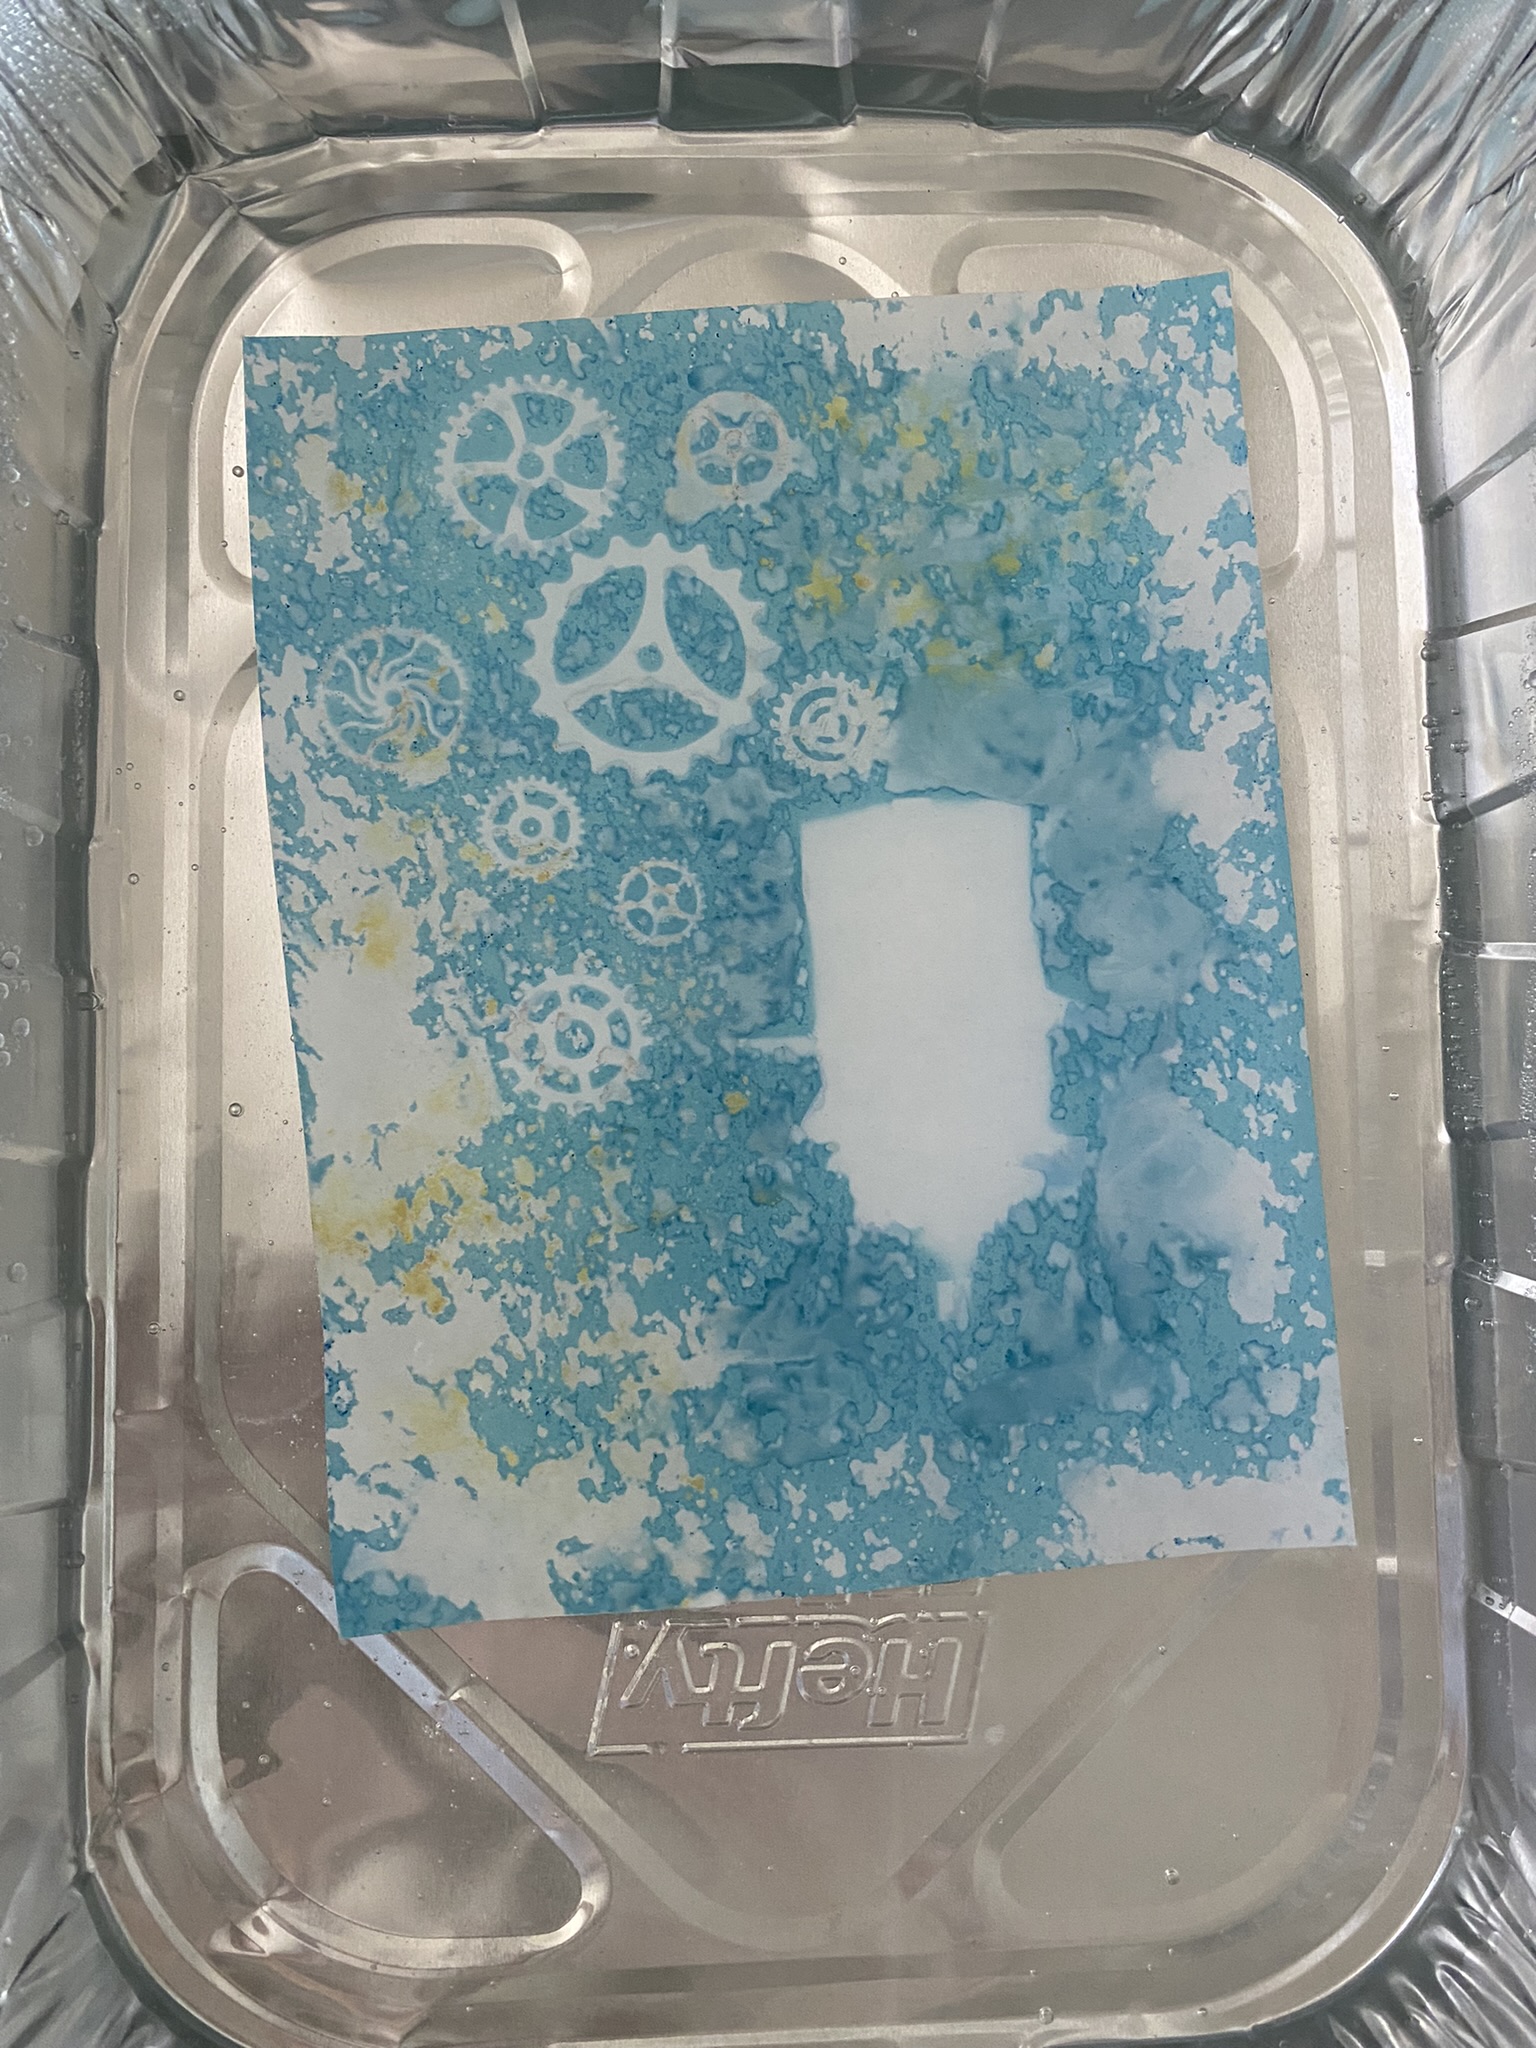
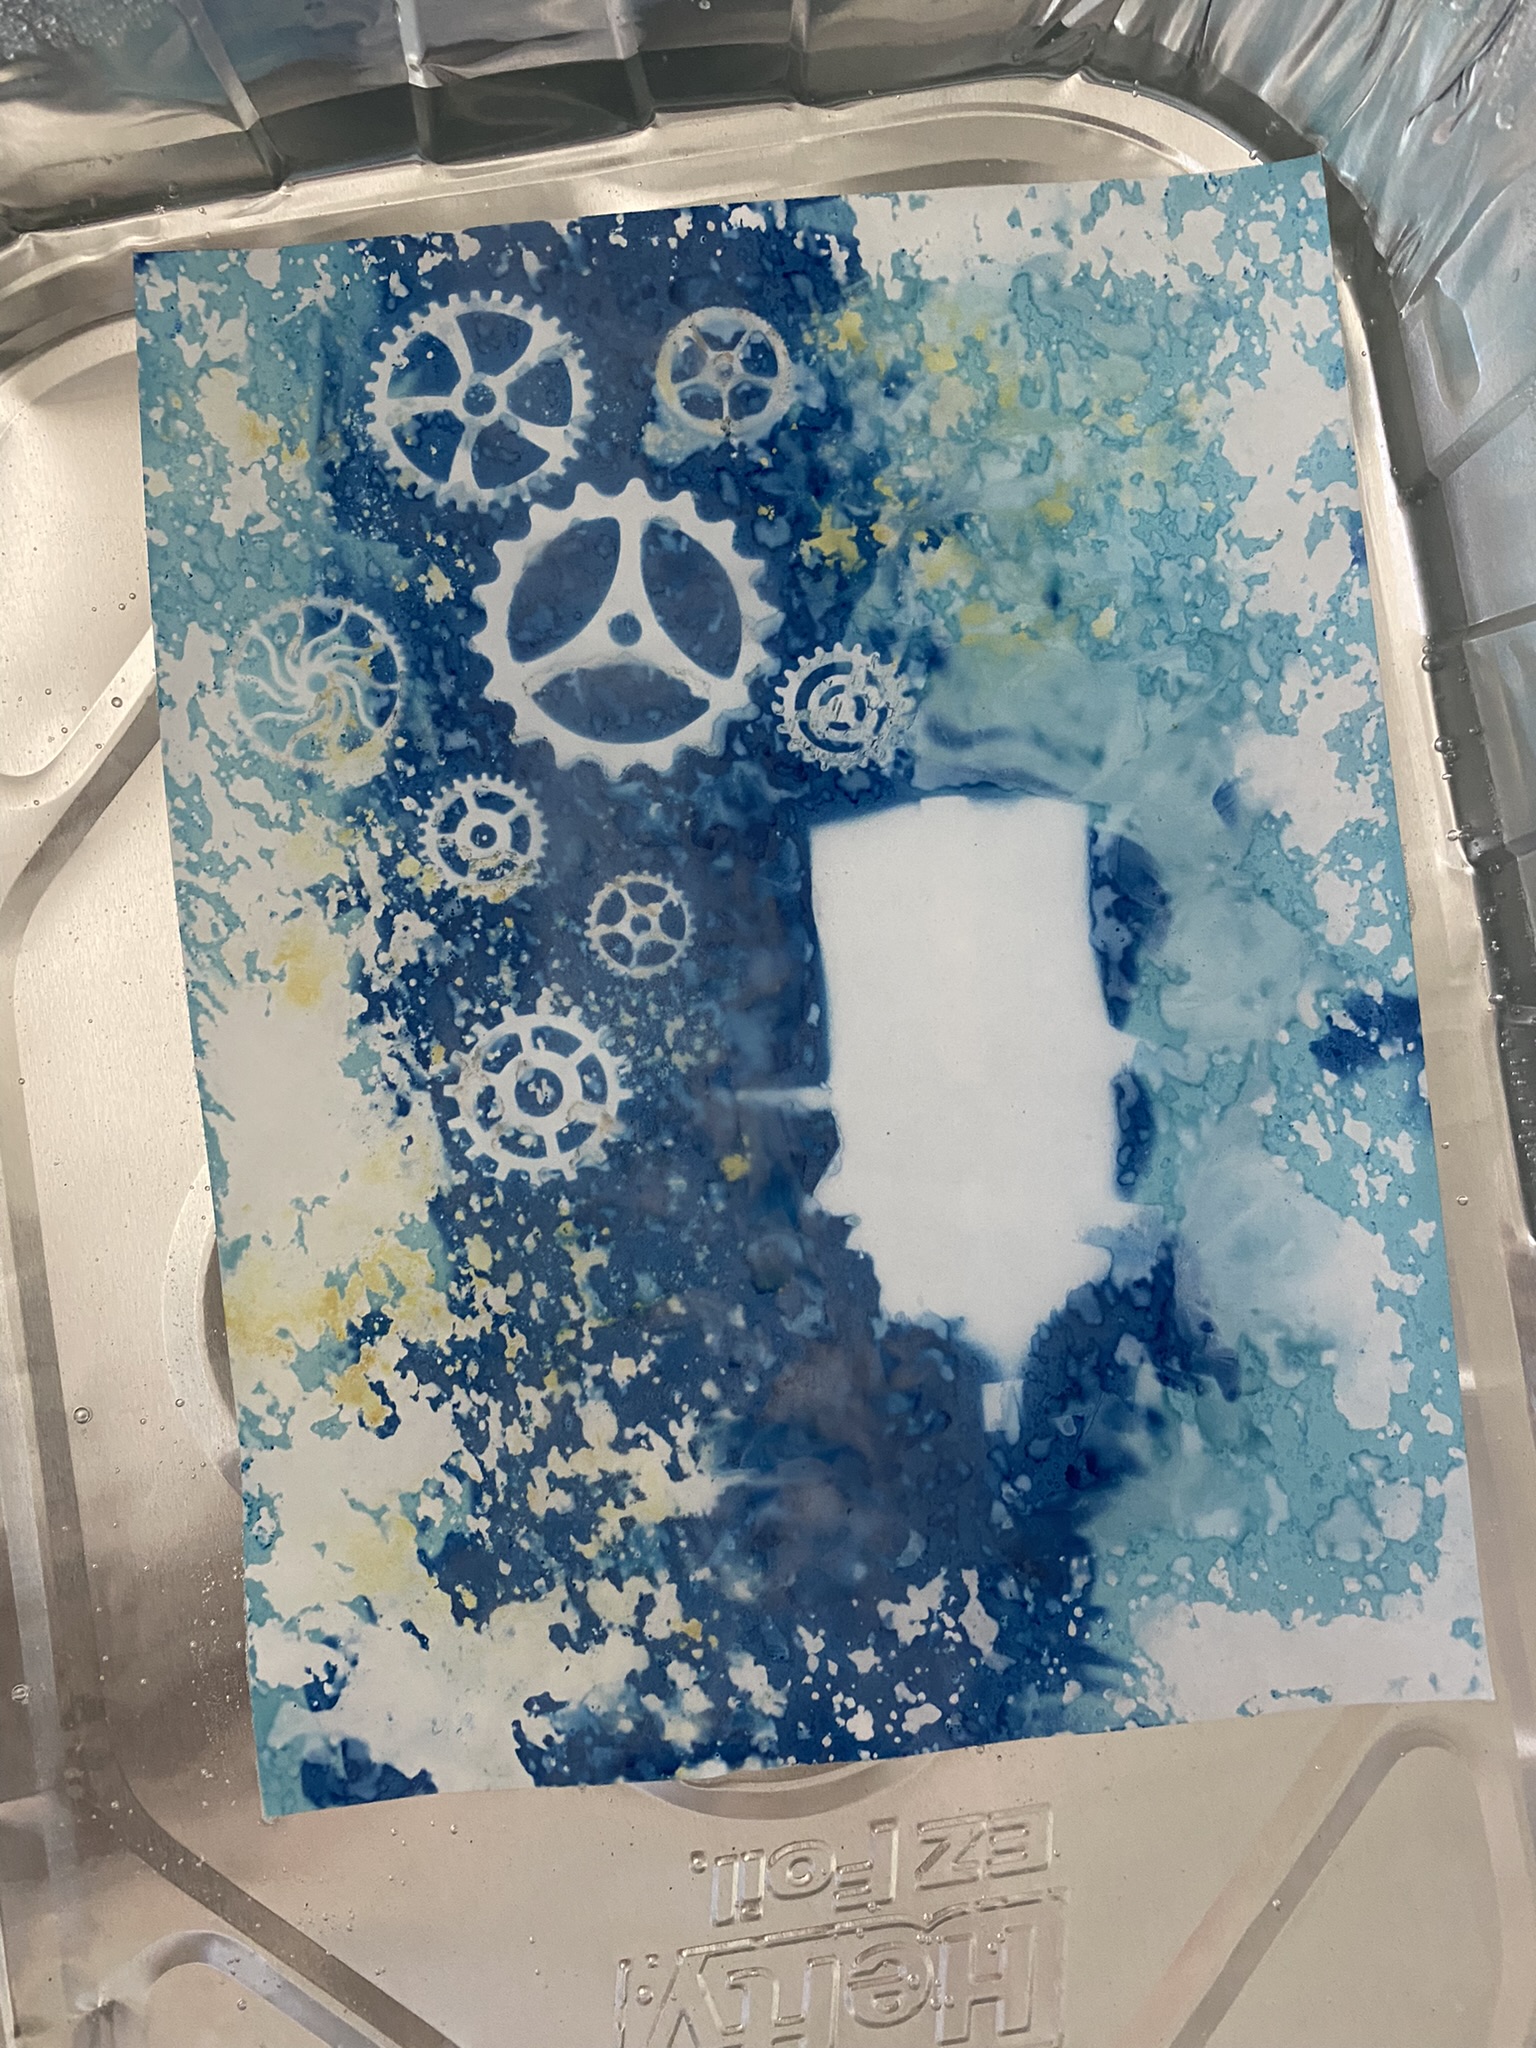
- Immediately place paper in washing tray with a bit of water and swish it around for about a minute. The water will have a greenish tint. You are rinsing the chemical off the paper. Add fresh water and swish some more, if desired add hydrogen peroxide.
- Lay flat to dry. I would recommend a flour sack towel or other smooth absorbent surface. I noticed there was still chemical coming off on my hands and paper towels. I still haven’t cracked how to get the paper to dry flat. I tried pie weights while it was first drying, progressed to covering them with paper towels and placing books on top, etc. My papers still curled.
Creative Options
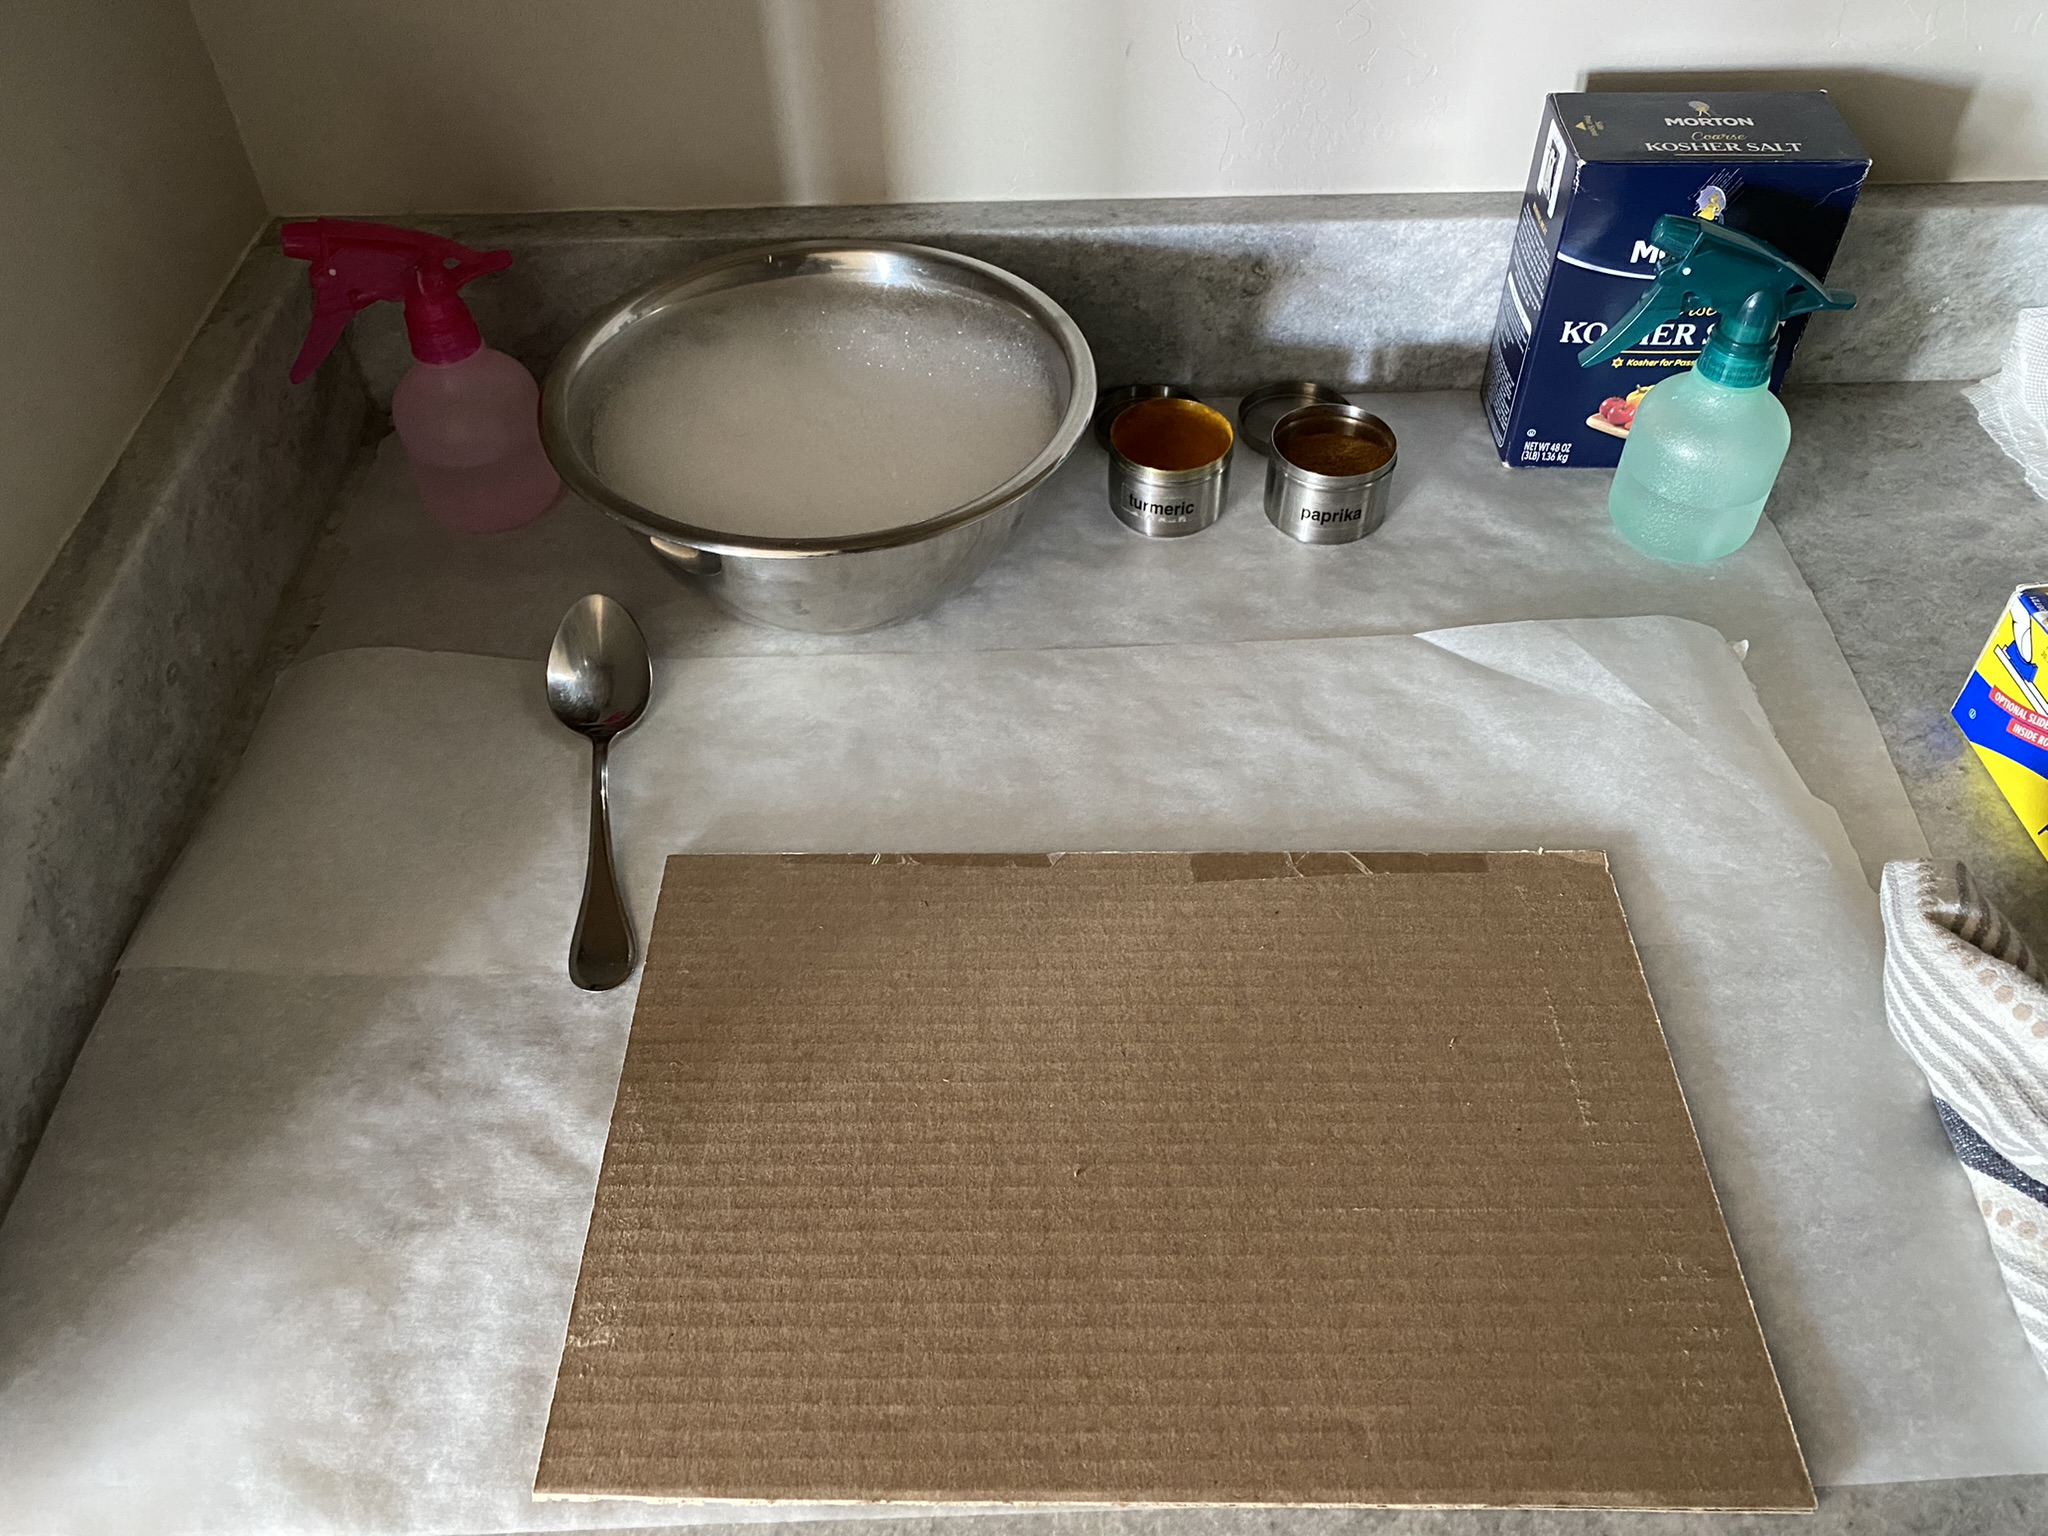
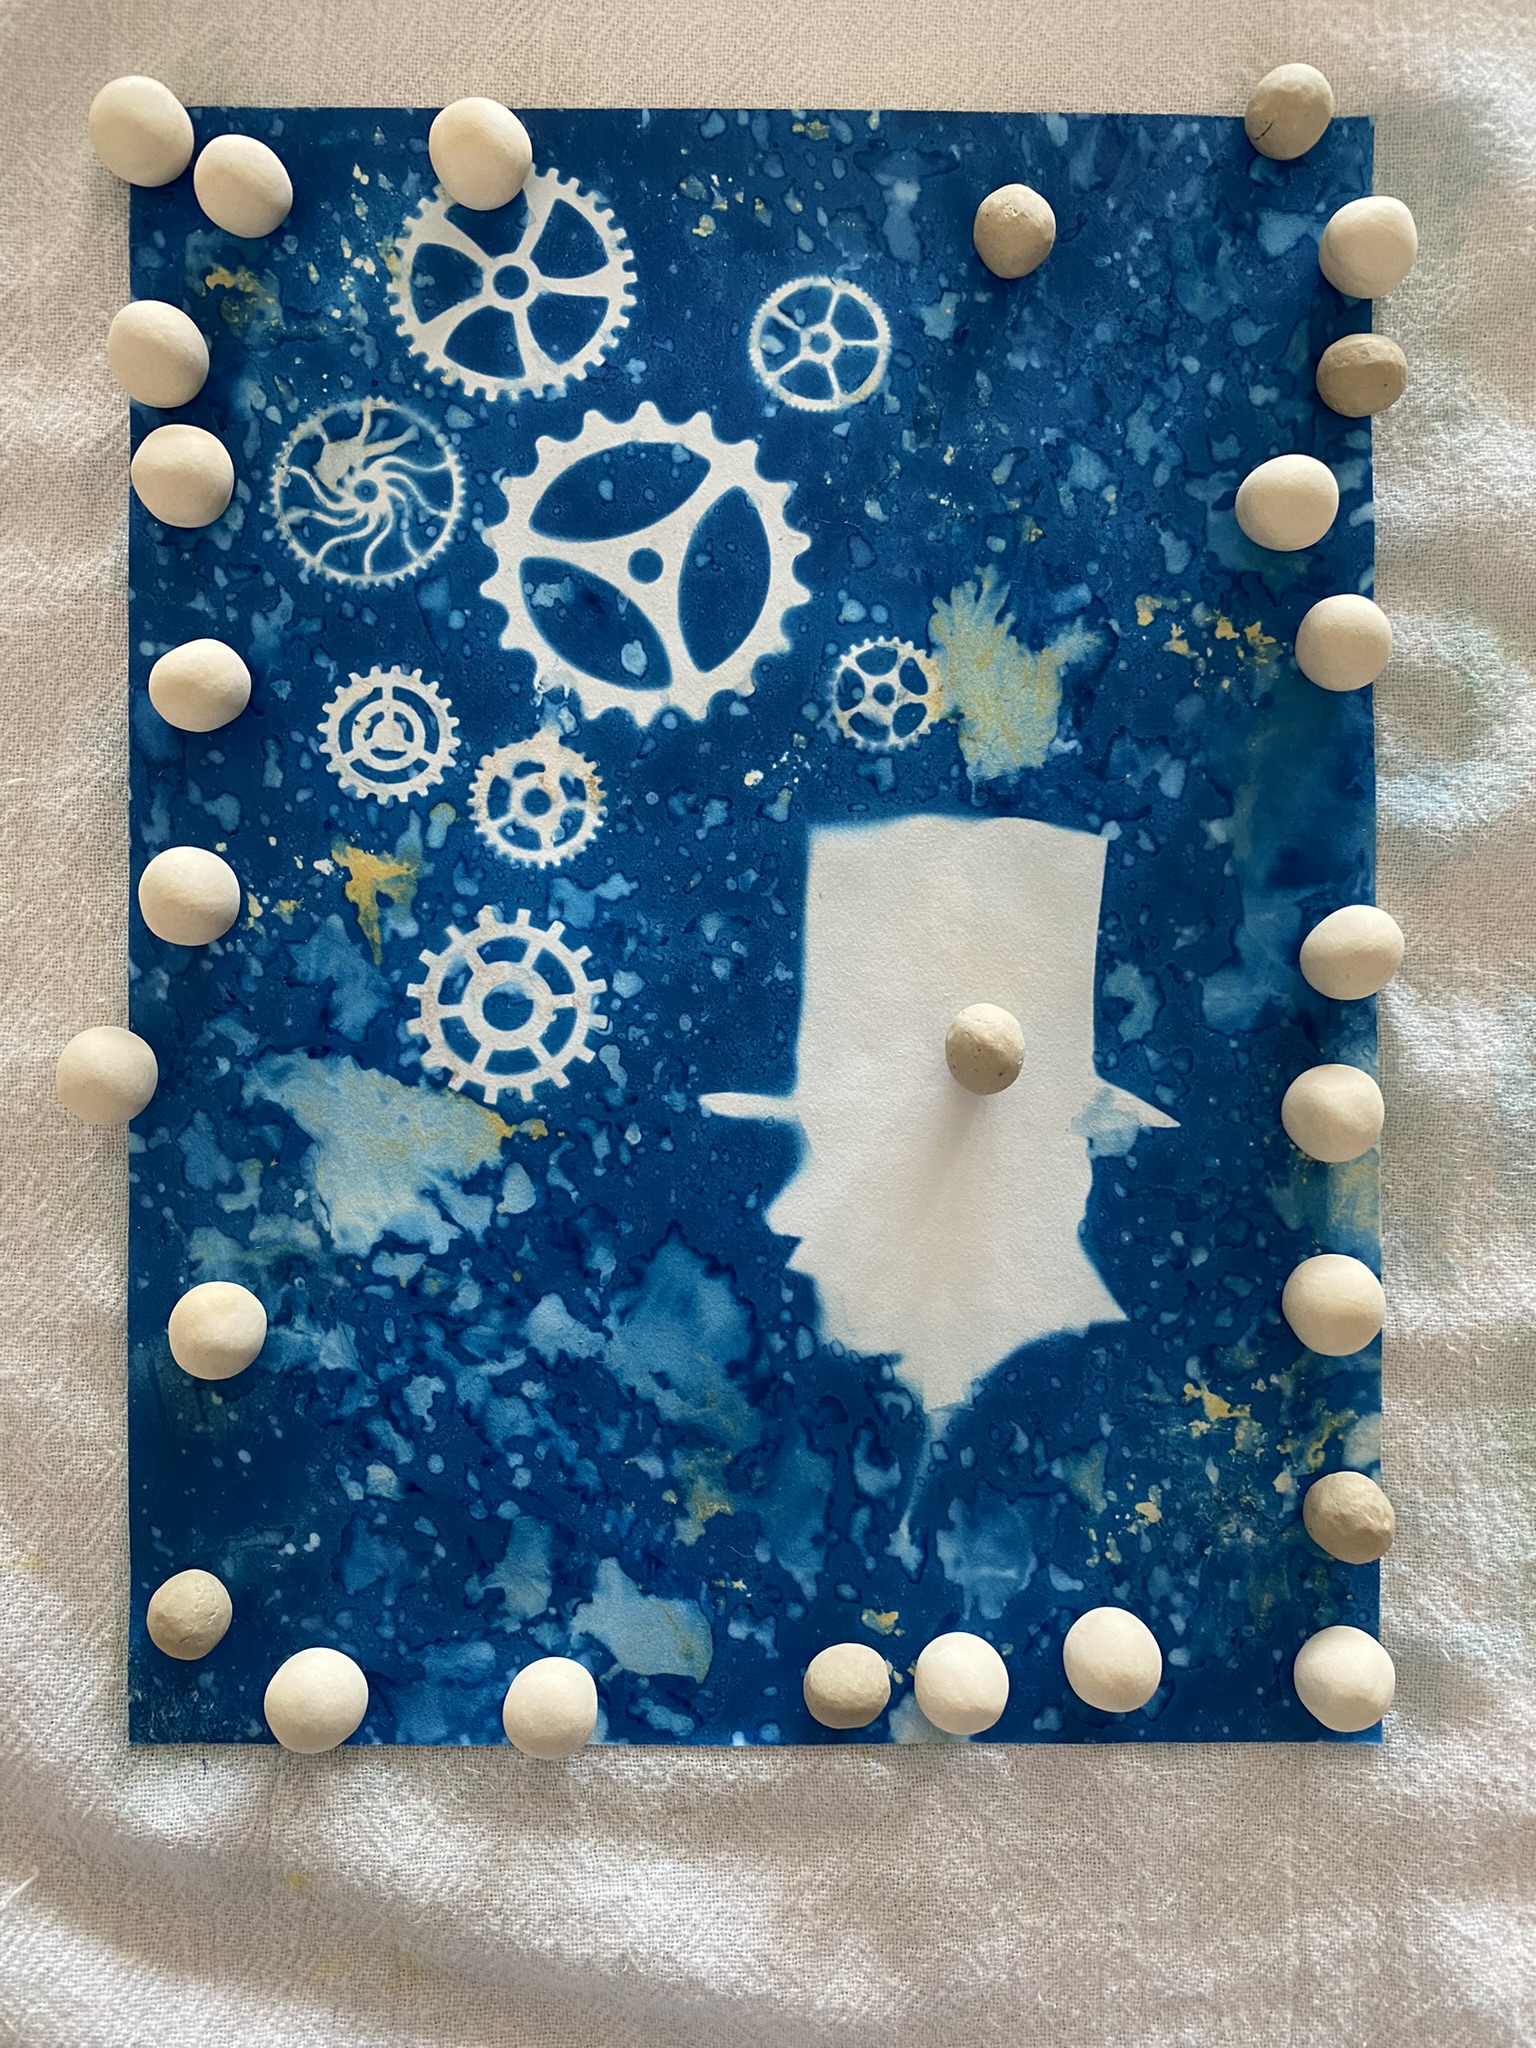
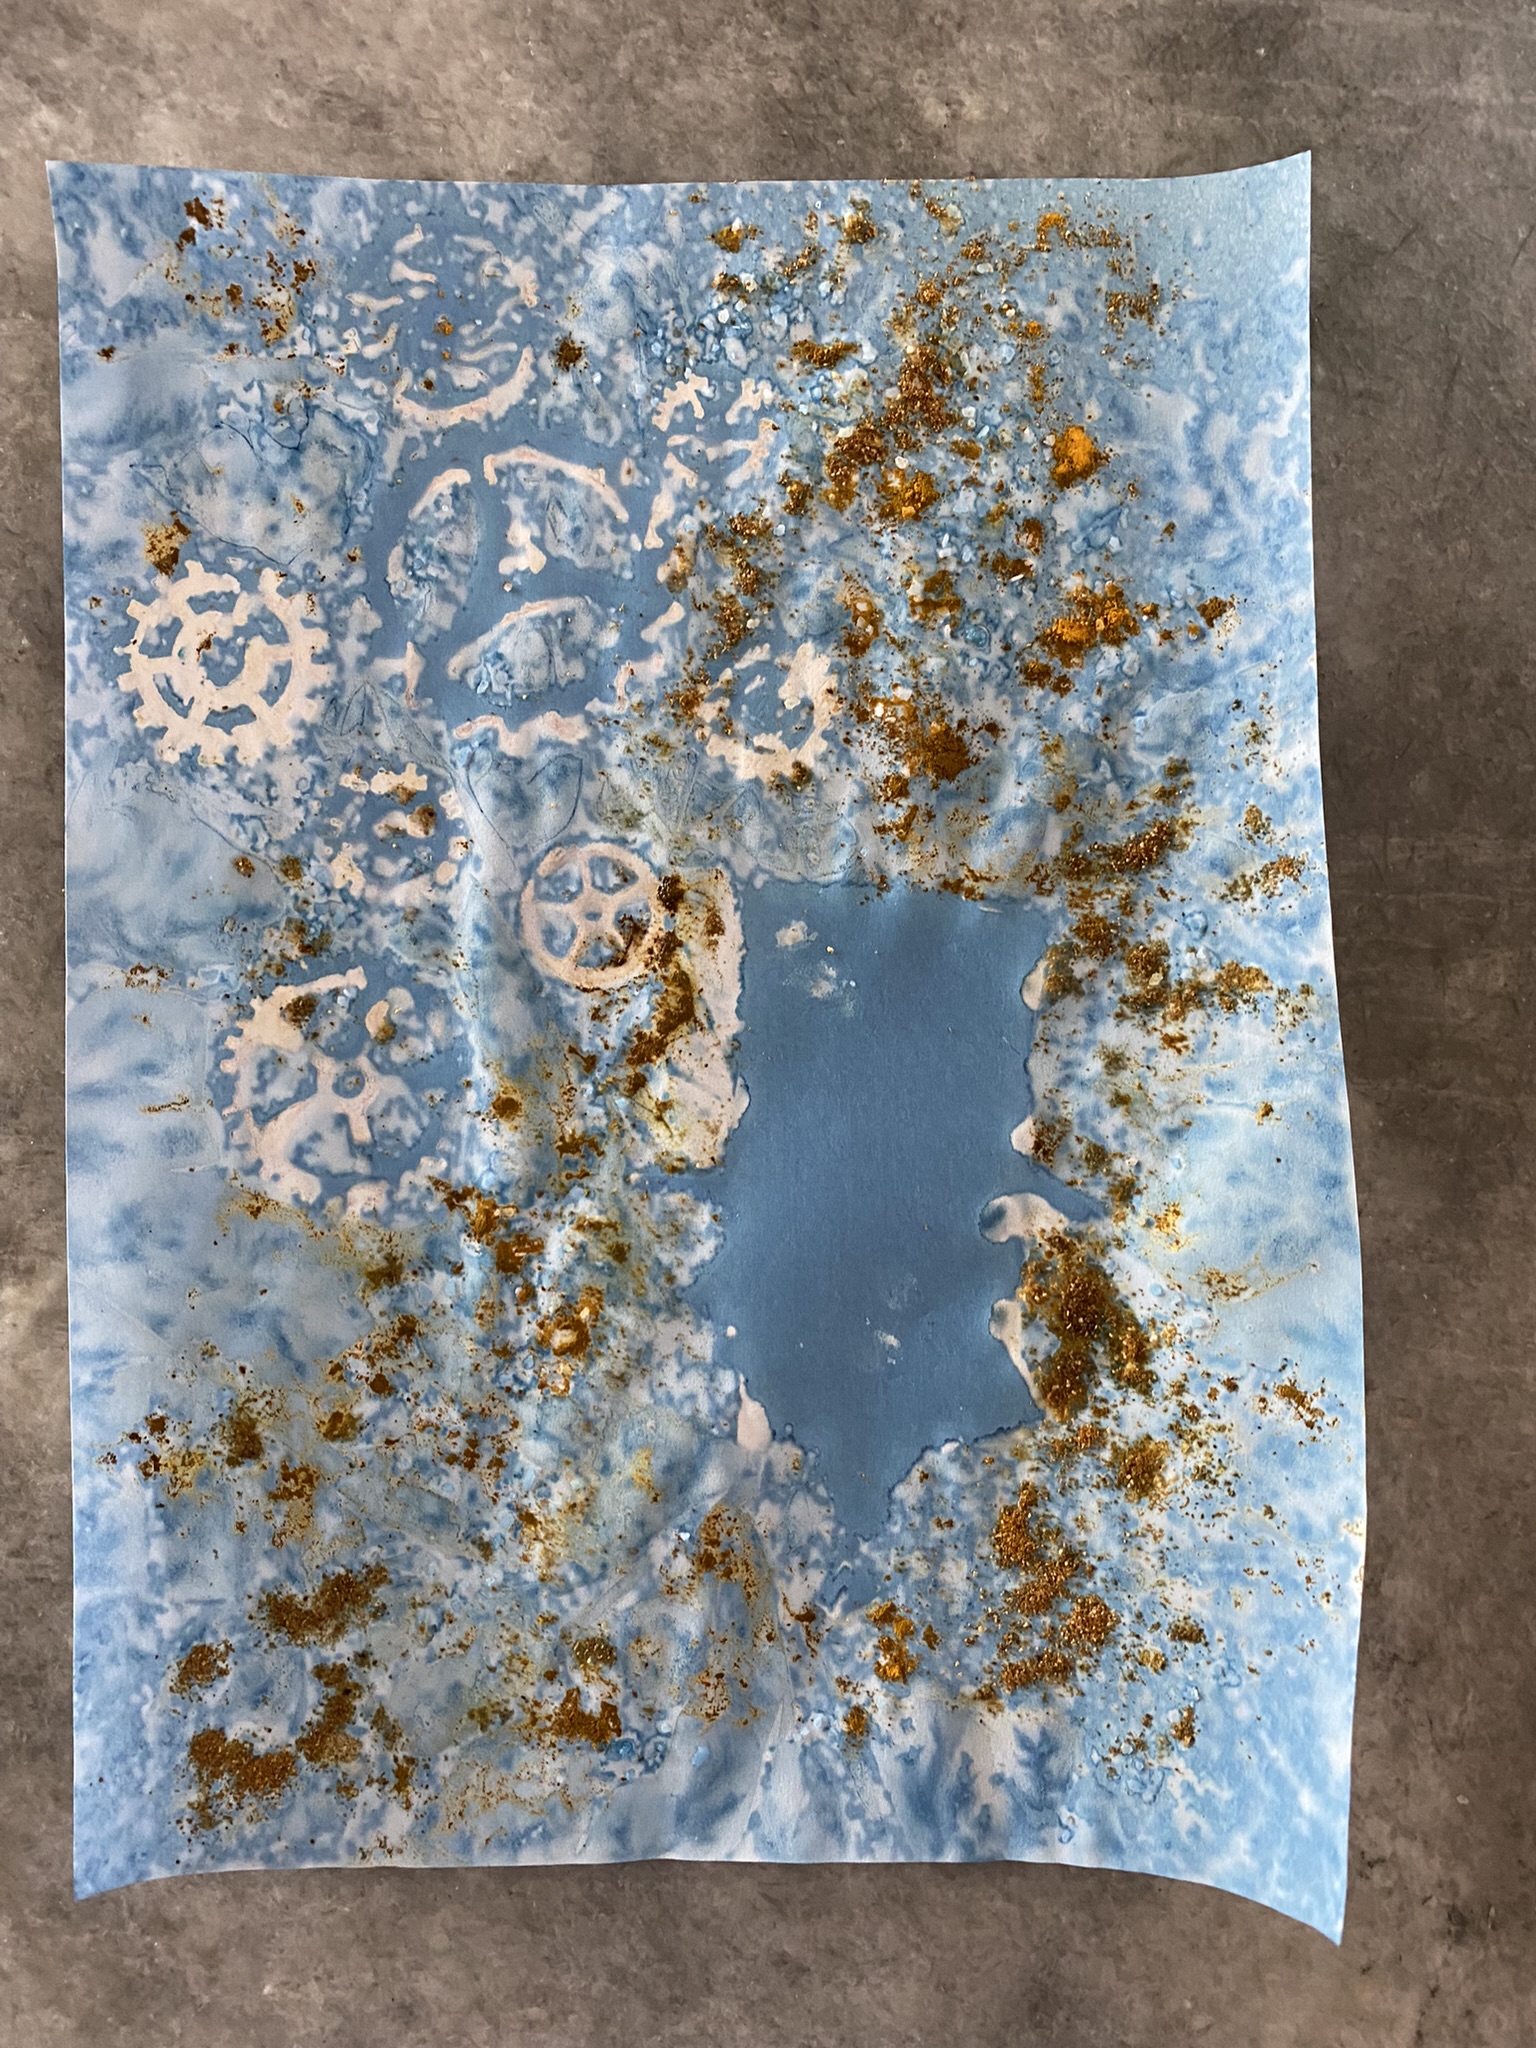
- Before you expose the paper to the sun: you can spray it lightly with water and try different “add-ons”. I found the water spray created spots, in some cases desirable, in others not. I tried spraying diluted vinegar (didn’t quite work), sprinkling Turmeric (this did work), sprinkling Paprika (nope), rock salt (not sure), putting clumps of soap suds (definitely no – it just created white “clouds” on the paper), adding crinkled plastic wrap on top before the acrylic overlay (sometimes) and on top of the acrylic overlay (nope), and finally sprinkling baking powder (yes- if you like the acid-washed denim look). I don’t think many of these treatments worked well for this type of chemically treated paper. I will revisit them when I work with applying cyanotype chemicals to water color paper.
- After you rinse: I tried tea toning which involves creating strong black tea (strong enough its undrinkable) and soaking the paper face down for about 10-15 minutes. This paper was too delicate and started to breakdown in the upper right corner. The tea color was not strong enough. Maybe something to try with cyanotypes on stronger paper.
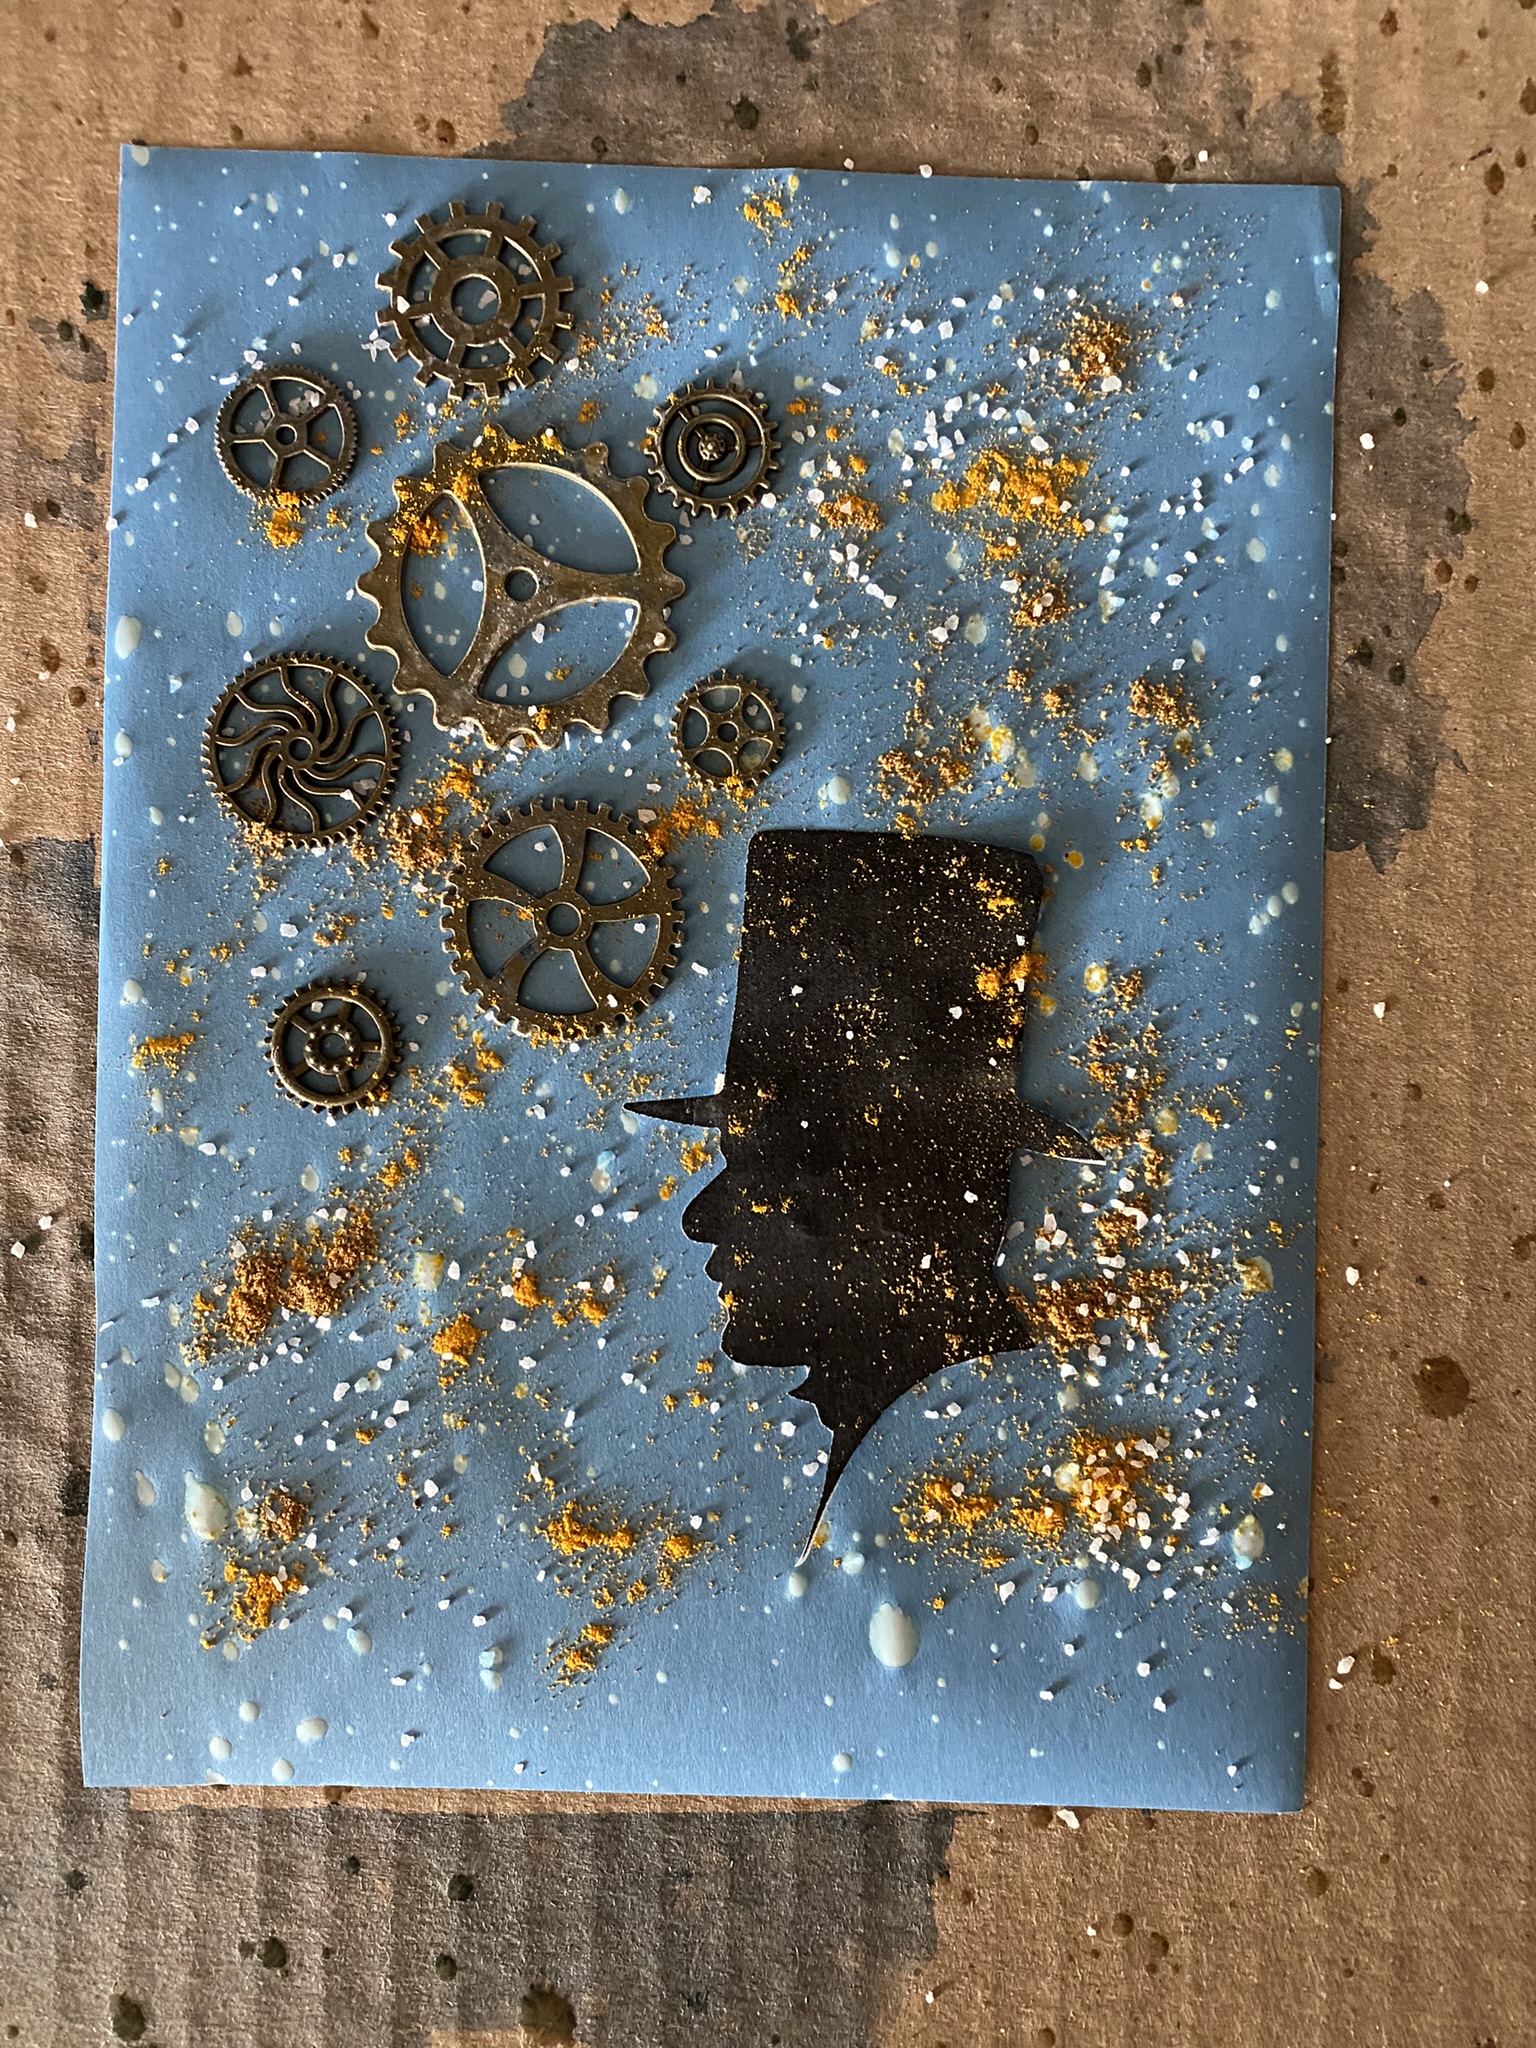
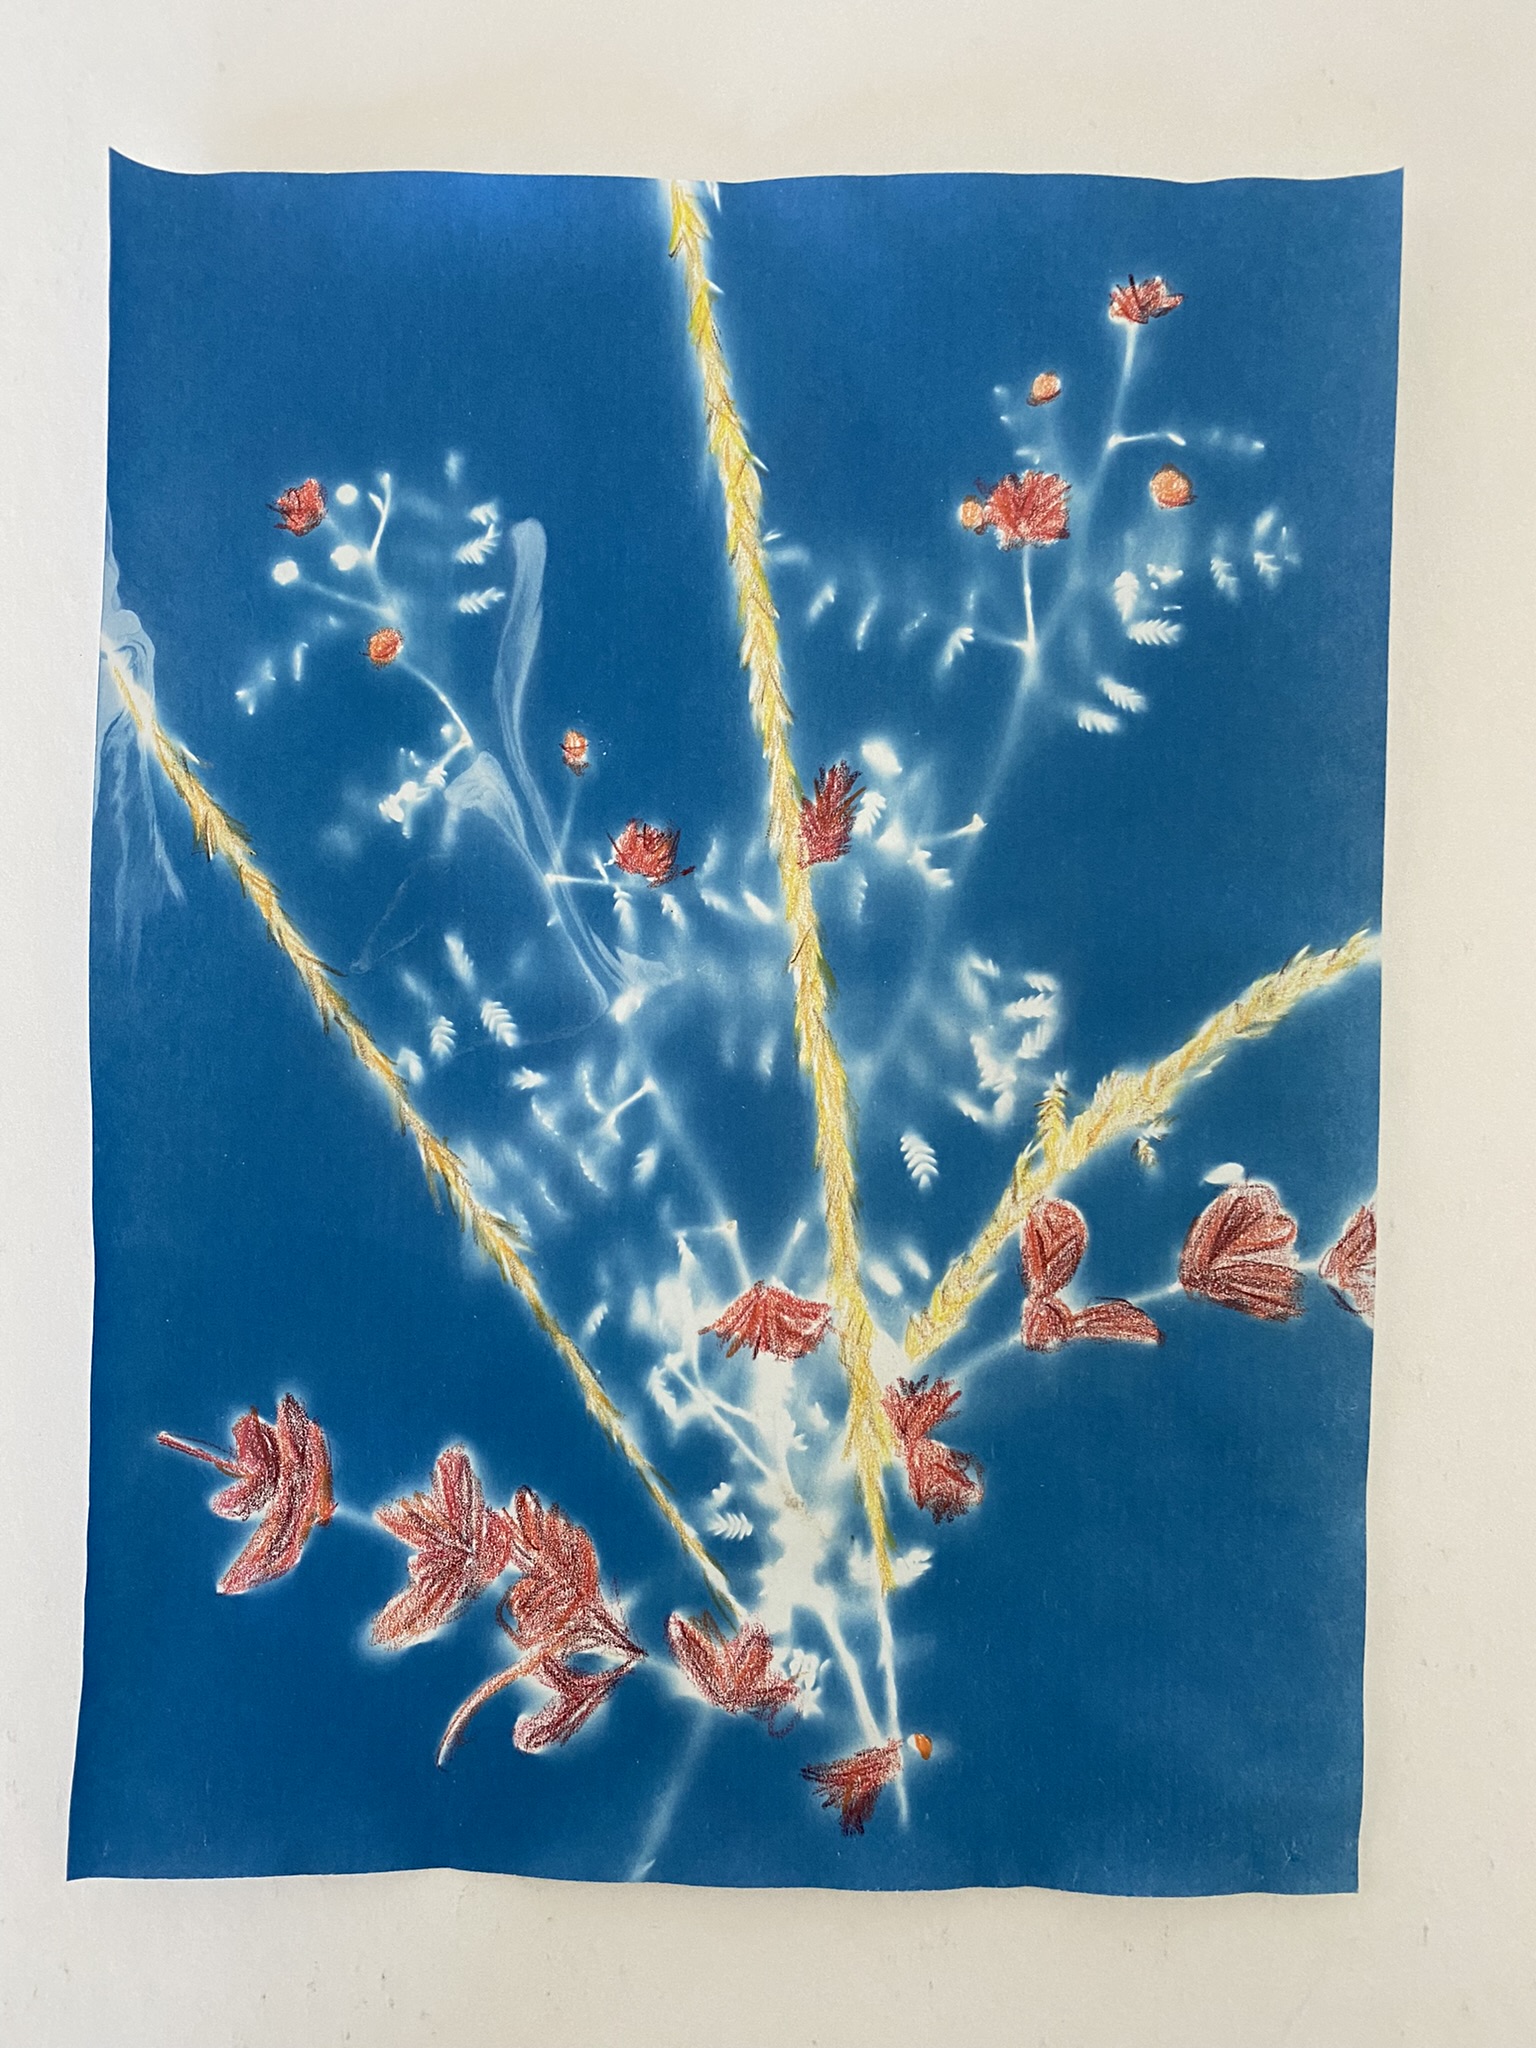
- After drying: I thought I would add some additional color to my first Sunprint. I had too many large chunks of white where my object did not make a particularly interesting shape. I used color pencils to fill in some of the forms, leaving other white.


Leave a comment