

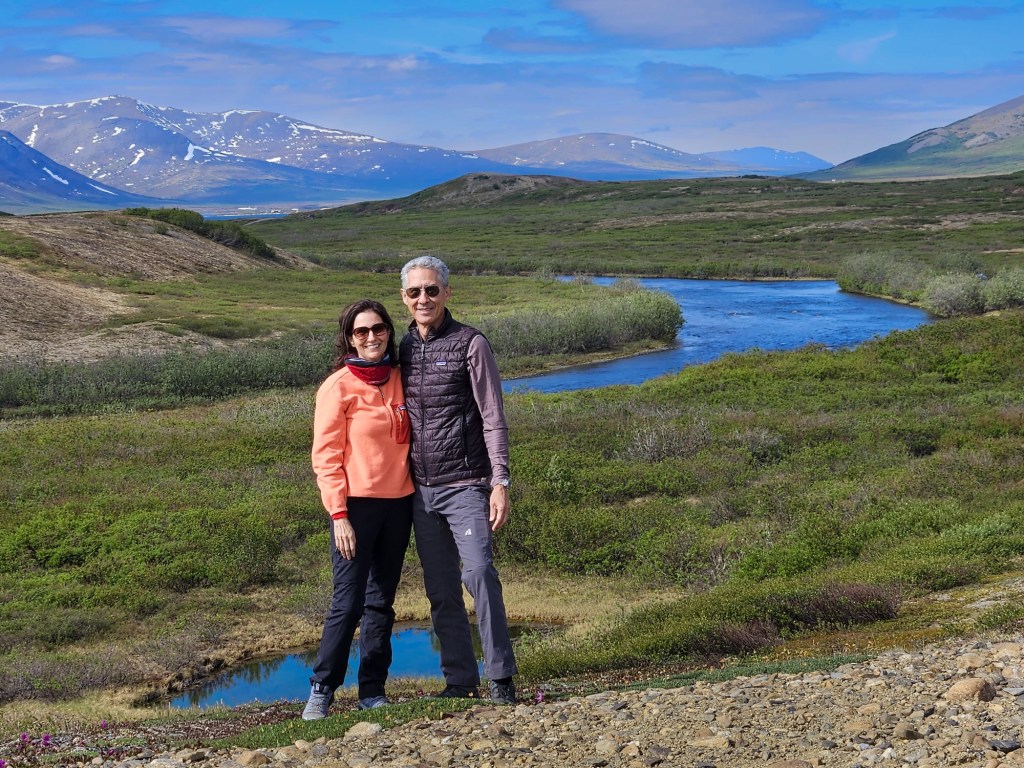
A friend of mine lent me her fathers old Yashica D TLR camera while we were on our recent road trip. I hadn’t used a film camera in years, and to be honest, I wasn’t very good shooting film. I find the instant feedback with digital helps me course correct in the moment. But I thought I would give it a try and see what it was like after 10+ years of focused digital photography. You often hear “there is just something about a photograph made with film that is so different”. Here is what I learned after shooting 2 rolls of film.
Its exciting to see the world through a different viewfinder. It was just cool. The square format and the low angle you had to hold the camera so you could look down through the view finder. I found trying to frame a composition quickly challenging because I was looking at a mirror image – to get more of the right side into the frame, I had to move left.
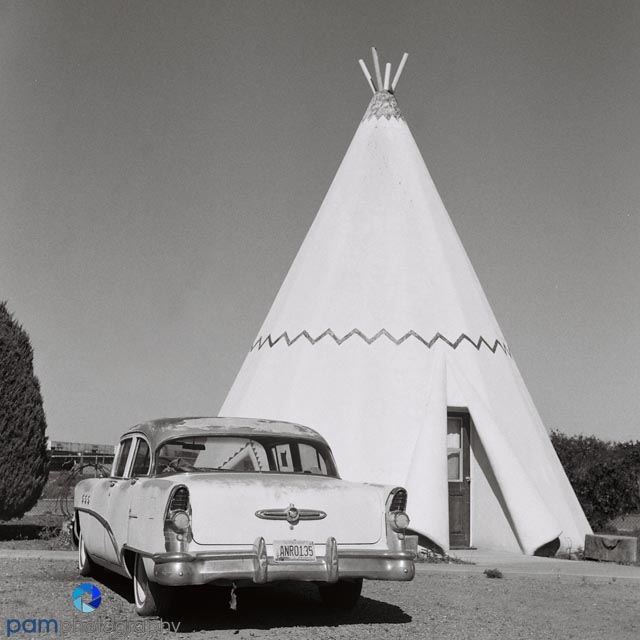
Film is easy to buy, but hard to develop. I bought the film on Amazon, and sent it to ProcessOne for development and digital scans. I shot two rolls of 120mm black and white film. I found three places to develop 120mm film; only 2 developed black and white, only 1 was taking new customers. I tried a local place in Santa Fe that was going to charge me $75 to develop the film and create digital scans – that was for 1 roll. It took 2 weeks to send in the film, and receive the digital scnas. All in, it cost me $50 to buy, develop, and scan 2 rolls of film, 24 exposures. I have one photo I like (good not great – see blog cover image) and quite a few “tossers”.

It is a manual process. The camera I was using required time to load the film (which seemed to be a 4 hand job that Peter had to help me with), take an exposure reading with my light meter (which I still don’t think I exposed many images correctly), dial in the shutter speed, cock the shutter, press the shutter release, advance the film (this last part I quite often forgot to do). The Yashica D, will continue taking images on top of one frame until you advance the film. I ended up with a few double exposures, which is significant given the cost of film and development.
A digital hack? When we returned home, Peter challenged me to try to replicate the look using a digital image I made. While I didn’t a film and digital version of the exact same image, I did have something made in the same light, at the same time of day, with a similar subject. I processed this image using DxO Film Pack 6 and chose the same black and white film. I think I will try to take this further with my digital camera by using a camera strap around my neck so I can hold the camera low, flip the LCD screen up so I am looking down to compose, and selecting a 1:1 square aspect ratio to frame it. The film version is on the left, the digital version is on the right.


I spent hours going down the rabbit hole on this project. I am always amazed at what I can find on the Internet: YouTube videos on how to use this particular camera, and informative article on TLR’s by Digital Camera World (I still smile when I think about the irony), and even a company that makes a TLR but uses Polaroid film so you instantly have a print. I was excited when I saw it, and then I saw the price tag, and then I remembered the cost of film. I have a couple of my dad’s old 35mm film cameras that I may try out someday to see what I can do…who knows, maybe Peter will remind me of the cost of film, development, and scanning at just the right moment.


Leave a comment