


As with most of our experimental photography projects, we jumped right in without realizing how challenging Blacklight/UVA portrait photography can be. While we are still in the “beginner” stage of figuring it out, we thought we would share some tips and lessons learned from our first project.
The Setup
- Blacklight: UVA power and the size of the light matters. I initially ordered a set of two from Amazon, but when they arrived they were too small to shape the light, and not much more powerful than a flashlight. At Walmart I found larger icelights in their lighting section, and purchased two at $11 each. There are more powerful ones available, but I found these worked fine for out tight portrait photography set up. We used two light stand clamps and positioned the lights vertically. To shape the light more, it helped to take them off the stand and move them around the subject.
- Tripod: We shot with very little to no ambient light, and found a tripod necessary to remove camera blur.
- Background: Used the black side of a v-flat to give us the look we wanted.
- Lens: Use the largest aperture lens you have. Most of our images were shot at 1.2 – 2.0 aperture. Focus can be challenging, especially with two subjects, you will have to make some compromises. Many of our shots had the nose in focus, but not the eyes….those did not work.
- White Balance: In our first attempt the color temperature of the images differed from one to another. I found changing the setting from Auto White Balance to a static setting helped. It doesn’t matter what it is, choose one that gives you the look you are going for.

Glow in the Dark Paint
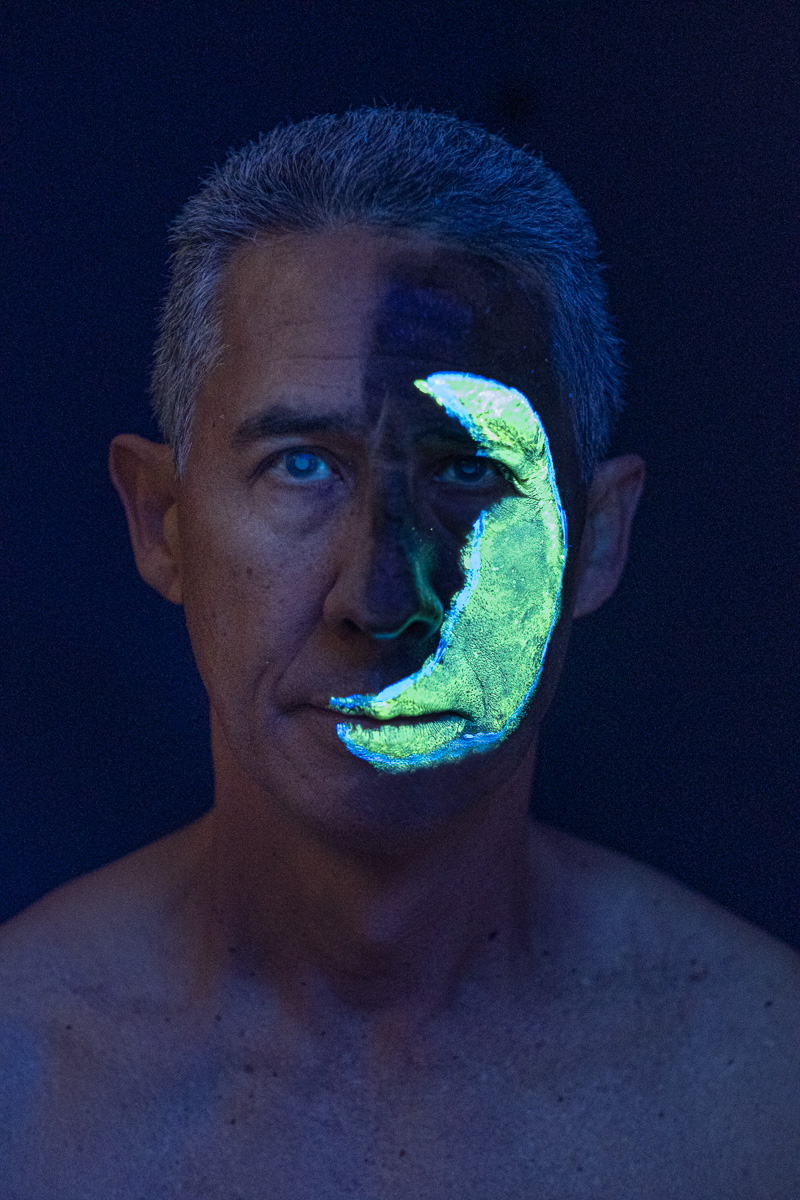
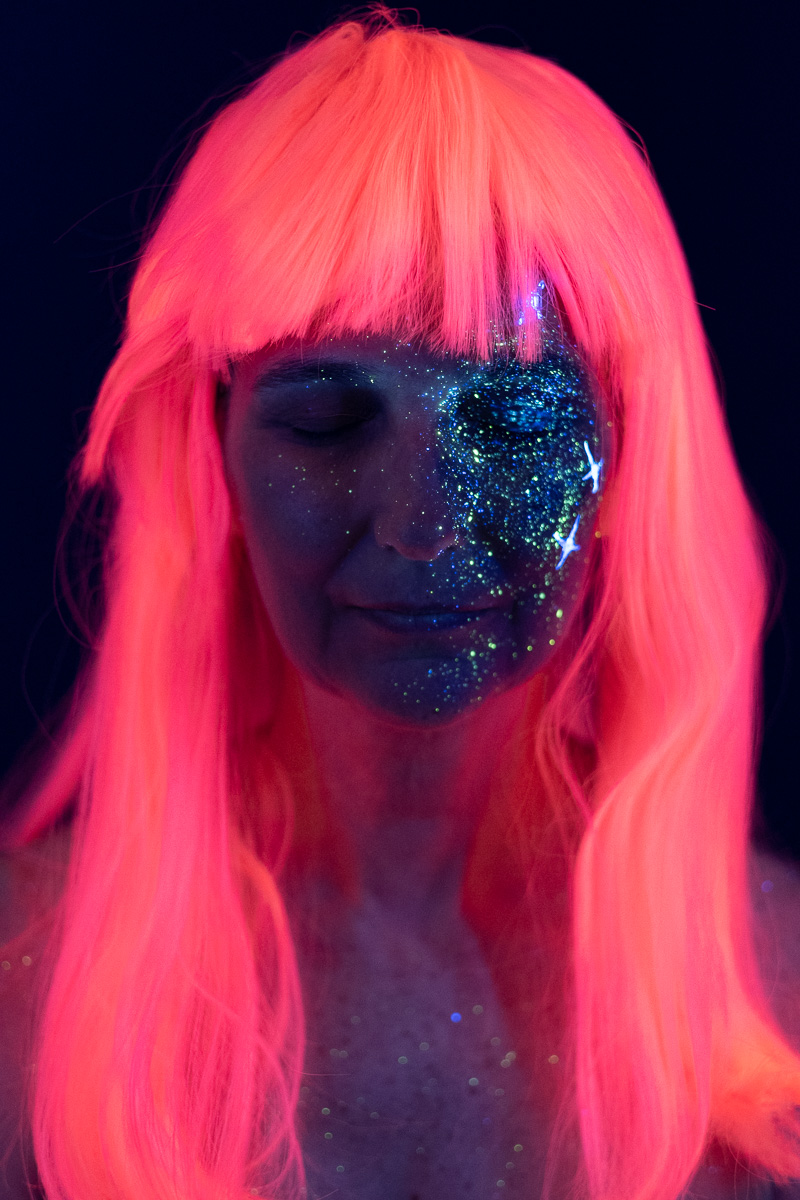
This was the area that provided the most challenge for us. UV makeup does not apply like standard face paint. It can be hard to see as you are applying it (see next photo), and a little goes a long way. Blacklight also shows sun damage on the skin. I found applying a layer of foundation seemed to help….a bit. Check the application periodically with your black light, and plan your shoot to build upon the make up you’ve already applied to give you different looks.

Tips for paint application
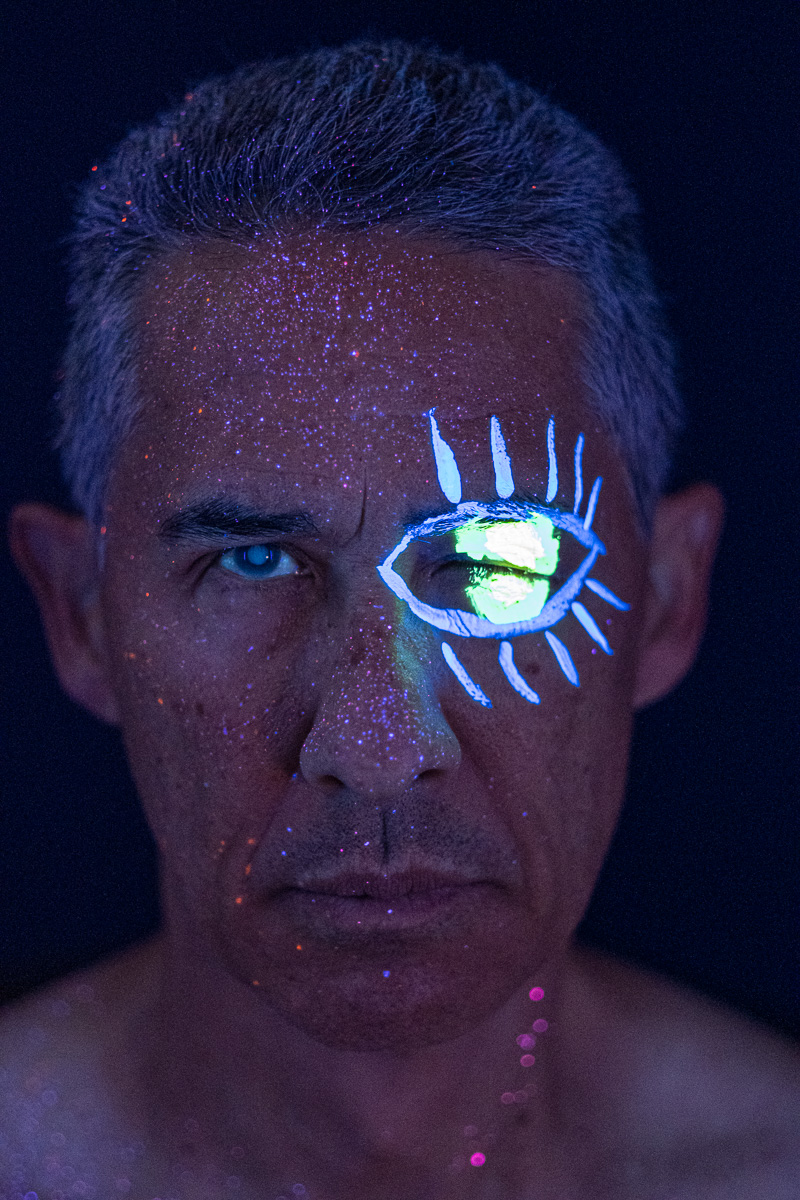
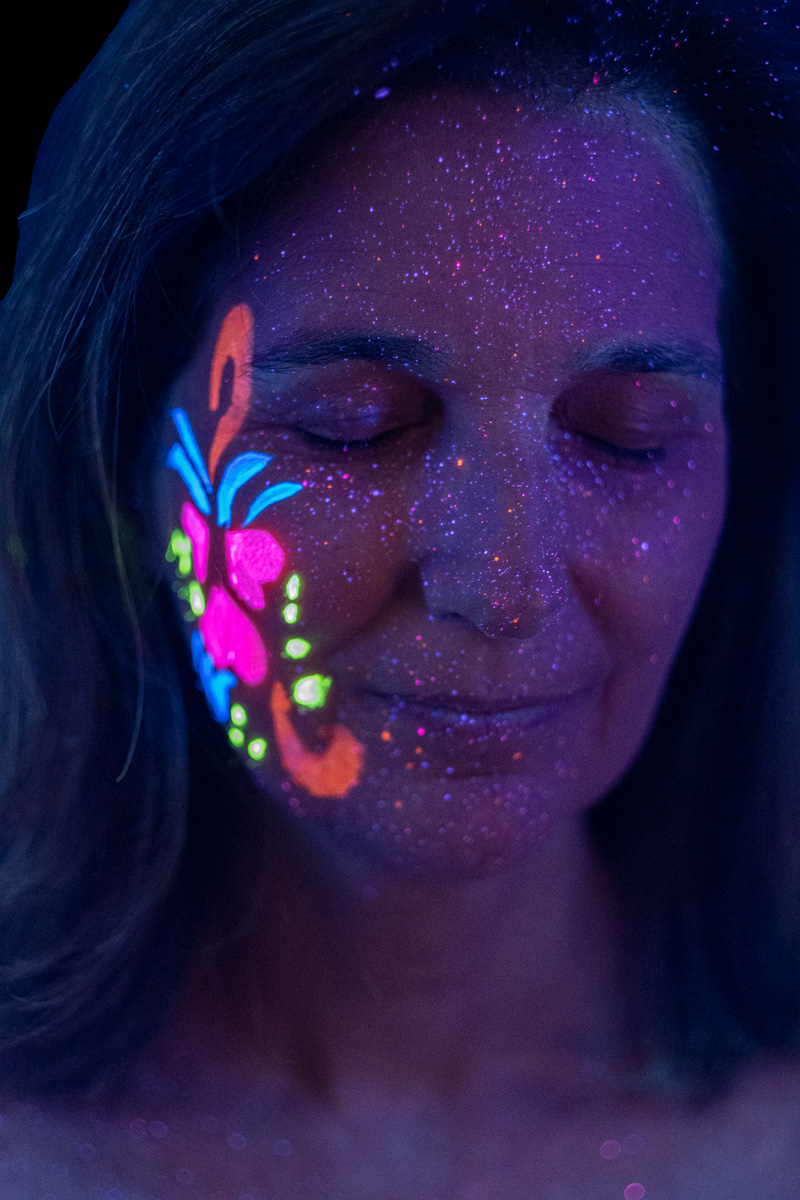
- To achieve the sparkle or galaxy look, wet a toothbrush first, blot it dry on a towel and then smear it lightly in a puddle of paint. Fan your finger over the toothbrush to create splatter. Wash your hand and the brush every time you change color or you’ll get a muddy brown after awhile
- Apply paint in the shower, this makes cleanup easy especially if your are splattering it on your subject.
- Not all paint is created equally. I purchased a set from Amazon for $11. This was adequate for our project, but I suspect I would have been able to achieve more sophisticated looks if I had a higher quality paint.
- To achieve detailed lines and shapes, use a real paintbrush. I used a round 4 and had better results than the plastic brushes that came in my Amazon set.
- Double wash your face when changing paint treatments, that goes for hands too. On some set-ups the residue from the previous application “glowed” through.
- I found YouTube videos for UV paint application, as well as standard paint application, helpful.
Capture
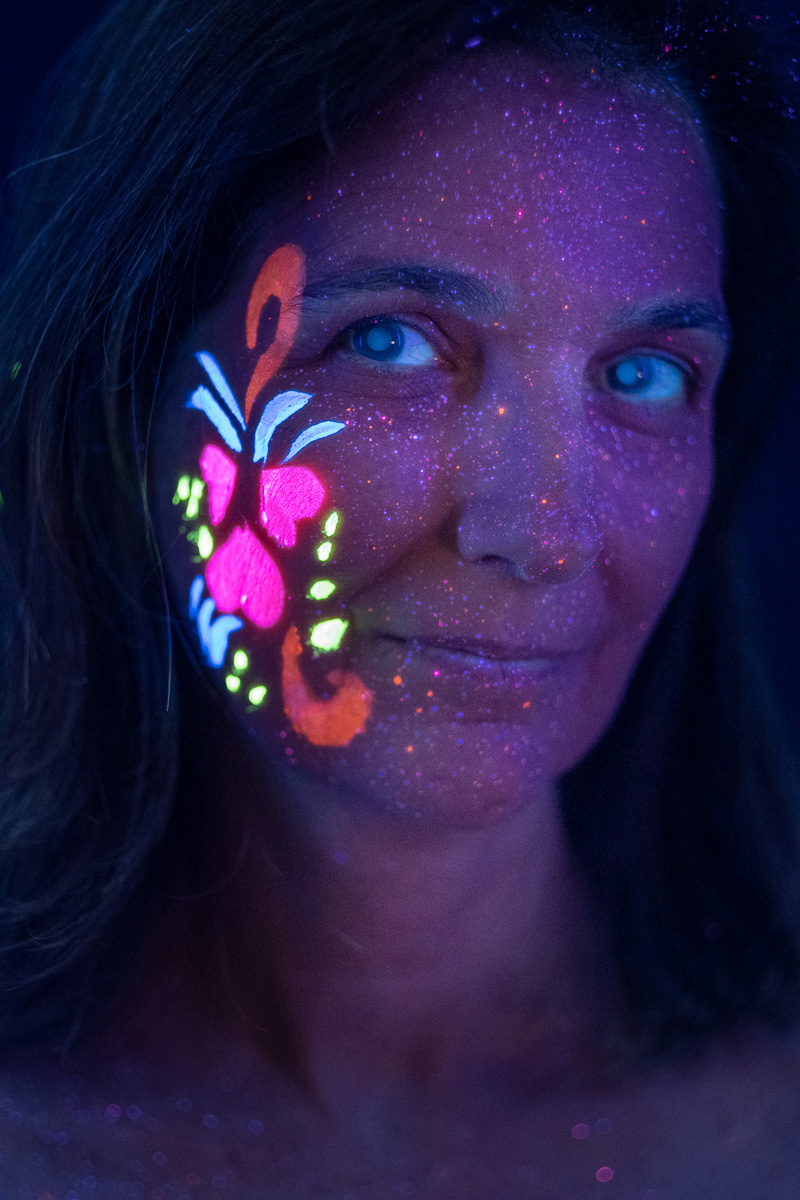
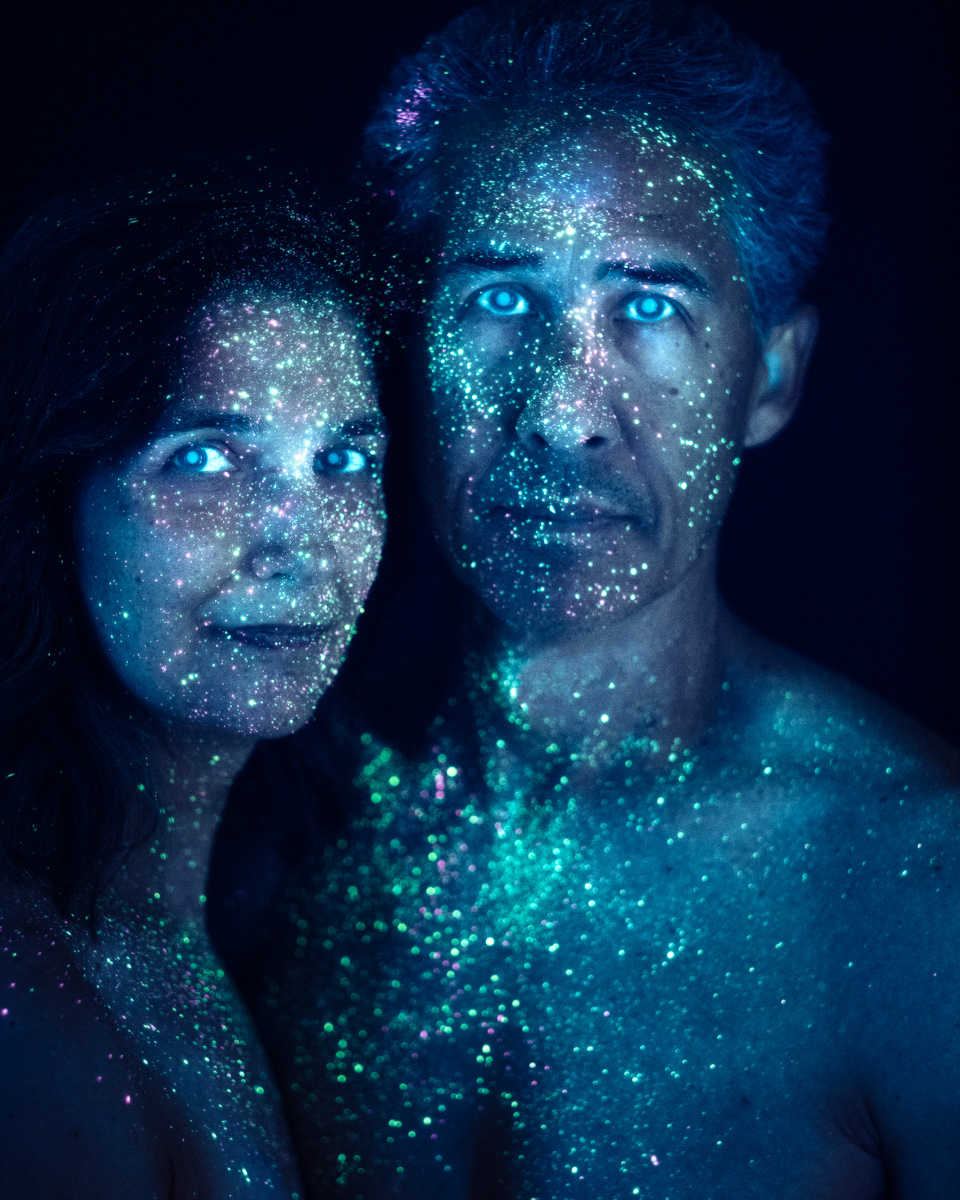
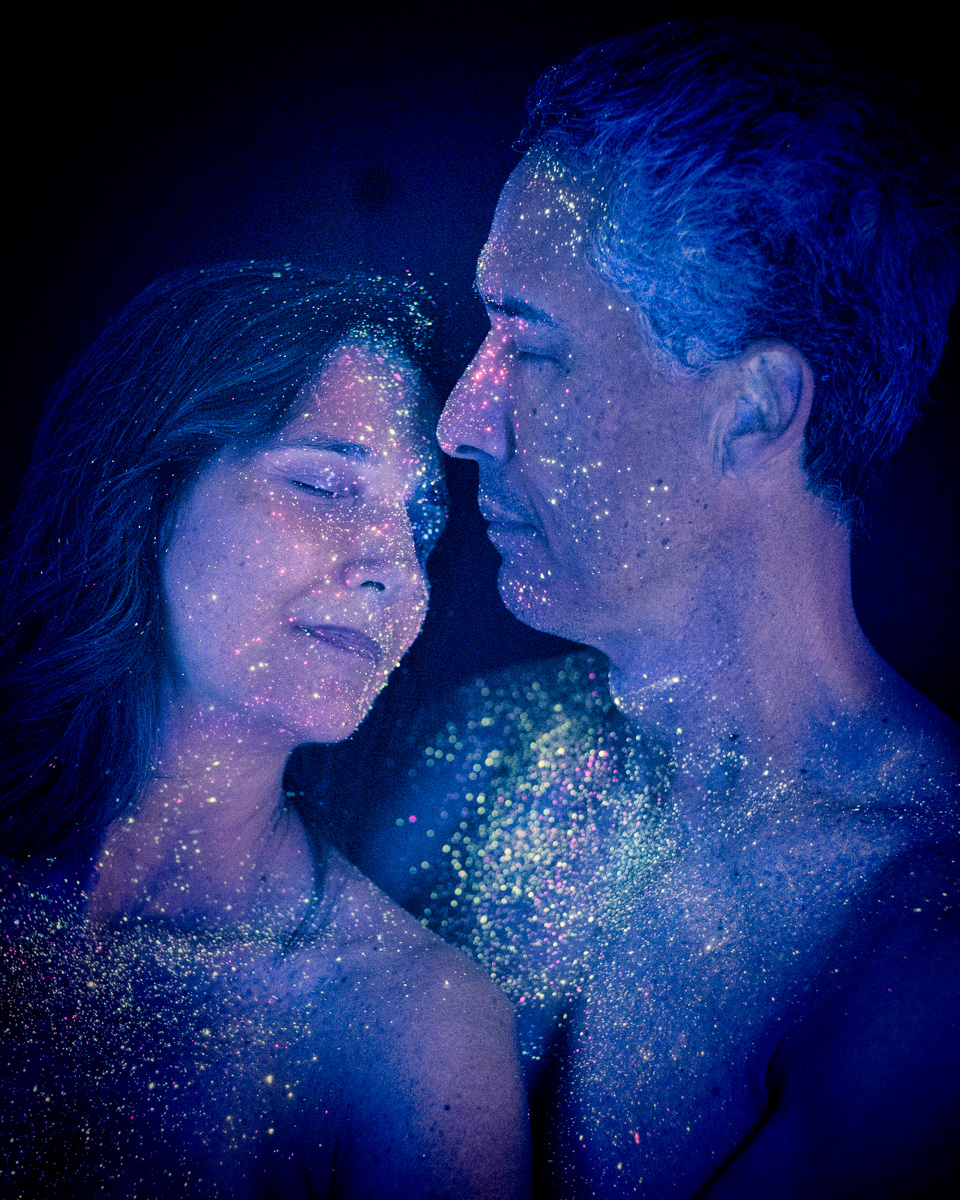
Trial and error is key. Moving the light, changing the white balance, letting a tiny bit of ambient light into the room – all of this changes the portrait dramatically. Even eye color can change the look and feel. For every pose, we took one shot with eyes open and the other shot with eyes close (for reference, both of us have brown eyes).
Post- Processing
Post-processing involved adjusting the white balance to get the desired look, adding Texture to pull out the paint, and reducing the highlights. At first it looked like most colors of paint photographed as white, after pulling down the highlights I was able to achieve the correct colors.
I used Alien Skin’s Exposure and DxO/Nik Color Effects Pro to achieve different looks


Leave a comment