


This week’s project was inspired by an article about using toy film cameras to create double exposures. Because I came down with a bad case of food poisoning, I had to improvise, and decided to create “double exposures” with Photoshop (so I could remain comfortably seating and near a bathroom). If you’ve been following me you know my projects tend to get out of control. No exception this time.
I started with some old still life and architecture images, and pretty soon started playing with ideas of symmetry rather than mimicking double exposures in camera. Having some photos of blue skies with clouds also helped serve as backgrounds while I was compositing.
If you decide to try, here are some tips:
- Try to work with images that have white space around the subject so you can play with different angles and positions.
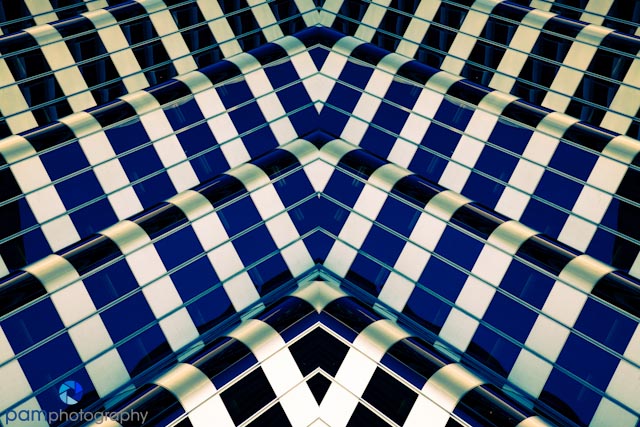
- As you position your “double” look at the shapes that are being created by the negative space. Sometimes that’s more interesting than the subject.
- If you use buildings, find a place to anchor the bottom of them, or drop the bottom out of the frame. In most cases I found floating buildings un-nerving.
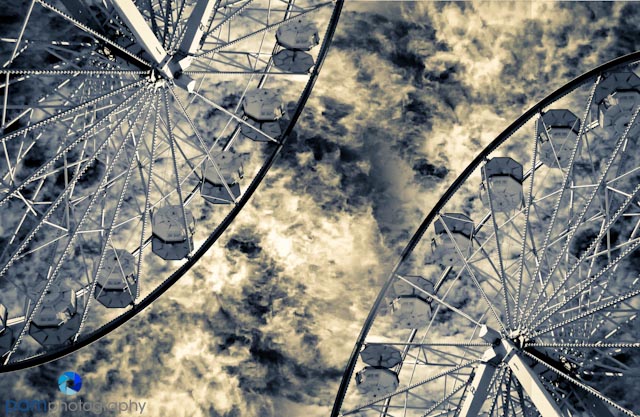
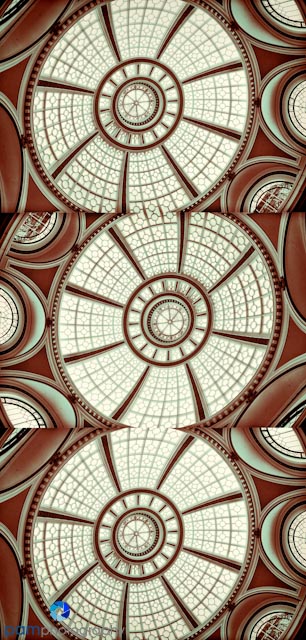
- As you’re selecting your photos look for patterns and symmetry – especially in architectural images.
- If you decide to join two or more images in their entirety (you don’t scale them back against a white background) – be aware of the seam lines. Sometimes it’s OK – I found when they go through the middle of the photo it was distracting (and did not have the patience for Photoshop to blur them).
- Use toning and special effects to unify your composite (the cover photo is a good example of this).
So here they are: This week’s images (to see images full screen, click on one)


Leave a comment