


In March (2022), I began experimenting with alternative treatments for my photographs. I came across a workshop at Santa Fe Workshops, by Jill Skupin Burkholder that focused on cold wax and hot wax treatments for photographs. Remembering my first photography workshop, and how much time I spent just trying to understand the technical settings of my camera, I decided to spend the 90 days before the Santa Fe Workshop jumping in and trying to learn as much as I could about the basics. Lessons with three encaustic artists plus hours spending time watching wax melt on YouTube, I am finally ready to start sharing. I will not sure the specific techniques here, but rather the resources I used, and some of my final work. There are many artists in the field with years of experience and deep knowledge; and as with any art form, each has their own unique way of approaching their art. When I asked my friend Mark if he wanted to join me at the workshop, his response was “that looks hard”, I should have listened to him. Its not for the faint of heart.
Before attending the 5-day intensive in person workshop with Jill, I took a 6-week encaustic course on-line with Clare O’Neill, called The Artistic Image. Clare did a great job in creating an approach to photo encaustic by breaking it down into three categories:
- Mounted Images
- Embedded Images
- Transferred Images
Clare creates a Facebook group for each class, and interacts daily with participants during the duration of the course. I thought it was a great way to get started, learn the basics, and have someone available to answer questions. Getting started in photo encaustic isn’t as easy as other media – its more than just paper, paint and brushes. This is a basic list to give you a sense of what’s involved to get started in case you are interested. One rule of thumb – nothing plastic or it will melt from the heat. Its important to have good ventilation and air circulation because of the toxic fumes when you heat the wax.
- Pancake griddle: This is your palette which you keep heated to around 200 degrees, so the wax stays around 180 degrees
- Brushes: You can use the cheap chip brushes from the hardware store, or hake brushes (I prefer these).
- Heat gun or blow torch: Peter teases me, I have 1 heat gun, 2 blow torches, and three wax irons. It took me awhile to figure out what I was comfortable using.
- Foil or metal loaf pans to hold the wax.
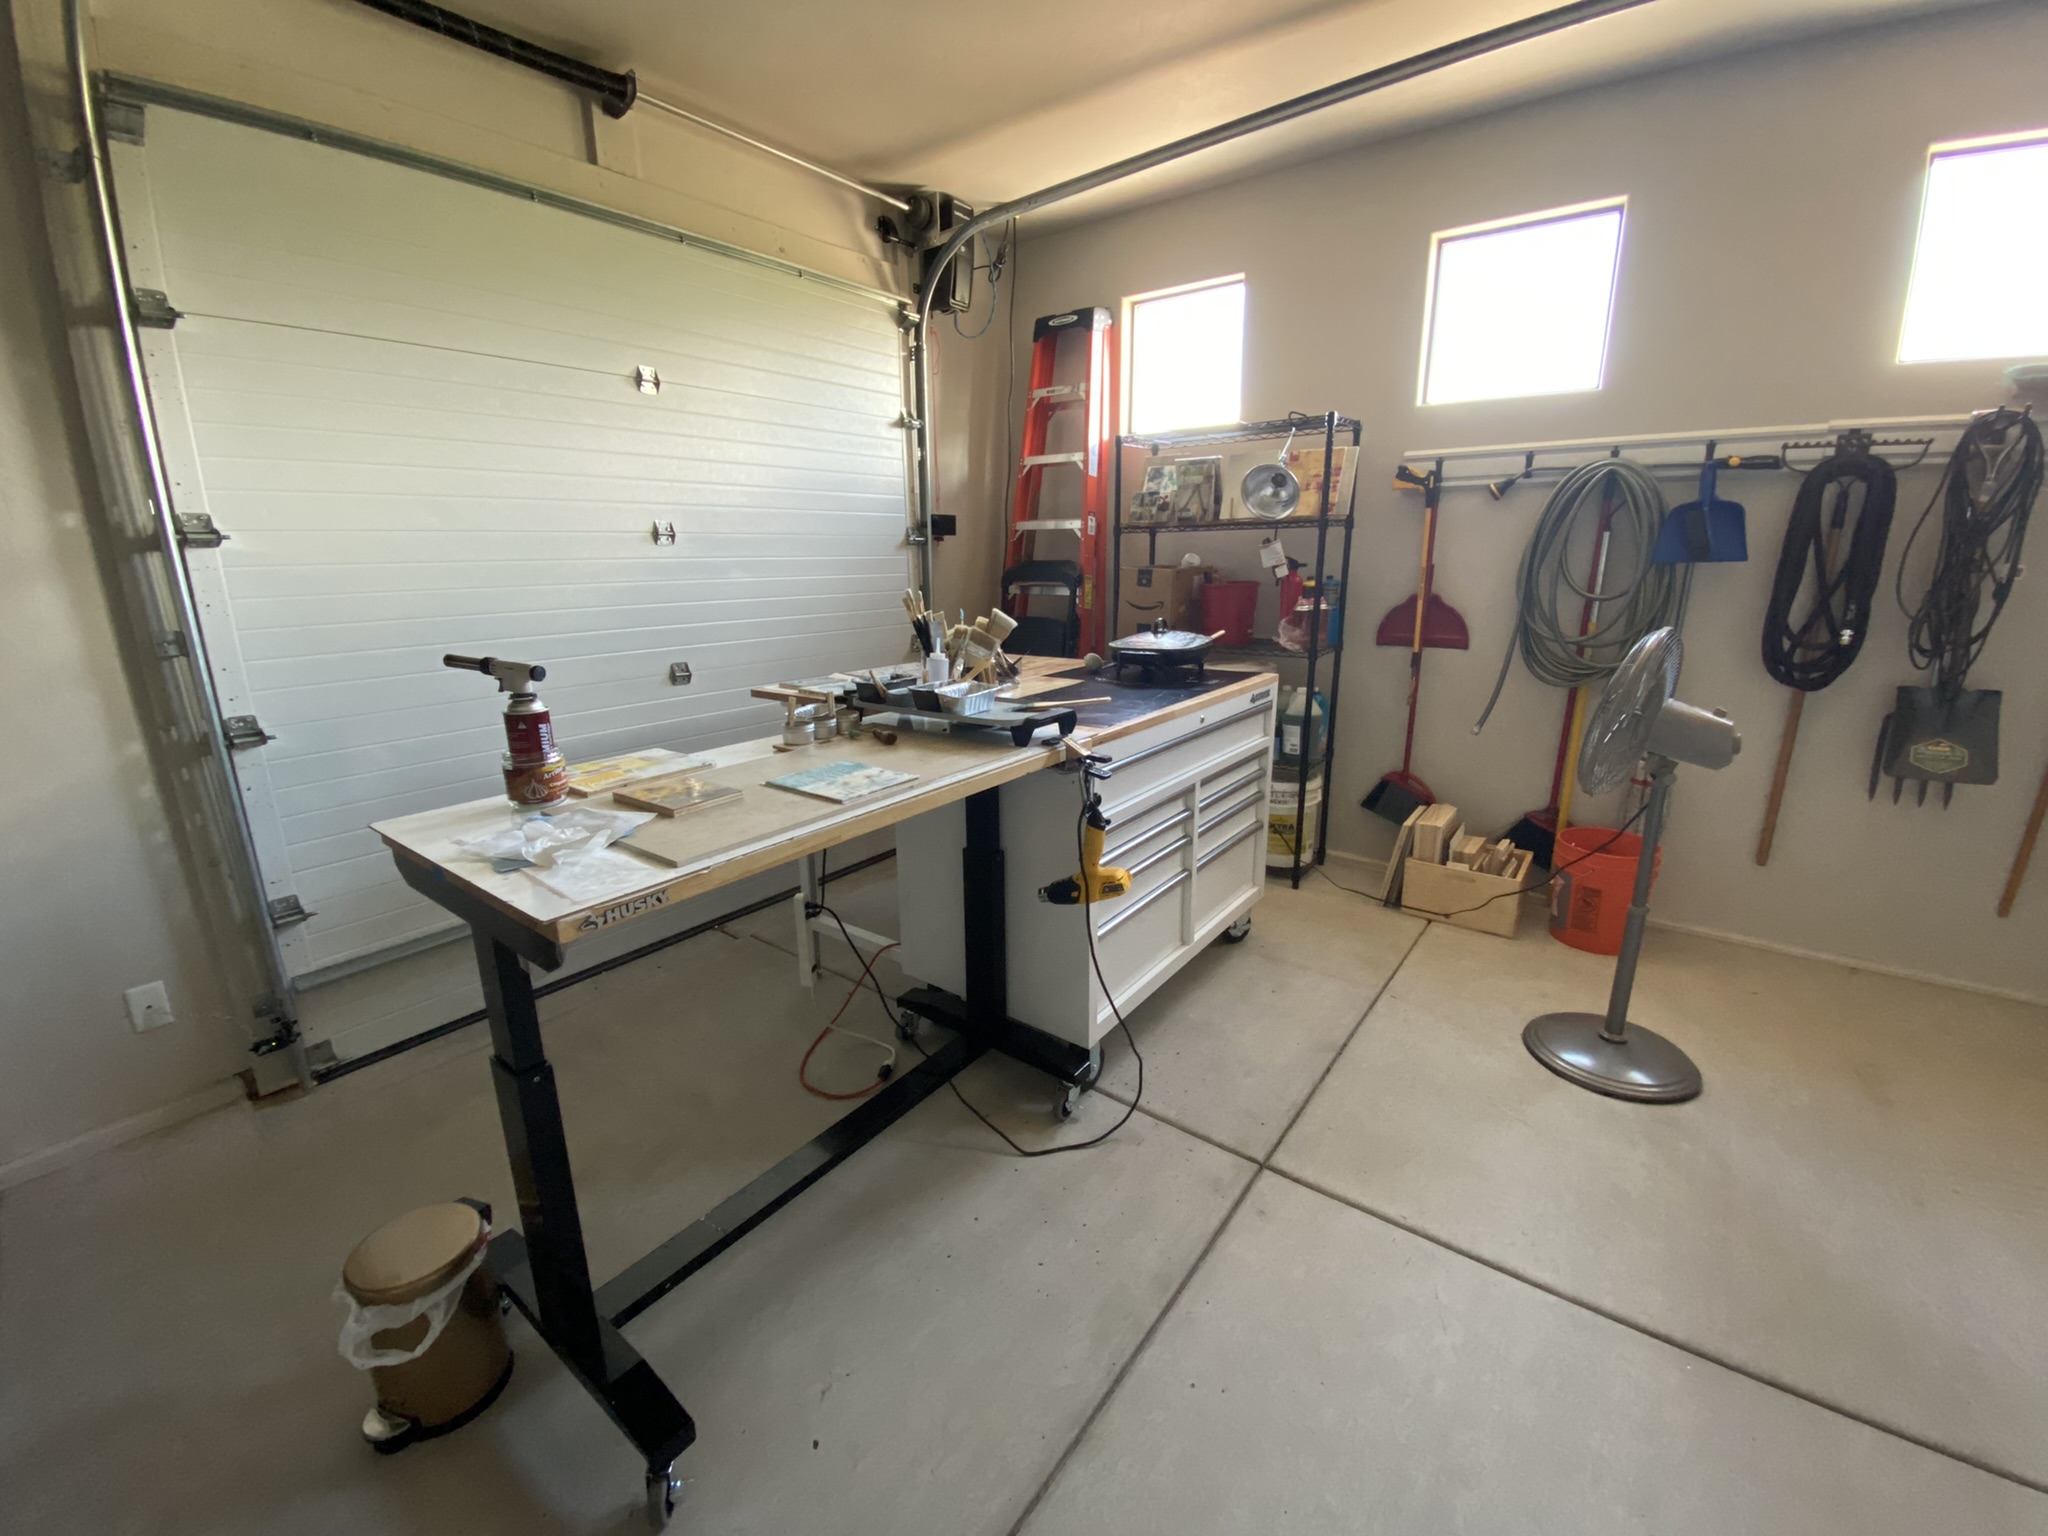
This is my current set up (unfortunately Peter lost his work table and some of his tools to my new rabbit hole)

- Encaustic medium: this is different from plain beeswax. It is a mixture of beeswax and demar resin which helps the wax harden. I have tried all three major brands: RF Pigments, Enkaustikos, and Swan’s Candles and like them all.
- Pigment: You can color the wax with different types of media – just not anything that includes plastic like acrylic paint. I have tried: encaustic paint, oil paint, oil pastels, pan pastels, India ink, graphite powder, pigment powder, and oil sticks. The application technique varies depending on the pigment type you are using.
- Glue and encaustic gesso/tempura paint: If you are mounting photos you will need to paint the surface white first. I like encaustic gesso best. Then use glue to mount the photo over the surface. I’ve used Yes! Paste and PVA Book Binder’s glue. I’m still figuring out my glue preference.
Ok – I think that’s the basic starter list. There is much more you can use depending on what you want to do with the wax.
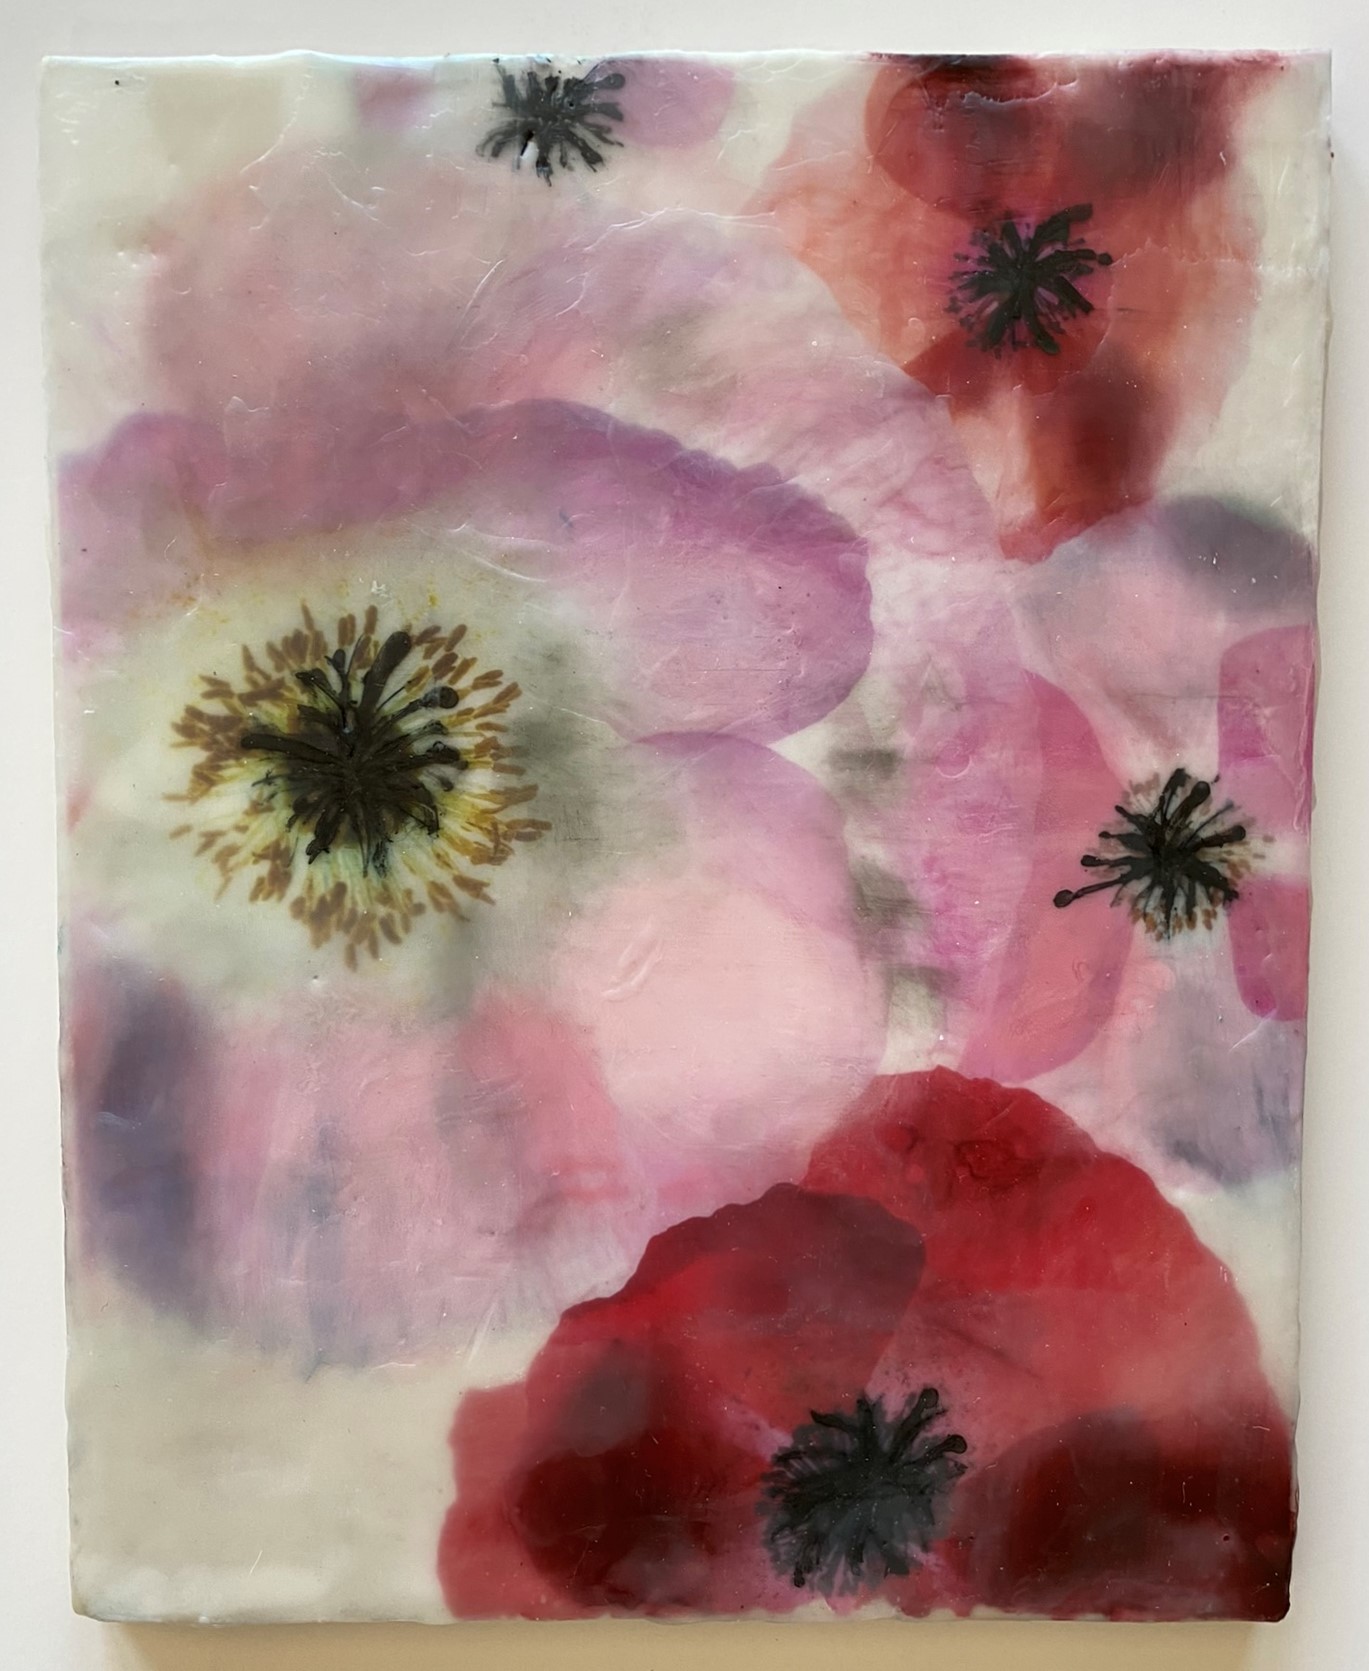
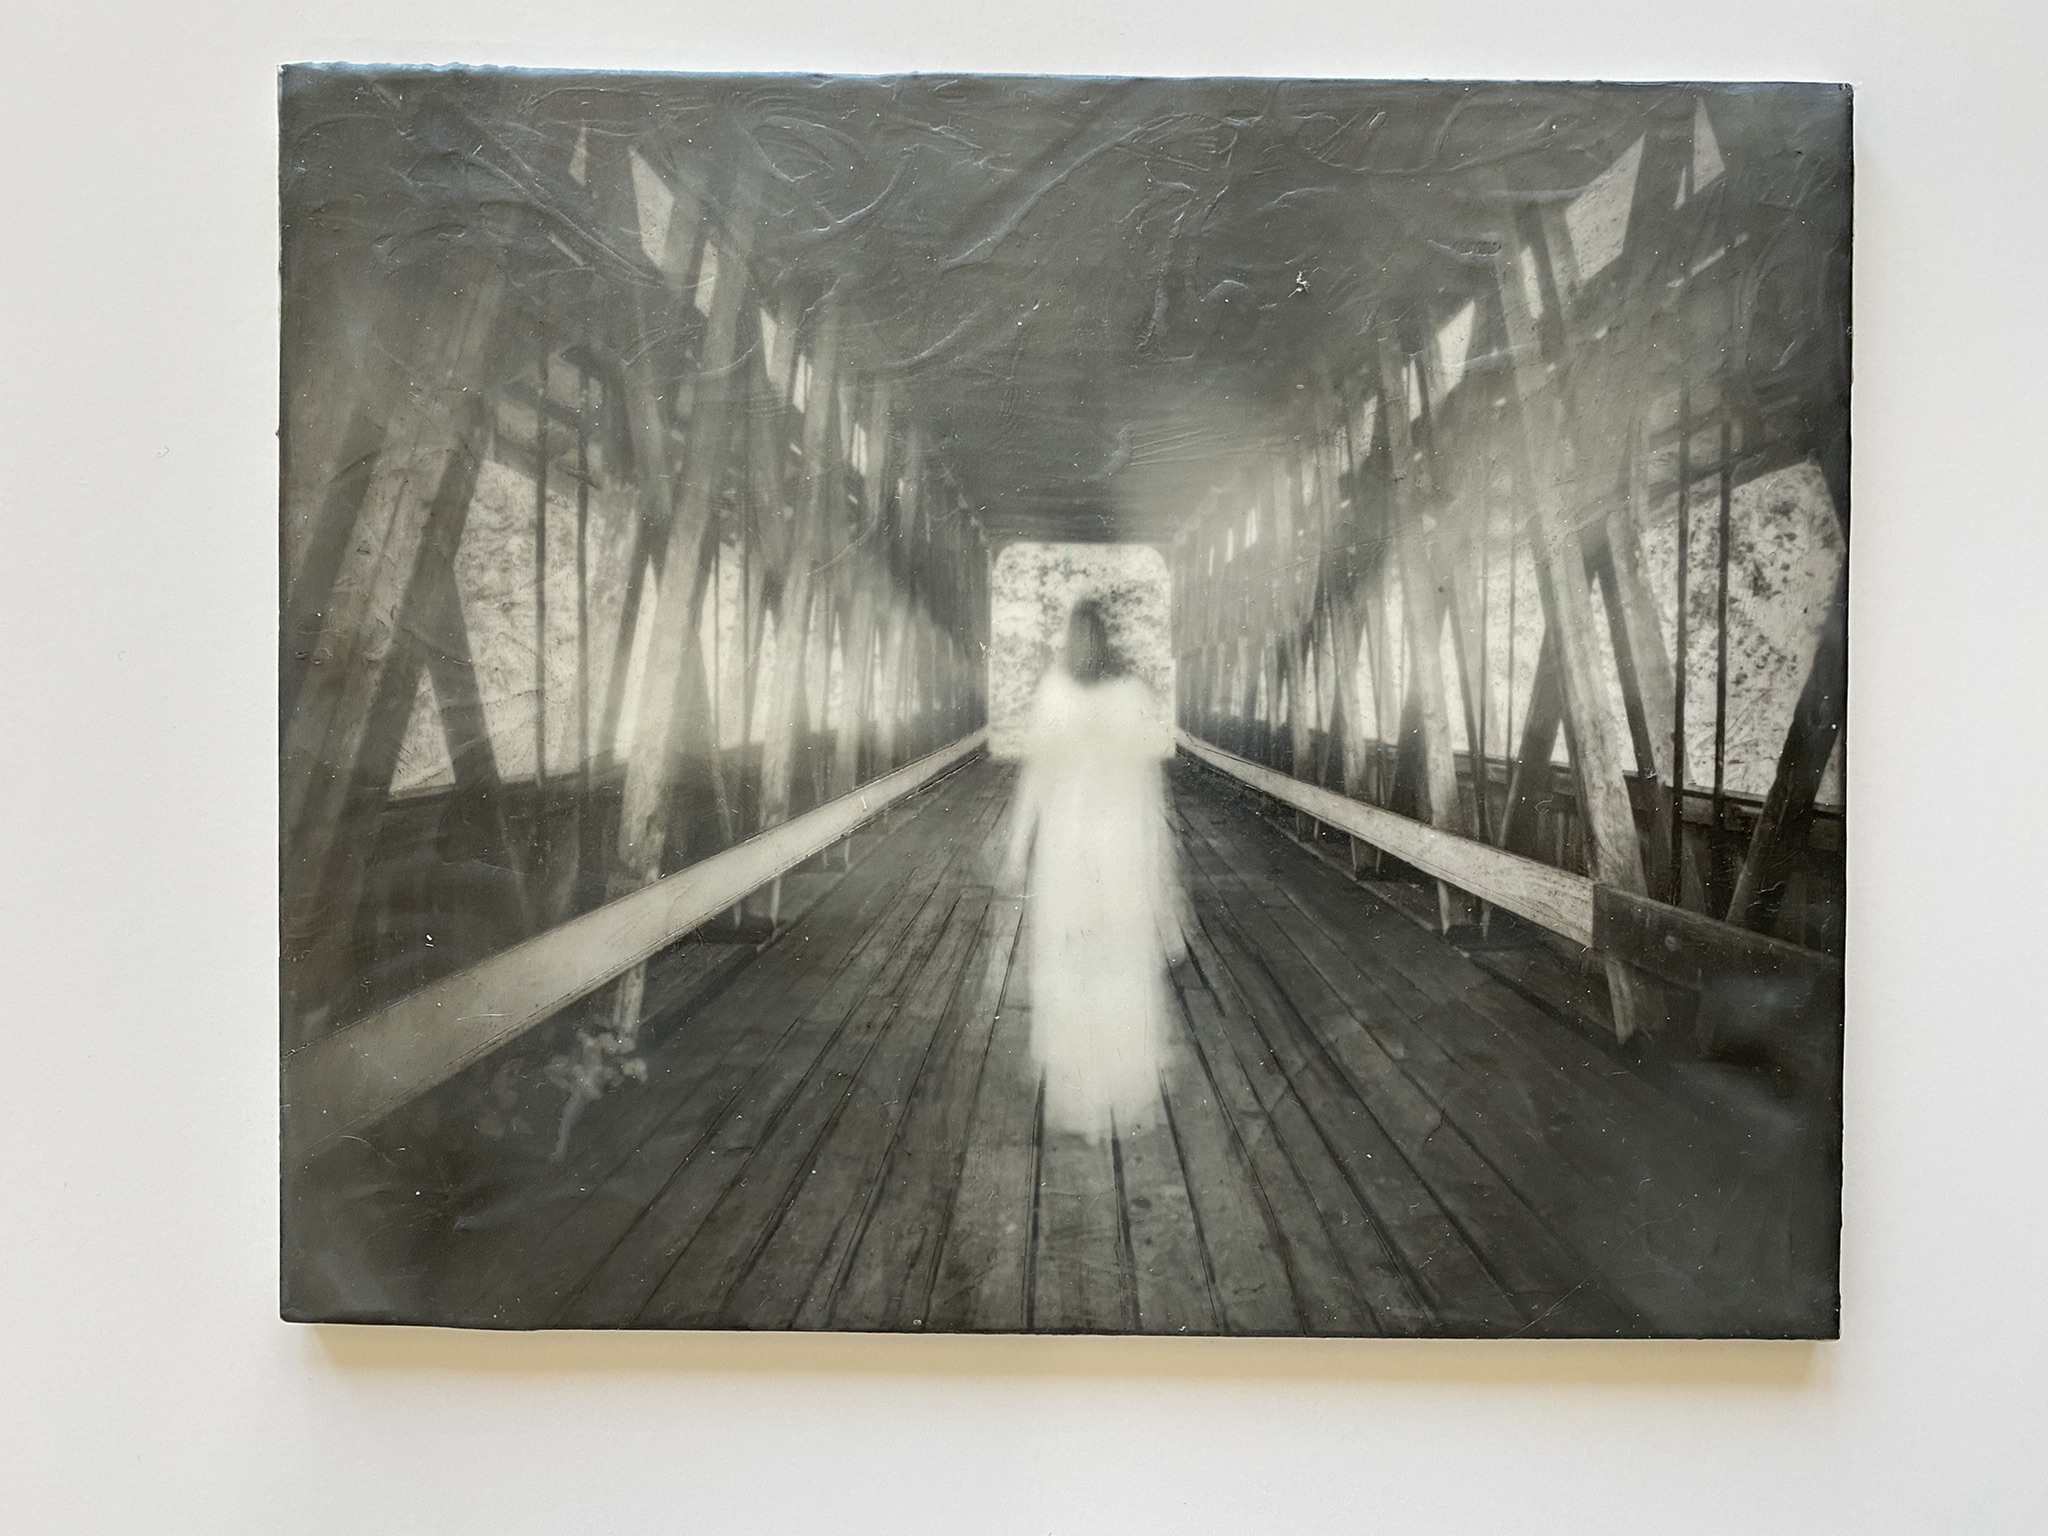
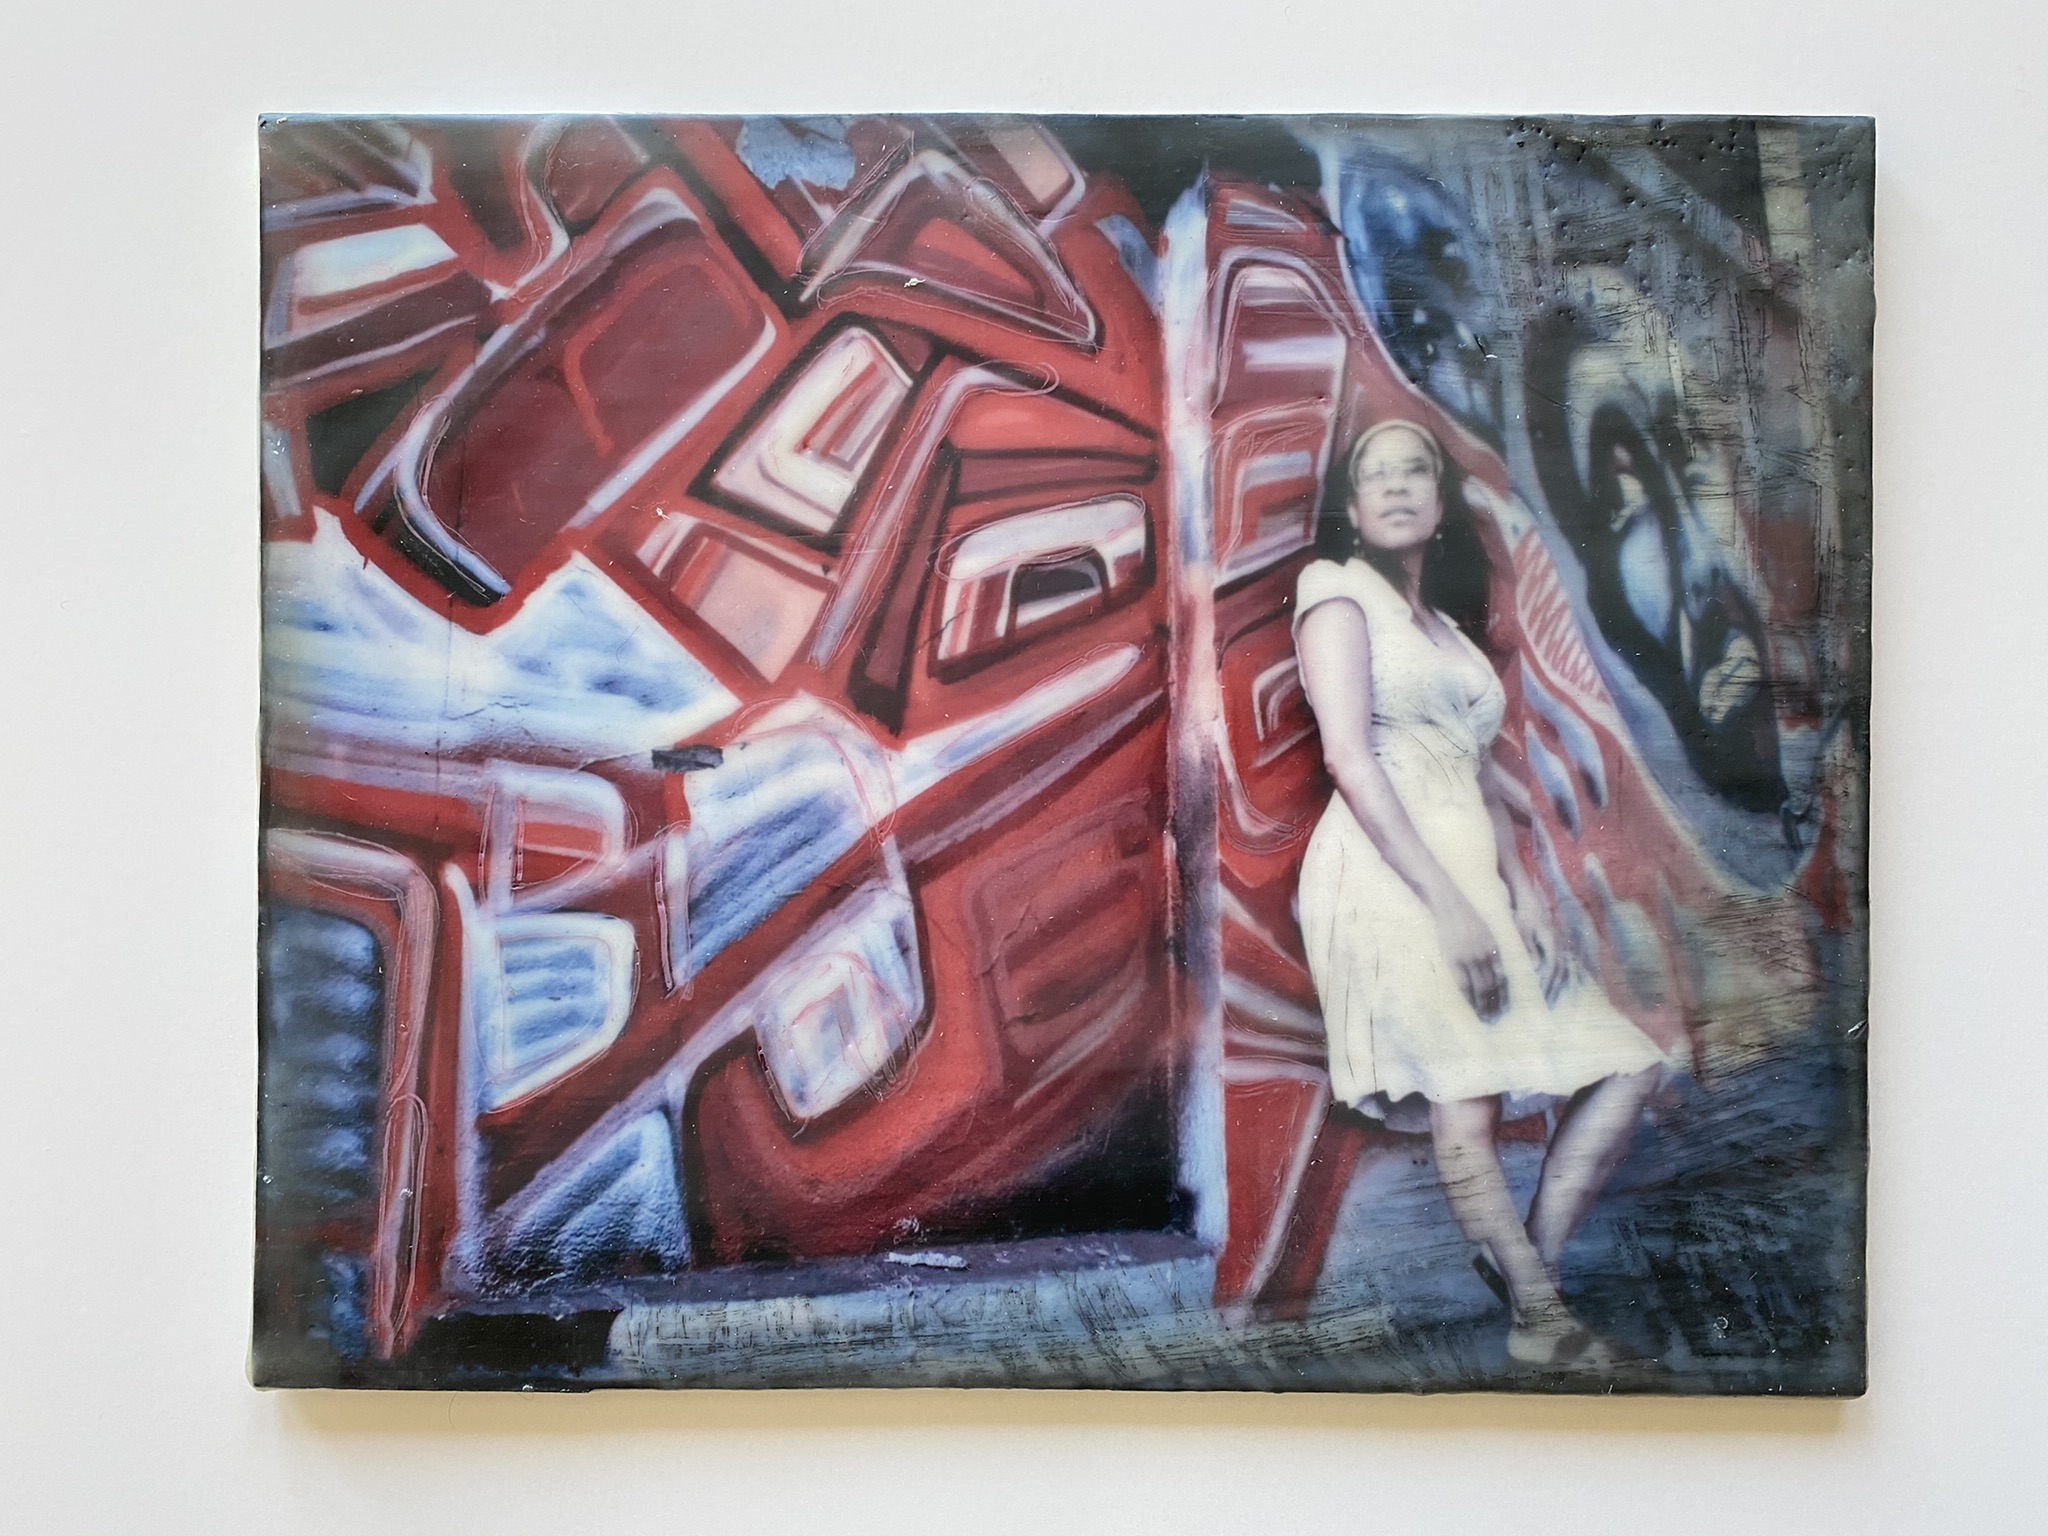
Mounted Photos
This week I’ll share a bit about the first category, Mounted Photos. This technique involves mounting a photo to a substrate (rigid surface) and then applying wax and pigment. To start with I used hardboard, and then graduated to birch plywood when I became comfortable. When I feel like I have something that really works, I will buy a cradled board and create another version. I have four months under my belt, and am now just beginning to think about an image that I would like to try again on a cradled board in a large format.
In addition, to the workshops I mentioned above, I found Shari Replogle’s Wax on Wednesday’s videos helpful. She has free ones on YouTube, and offers a subscription version on Patreon. Leah McDonald, has also posted YouTube videos of her teaching others. I found these very helpful. I think they would be easier to understand after you have been working with the wax a couple of months.
I watched a video by artist, Ross den Otter, that reframed “failure” in a helpful way. He said he doesn’t consider it failure, but research. I have been in heavy research mode these last few months.


Leave a comment