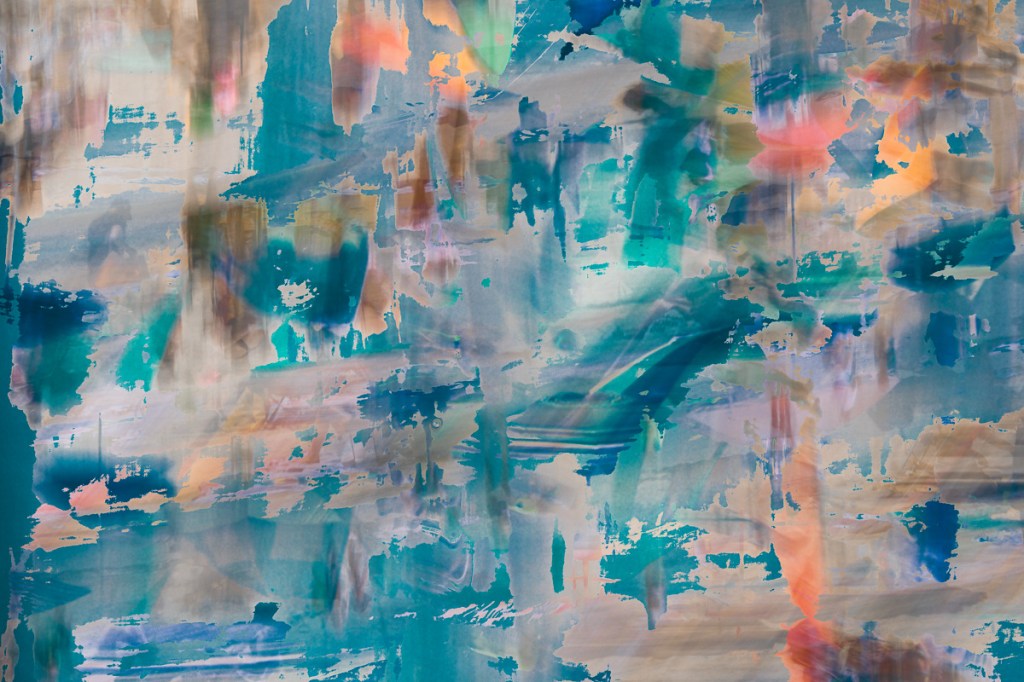
I’ve been toying with the idea of revving up another Project 52 just to help me keep the creative juices going. I went back to a favorite project and gave it another go; its a high-key flower look that creates a surreal effect. Here is how I did it.
Equipment
- Flowers with translucent petals.
- Lightpad. I have two of these now a small cheap one, and a large expensive one. I own an Artograph Lightpad if you are interested.
- A light above. Because you are illuminating the flowers from below, they will be dark. The light from above needs to be balanced by either placing the subject under a bright window, using a flash, or I used my trusty cheap goosneck desk lamp
- Camera with zoom or macro lens. I used both for this project
- Tripod
Photo Capture
I can’t emphasize enough how important placement of the flowers is to creating a compelling image. Laying them flat on a surface adds the extra challenge of getting them to face in the right direction, determining the amount of stem you want to show, and deciding how much “touching” between stems and petals creates a tight, but not overcrowded arrangement.
The next step is to capture multiple exposures. Set your camera to manual, and your meter to zero. I use a large depth of field, for these images it was f11. Take the first exposure at 0 and then make the shutter speed slower by 1 stop. Keep doing this until your image is almost completely white.
Handy tip: before I start a series of captures like this, I take a picture of my hand. When I finish the capture I take another picture of my hand. That way I know what photos belong together.
Photo Processing
Bring all of the images into Photoshop as layers in one image. I do this from Lightroom by:
- Selecting the appropriate photos
- Right clicking them
- Select “Edit In”
- Scroll down to the bottom and choose “Open as Layers in Photoshop”
Make sure the layers are arranged so that the darkest image is on top, the lightest on the bottom. Add a black layer mask to each layer but the bottom layer. Now use your brush set to white and slowly paint in the shadows and mid-tones. I start with a soft brush set to about 20% opacity. Keep layering and building up the mid-tones until you get the effect you want.


Leave a comment