

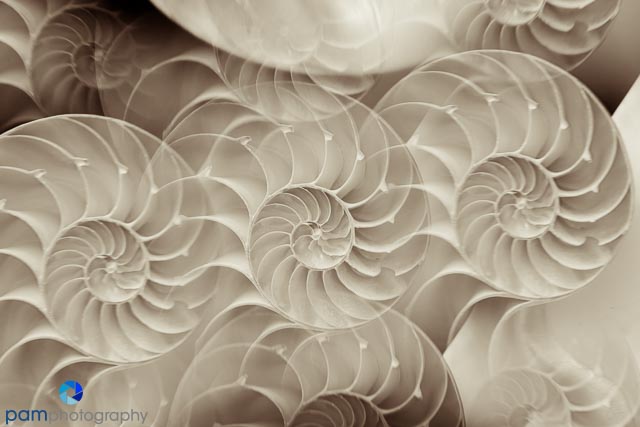
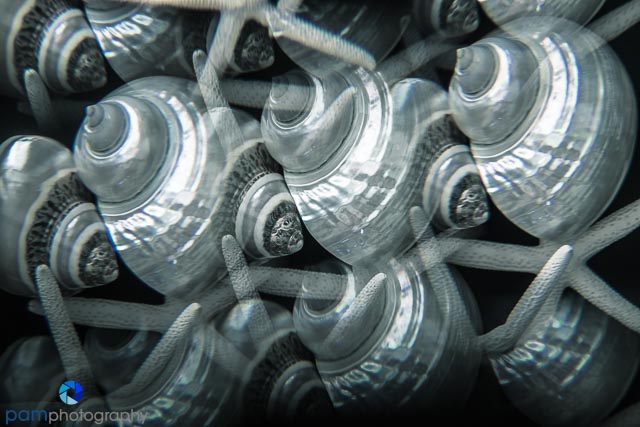
Ever since I did the photography project using a kaleidoscope, I’ve become enamored with prisms. I bought a triangular prism through a school science supply company, carried it with me for a year, but never really mastered the technique. When I discovered vintage prism filters that fit on your camera lens, I thought I had stumbled onto nirvana.
I have been scouring eBay for these for months, its a mixed bag. Some of the prisms fit a couple of my Fuji lenses with adapters, others only fit on top of other prisms, well you get the idea. I have a “3” – which makes triplicates of a subject, and a “5” which has a center subject, and then four replications around the edges. Each of these prisms spins so you can change the effect. I’m still learning, but here are some tips to get you going:
1) Pick a strong compact central subject. If not you will have a mess. I’ve tried these on waterfalls, signs, shells, and people. When you have a small subject that can be replicated multiple times it tends to work better.

2) Try to get the center subject sharp. You’ll notice that the replications will be soft, so try to focus on the center subject. Use manual focus, its too hard for the camera to figure out what to focus on.

3) Crop. I found that cropping in post actually helped simplify the image and provide focus on a subject.
I’m going to keep at it, next week I’ll post some photos I took of the girls through the prism.


Leave a comment