

Now that Peter is interested in infrared photography, he has been bugging me about workflow and how to process infrared photographs. Below is my process, as with any workflow, you will adapt to your own.
Photo Capture – White Balance
It is more critical in infrared photography to correctly set your white balance. This will affect the tonal range, and is you have a color infrared camera the types of colors you can pull out. I use the custom white balance setting on my camera, and set the white balance against gray or green by taking a picture of the grass or sidewalk. What you choose depends on your infrared filter/conversion. I am using a supercolor IR camera, and set against gray. I recommend before you start photographing to take a picture of something gray in the same light as your subject. If you forget to set the custom white balance in camera, you can do it in post-processing.
Lifepixel has great videos which explain this in more detail.
Processing Preparation- conversion
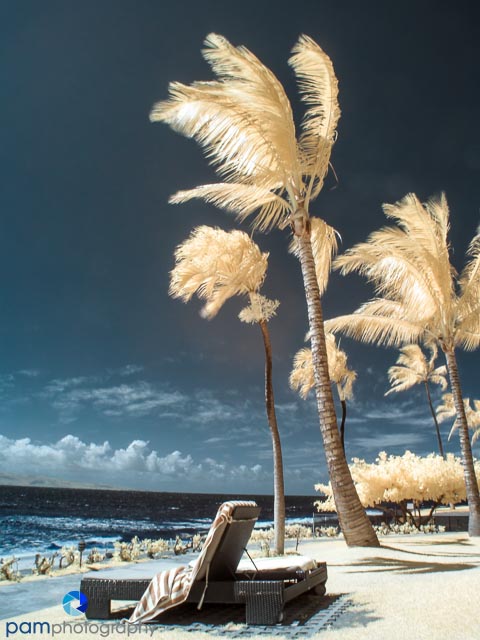
I was processing infrared images for six months before I realized that Adobe products cannot handle the RAW files correctly. They are not programmed to deal with the data range captured by infrared cameras; if you load your RAW files directly into Lightroom or Camera Raw you will get an image with red coloring, and a small range of tonality.
My first step is to bring my RAW IR files through the software that came with the camera and convert them to TIFs. Because I am a Canon user, and use Digital Photo Professional. Set your white balance here if you did not do it in camera, and then export your files in a high-quality TIFF format. Now they are ready to process, or import into Lightroom.

Processing – Step 1 Tweaking the base image
In Lightroom, I usually increase the contrast, shadows and exposure. I find my infrared photos to be noisy, so either I will reduce the noise in Lightroom, or do it in Photoshop with Nik’s Define before I continue processing.
At this point, you still have an unprocessed “negative”. You will need to convert your image to a black and white or color infrared.
Process – Step 2 Final processing
Once in Photoshop, I run Nik’s Define and then apply a Curve adjustment for additional tweaking. At this point, I will typically go 1 of three routes with my processing:
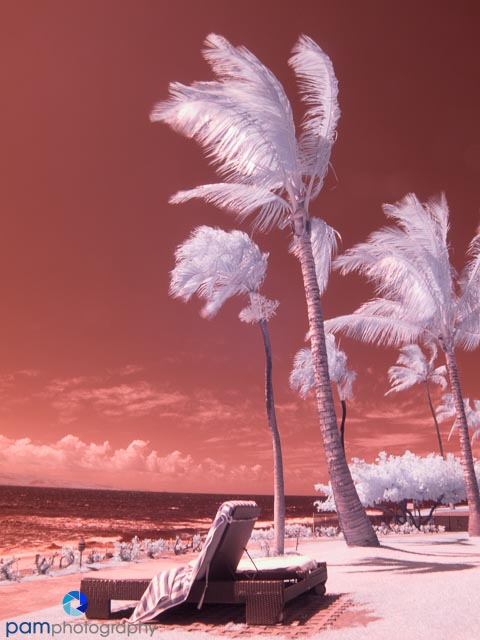
1) I will use the Channel Mixer to create a color infrared image. Deb Sandidge provides great instructions for creating a Blue Sky preset.
2) For creative black and white treatments I will process it through Topaz’s Black and White plug-in
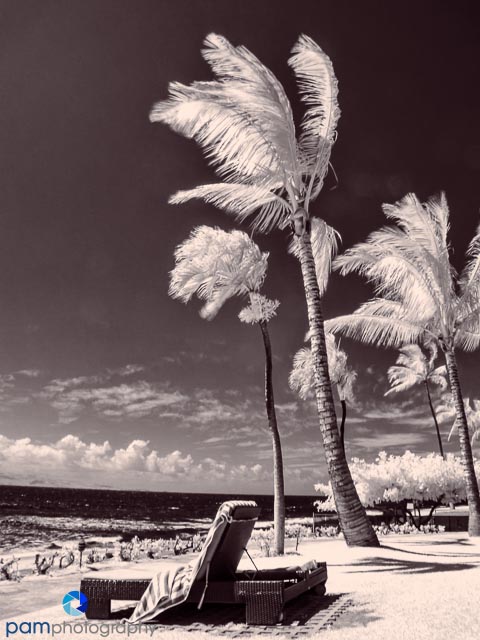
3) For rich black and whites I will process it through Nik’s SilverEffects Pro.
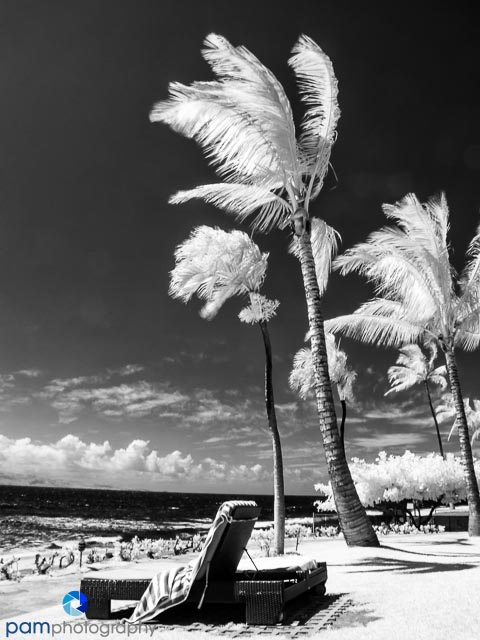
This image was taken on Peter’s old G12 point and shoot which we converted to infrared. It’s a great way to get into infrared photography if you’re still not sure.


Leave a comment