


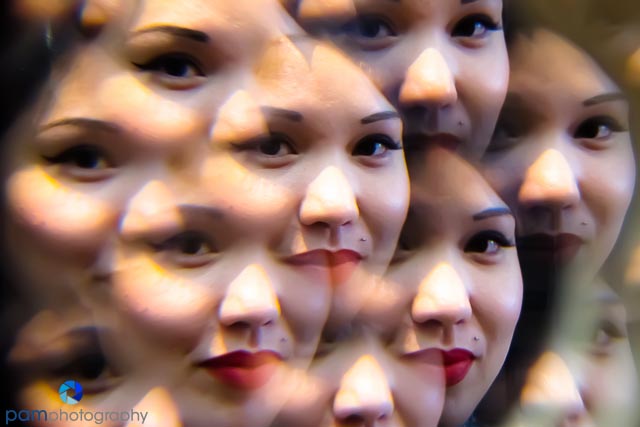
This week’s project was an absolute blast. I spent 4 days in Vegas holding a child’s wooden kaleidoscope up to my face (and no one gave me a second look – you just have to love Vegas). I even had one person willingly submit to letting me take a picture of her, after staring at her through my kaleidoscope At one point Peter actually asked “are you going to take a normal picture…..ever again?”. ummmmm….well, I am now actively searching for a large piece of material that resembles what is at the end of my kaleidoscope so I can make even larger abstracts – so I guess the answer is, maybe not.
This was an interesting exercise in “seeing”. Trying to find subjects that would work, and then getting myself positioned, figuring out which end of the kaleidoscope was going to give me the best image, and then how far to hold it away from my camera lens. Here are some tips:
- Use both ends of the scope. I actually had more luck with the “wrong” end.
- Try this with a compact camera. It was easier for me to hold the camera in one hand, and adjust the scope in the other hand.
- Zoom the telephoto lens. This helped to reduce the vignetting around the edges.
- Manually focus. I had many challenges here. I positioned the scope just the way I wanted, and then autofocus kicked in and gave me a completely different image. I’m still trying to figure this out (on Peter’s compact camera :)).
- Choose subjects that have a variety of color and shapes. I found subjects that had similar tonality didn’t “scope well”.
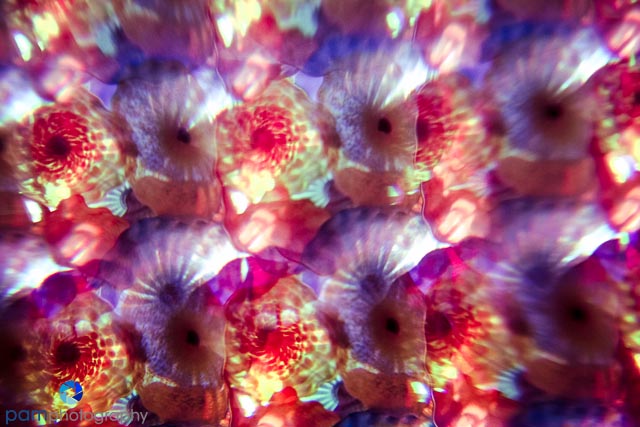
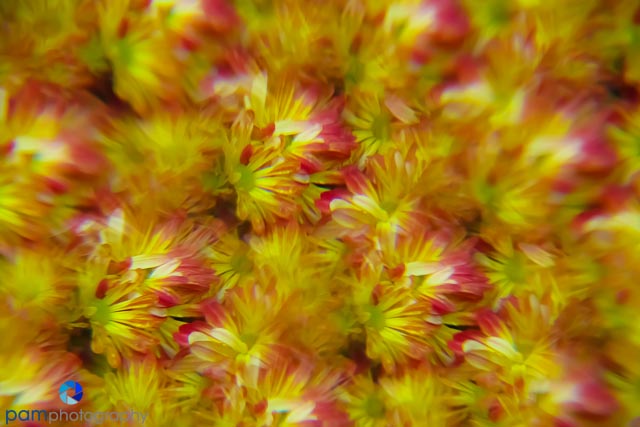
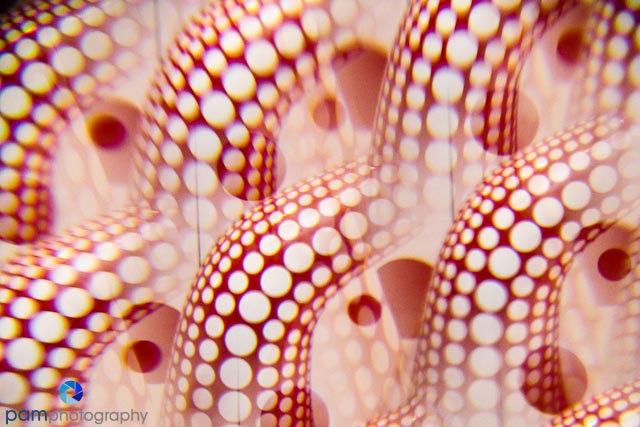
This is great technique for creating abstracts. Here are my favorites from this week.


Leave a comment