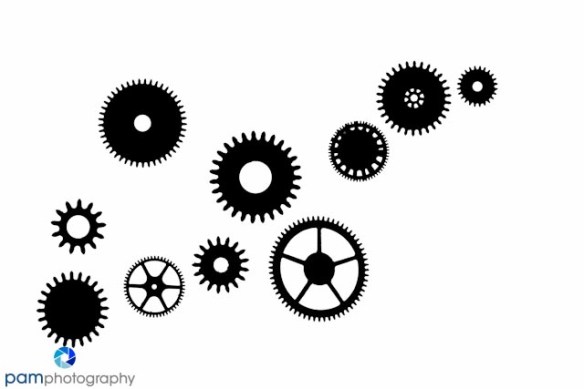
One of my recent projects for Project 52 was to create graphic silhouettes. During this project I realized my typical workflow would not work so I created a new one. I’ll describe my basic steps after photo capture (all in Photoshop). Fair warning – I love plug-ins and I use a couple of them in this workflow.
Step 1: Use a Curve adjustment to whiten the background and darken your objects


Step 2: Run the image through Topaz Lab’s Simplify filter (BuzzSim) to remove small imperfections on and around the objects. Run through Nik’s Silver Effects Pro (Silhouette preset) to get a vibrant black and white image.

Step 3: Smooth the edges. At first I thought I needed to sharpen them – but I found smoothing them better. This video on Youtube (less than 1 minute) taught me how. http://www.youtube.com/watch?v=m9hicX0gyXI
Remember to flatten the layer, even though there is only 1, to combine the background and transparent layer mask.
Step 4: Now clean up any imperfections around the objects’ edges. I usually do this as my first step in the workflow. But found the previous adjustments reduced the number of imperfections that were left. I used the clone stamp tool with a hard edge. My Wacom tablet was very helpful. Settle in with some music and a beverage – you may be at the step for awhile.

Step 5: Add the colorful background. Create a new transparent layer (Shift + Control + N), select Edit -> Fill -> Color from the menu. Pick your color. Now change your blend mode to Darken (for this layer). Sometimes I will also add a brightness/contrast adjustment layer and tweak things a bit.


Leave a comment