


This was going to be the year of “the flash”. I had grand plans to do one flash project a week so that I could learn how to use my flash with some consistency instead of hacking away at it every few months and then putting it away in frustration. We are now officially halfway through the year, and I have pulled out my flash; we’ll see how the rest of the year goes. This week’s project was backlighting different subjects. Initially I was going for strong silhouette’s, but as usual it morphed into different variations.
Here is how I tackled the project.
Equipment
- Flash and trigger: so that I could place the light behind the subject
- Foam core: two black boards and one white board to bounce light back. The black board on the floor wasn’t really necessary because I ended up stacking cookbooks to give my subject height.
- Tripod: not really necessary, but I found it helped me compose.
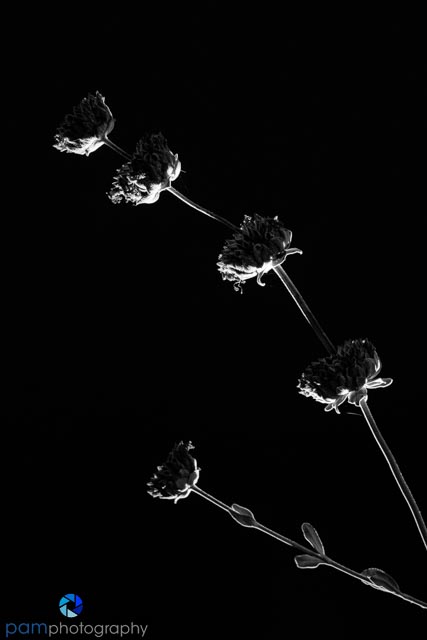
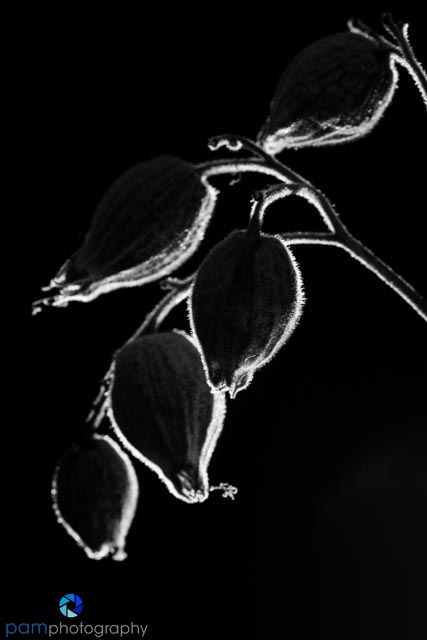
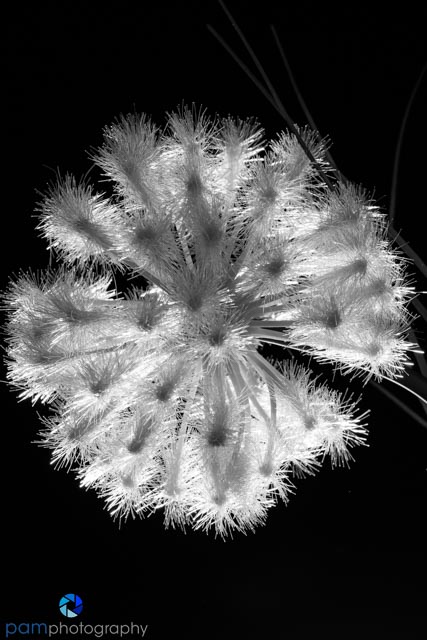
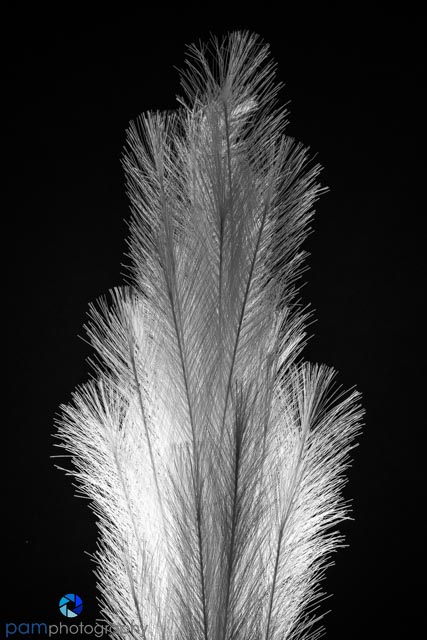
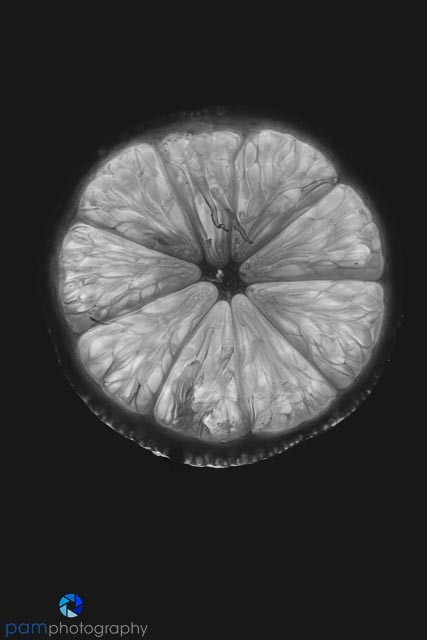
- Items with a strong sculptural shape: I cut plants from the yard, bought a few things at the craft store, rummaged through some boxes to find large pieces of glass I bought at a rock store, and finally turned my attention toward the refrigerator. My least favorite images were those of things I bought from the craft store, so I would save yourself a few pennies and not go that route.
- Container to hold items: Look for something that is strong enough to hold the subject, but low enough it does not get in your frame. I ended up with a vase and used blue tape to create a support across the top to hold things in place. I started with a small juice glass and an clothespin but found it was not strong enough for larger items.
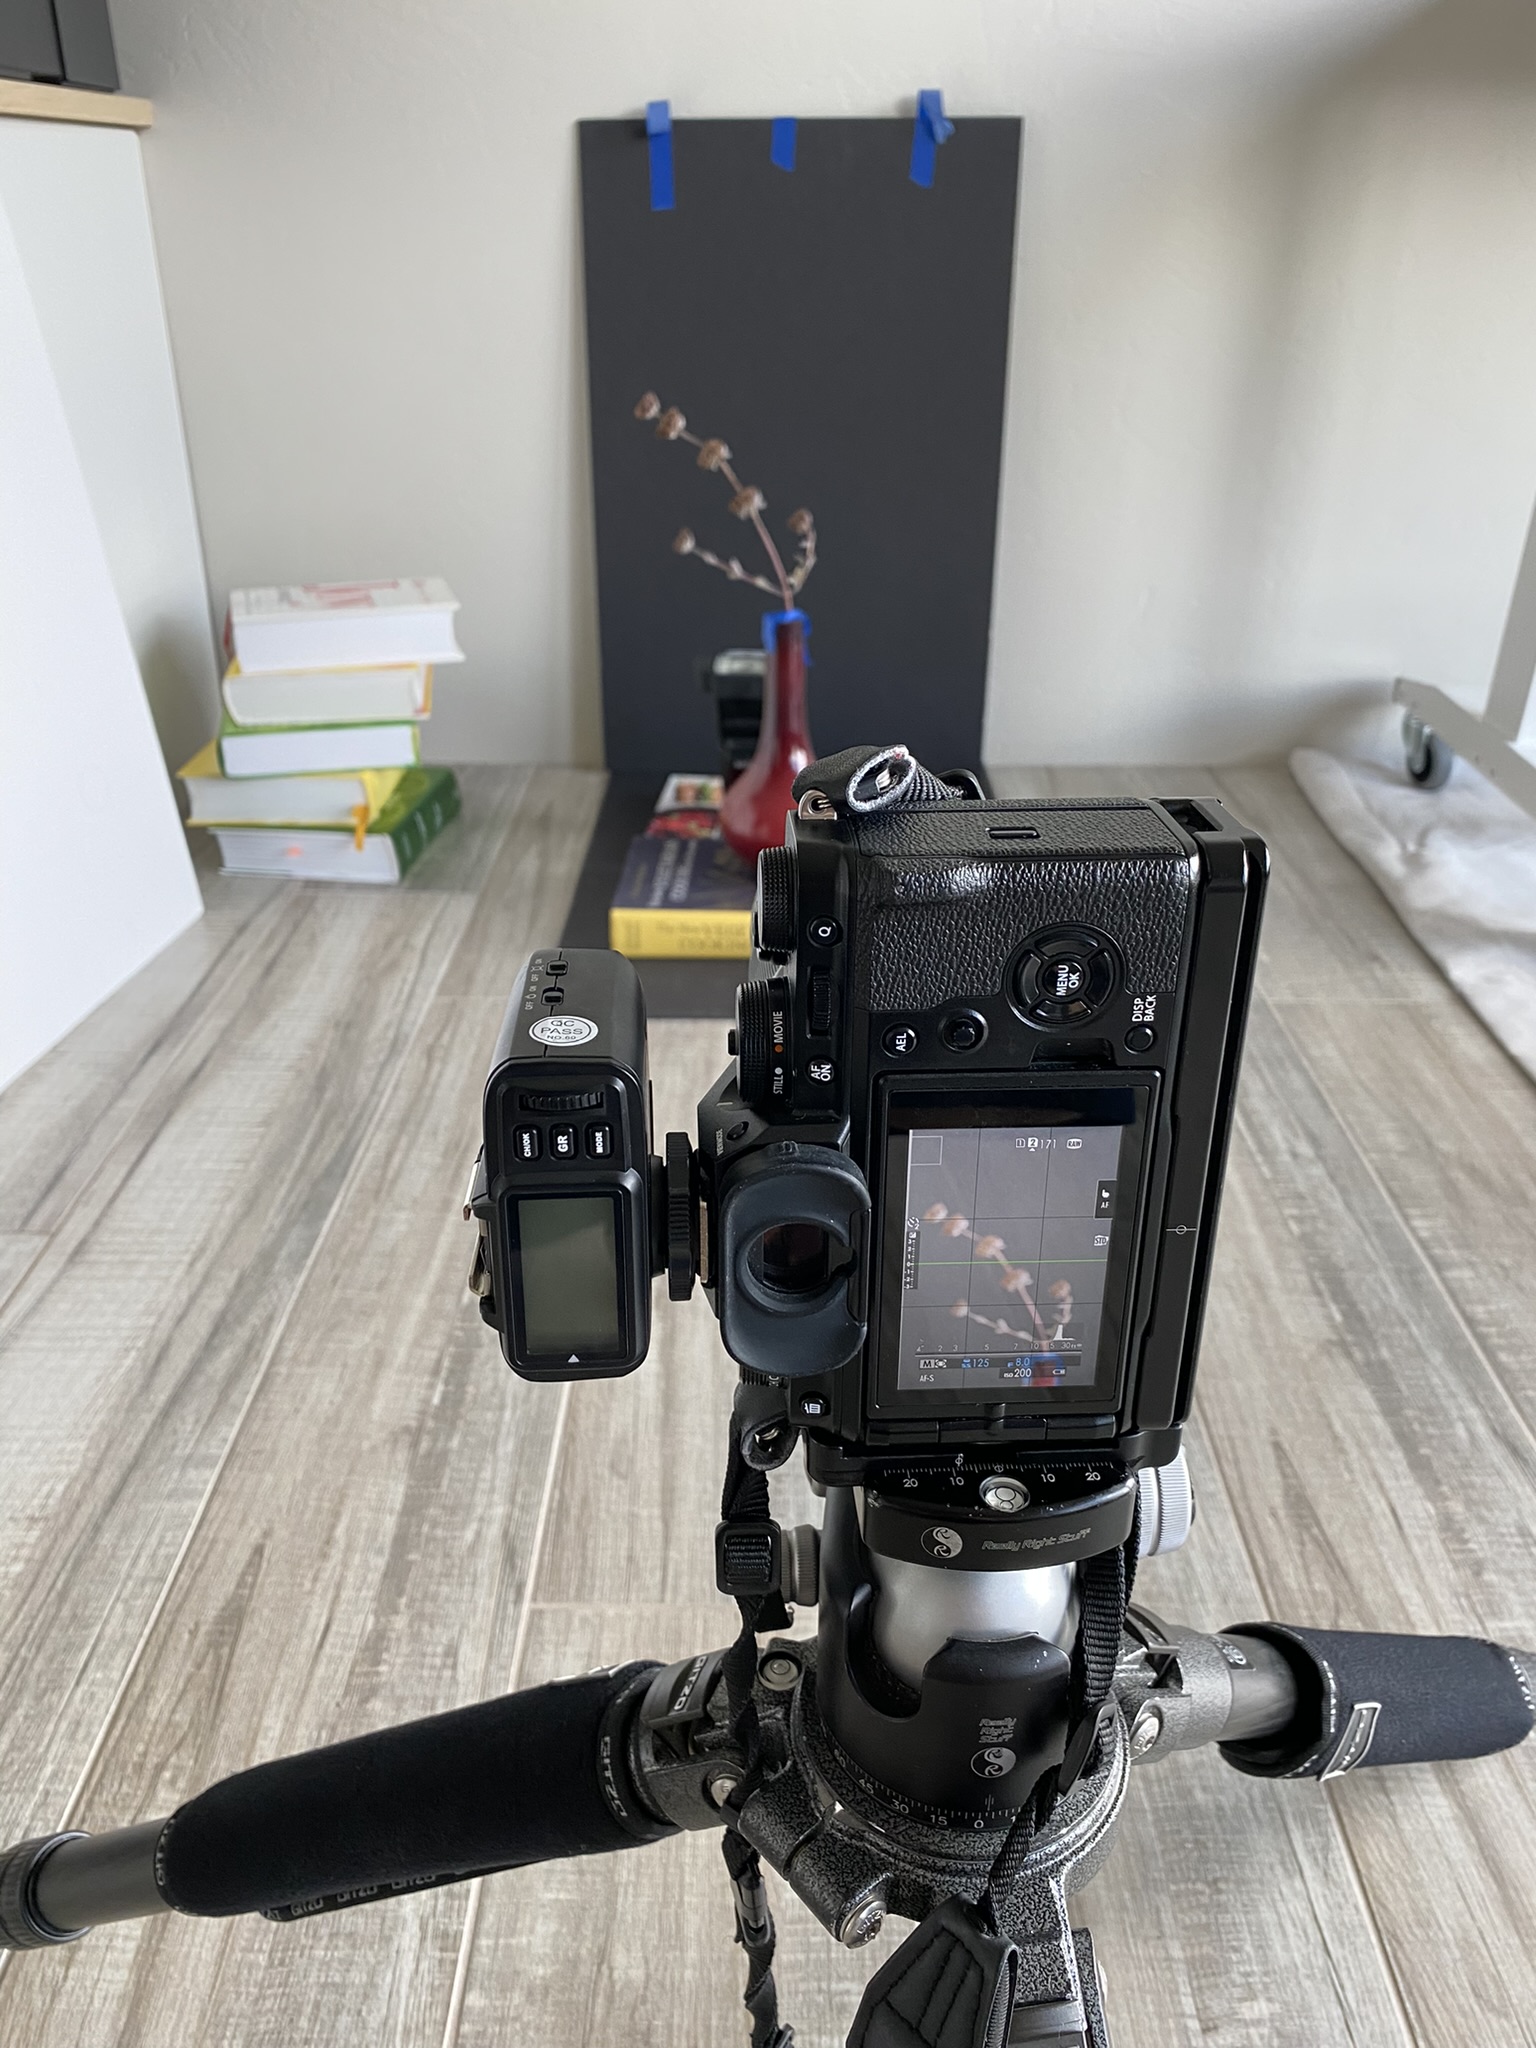
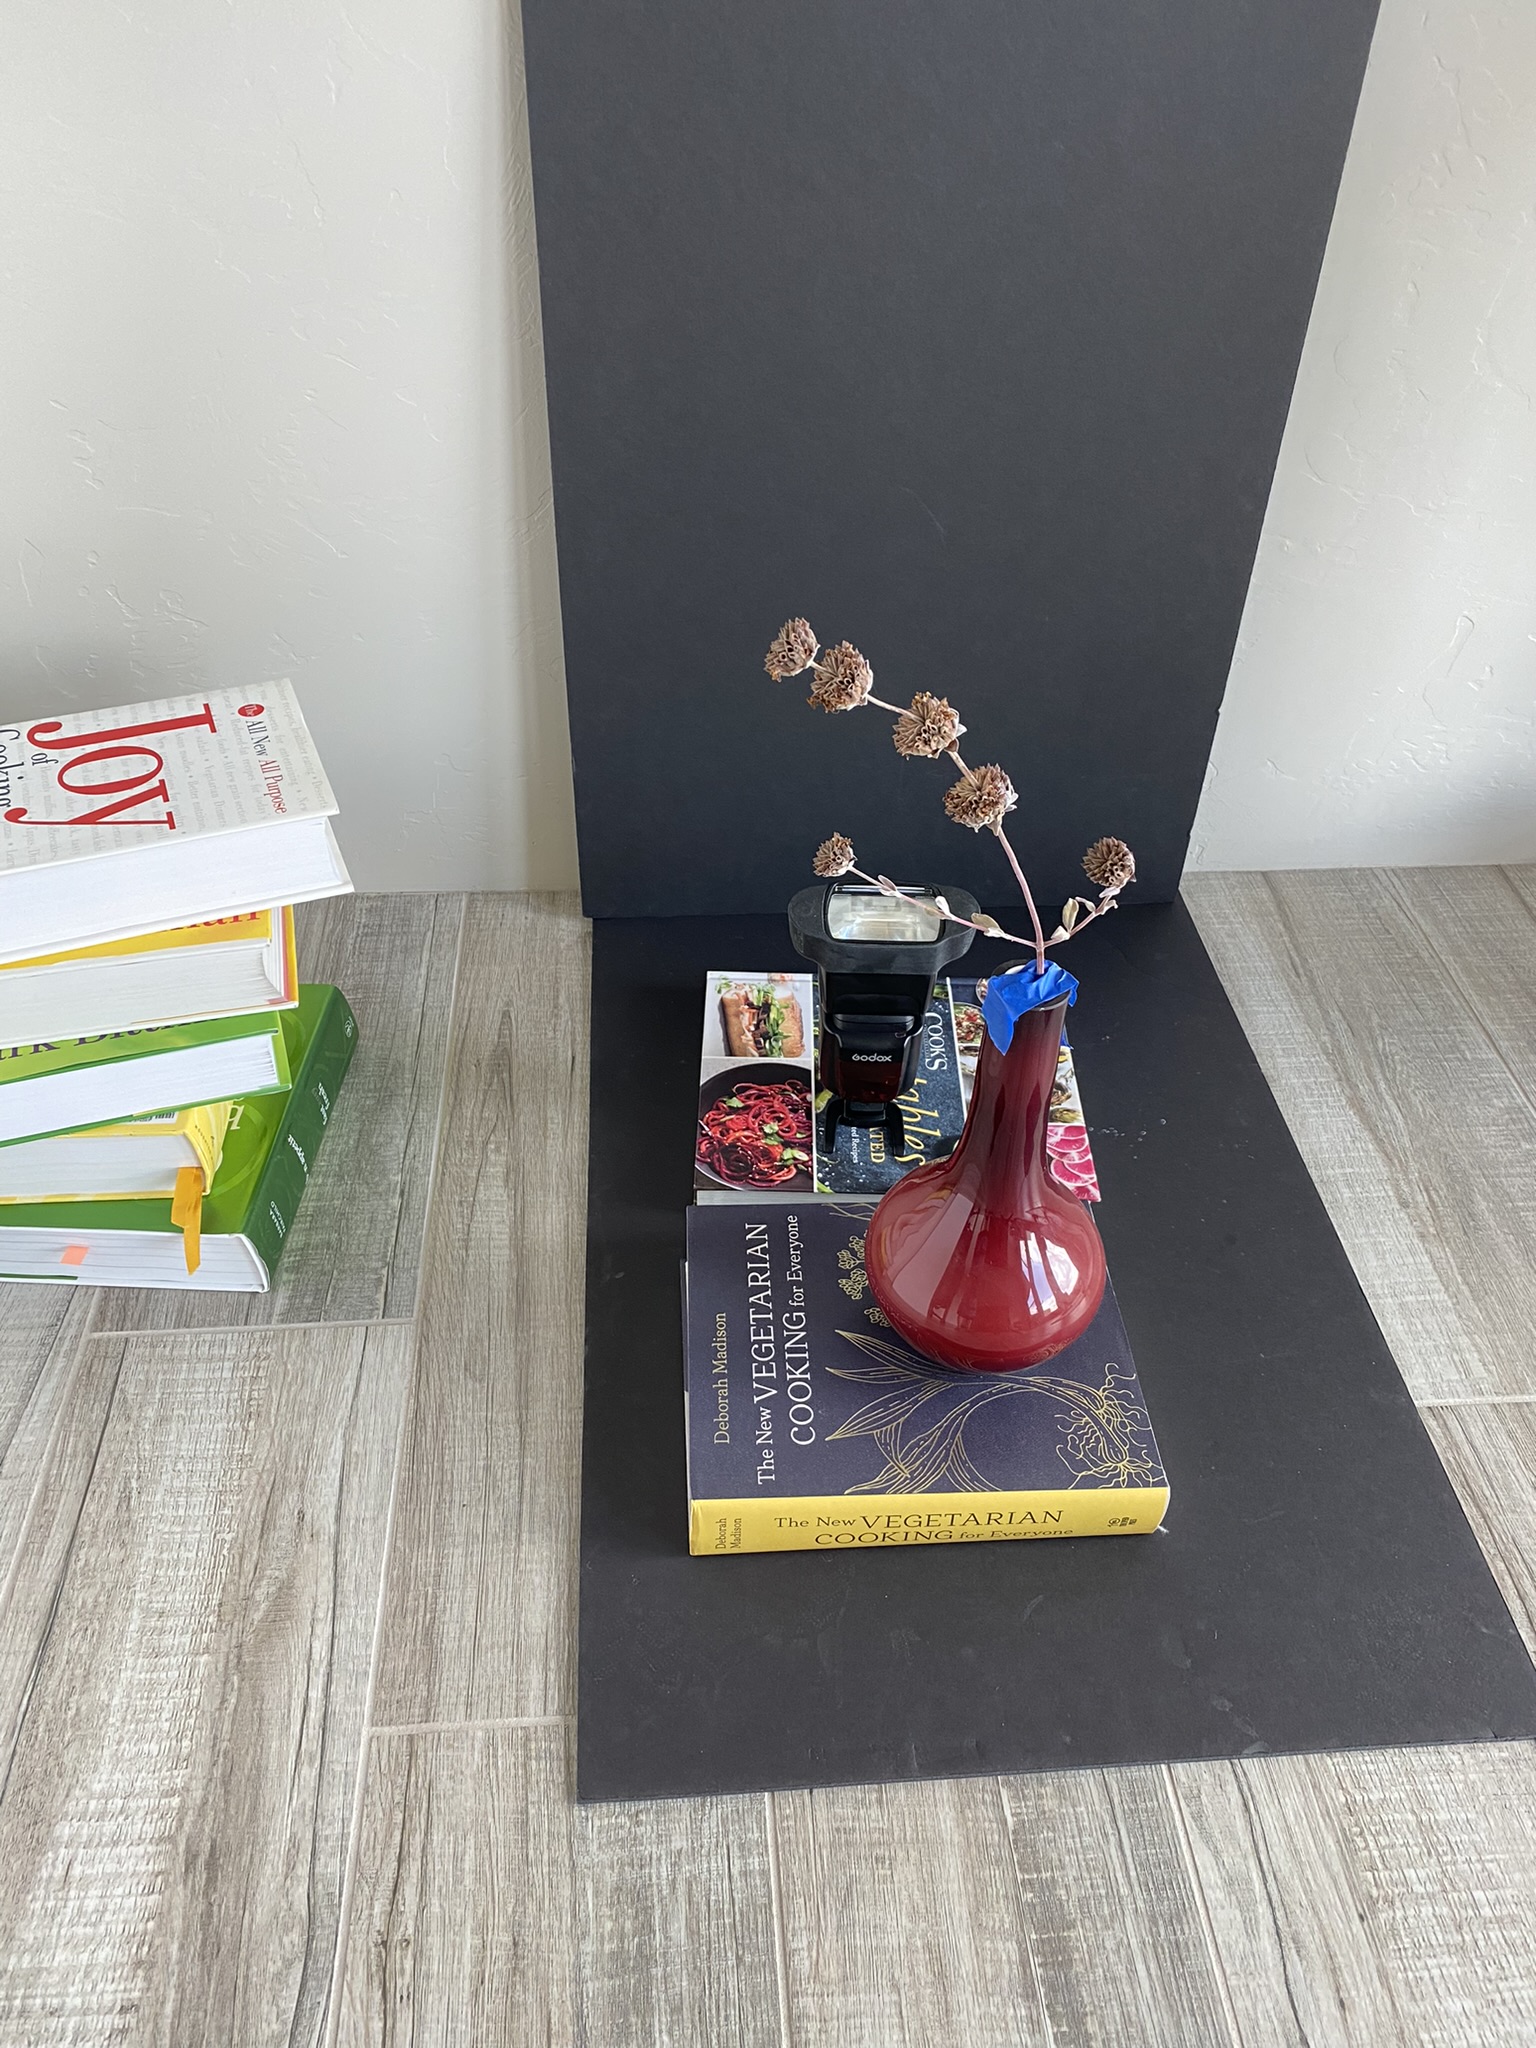
Photo Capture
- Expose for a black frame: with your flash turned off, set your shutter speed and aperture to capture a black frame. I had my curtains open in the middle of the day and my settings were F11 at 250 Shutter speed.
- Use manual settings for your flash: I started mine at the lowest it would go 1/128 and then raised a stop as needed depending on the height of the subject.
- Angle your flash slightly forward: but not much. This will keep light from spilling on the background.
- Adjust the heights of your subject and flash: The trick here is to light as much as you can, but not get the flash in the frame.
- Bounce some light back into your subject (if desired): Sometimes I would get a just a rim of light around my subject, and wanted a bit more of the shape to show. I held a piece of white foam core above my camera and pointed it down slightly to bounce light from the flash into the subject.
- Increase your shutter speed to let in more ambient light (if desired). In this series of 4 shots, I increased my shutter speed by a stop each time to let in more light. The second image is my favorite.


Post Processing
- Change to monochrome: I used the black and white profiles that come with Lightroom. I used these more often than my other plug-ins
- Clean up: fix dust spots that were on the background, any remnants of the container you used to hold the subject. etc.


Leave a comment