


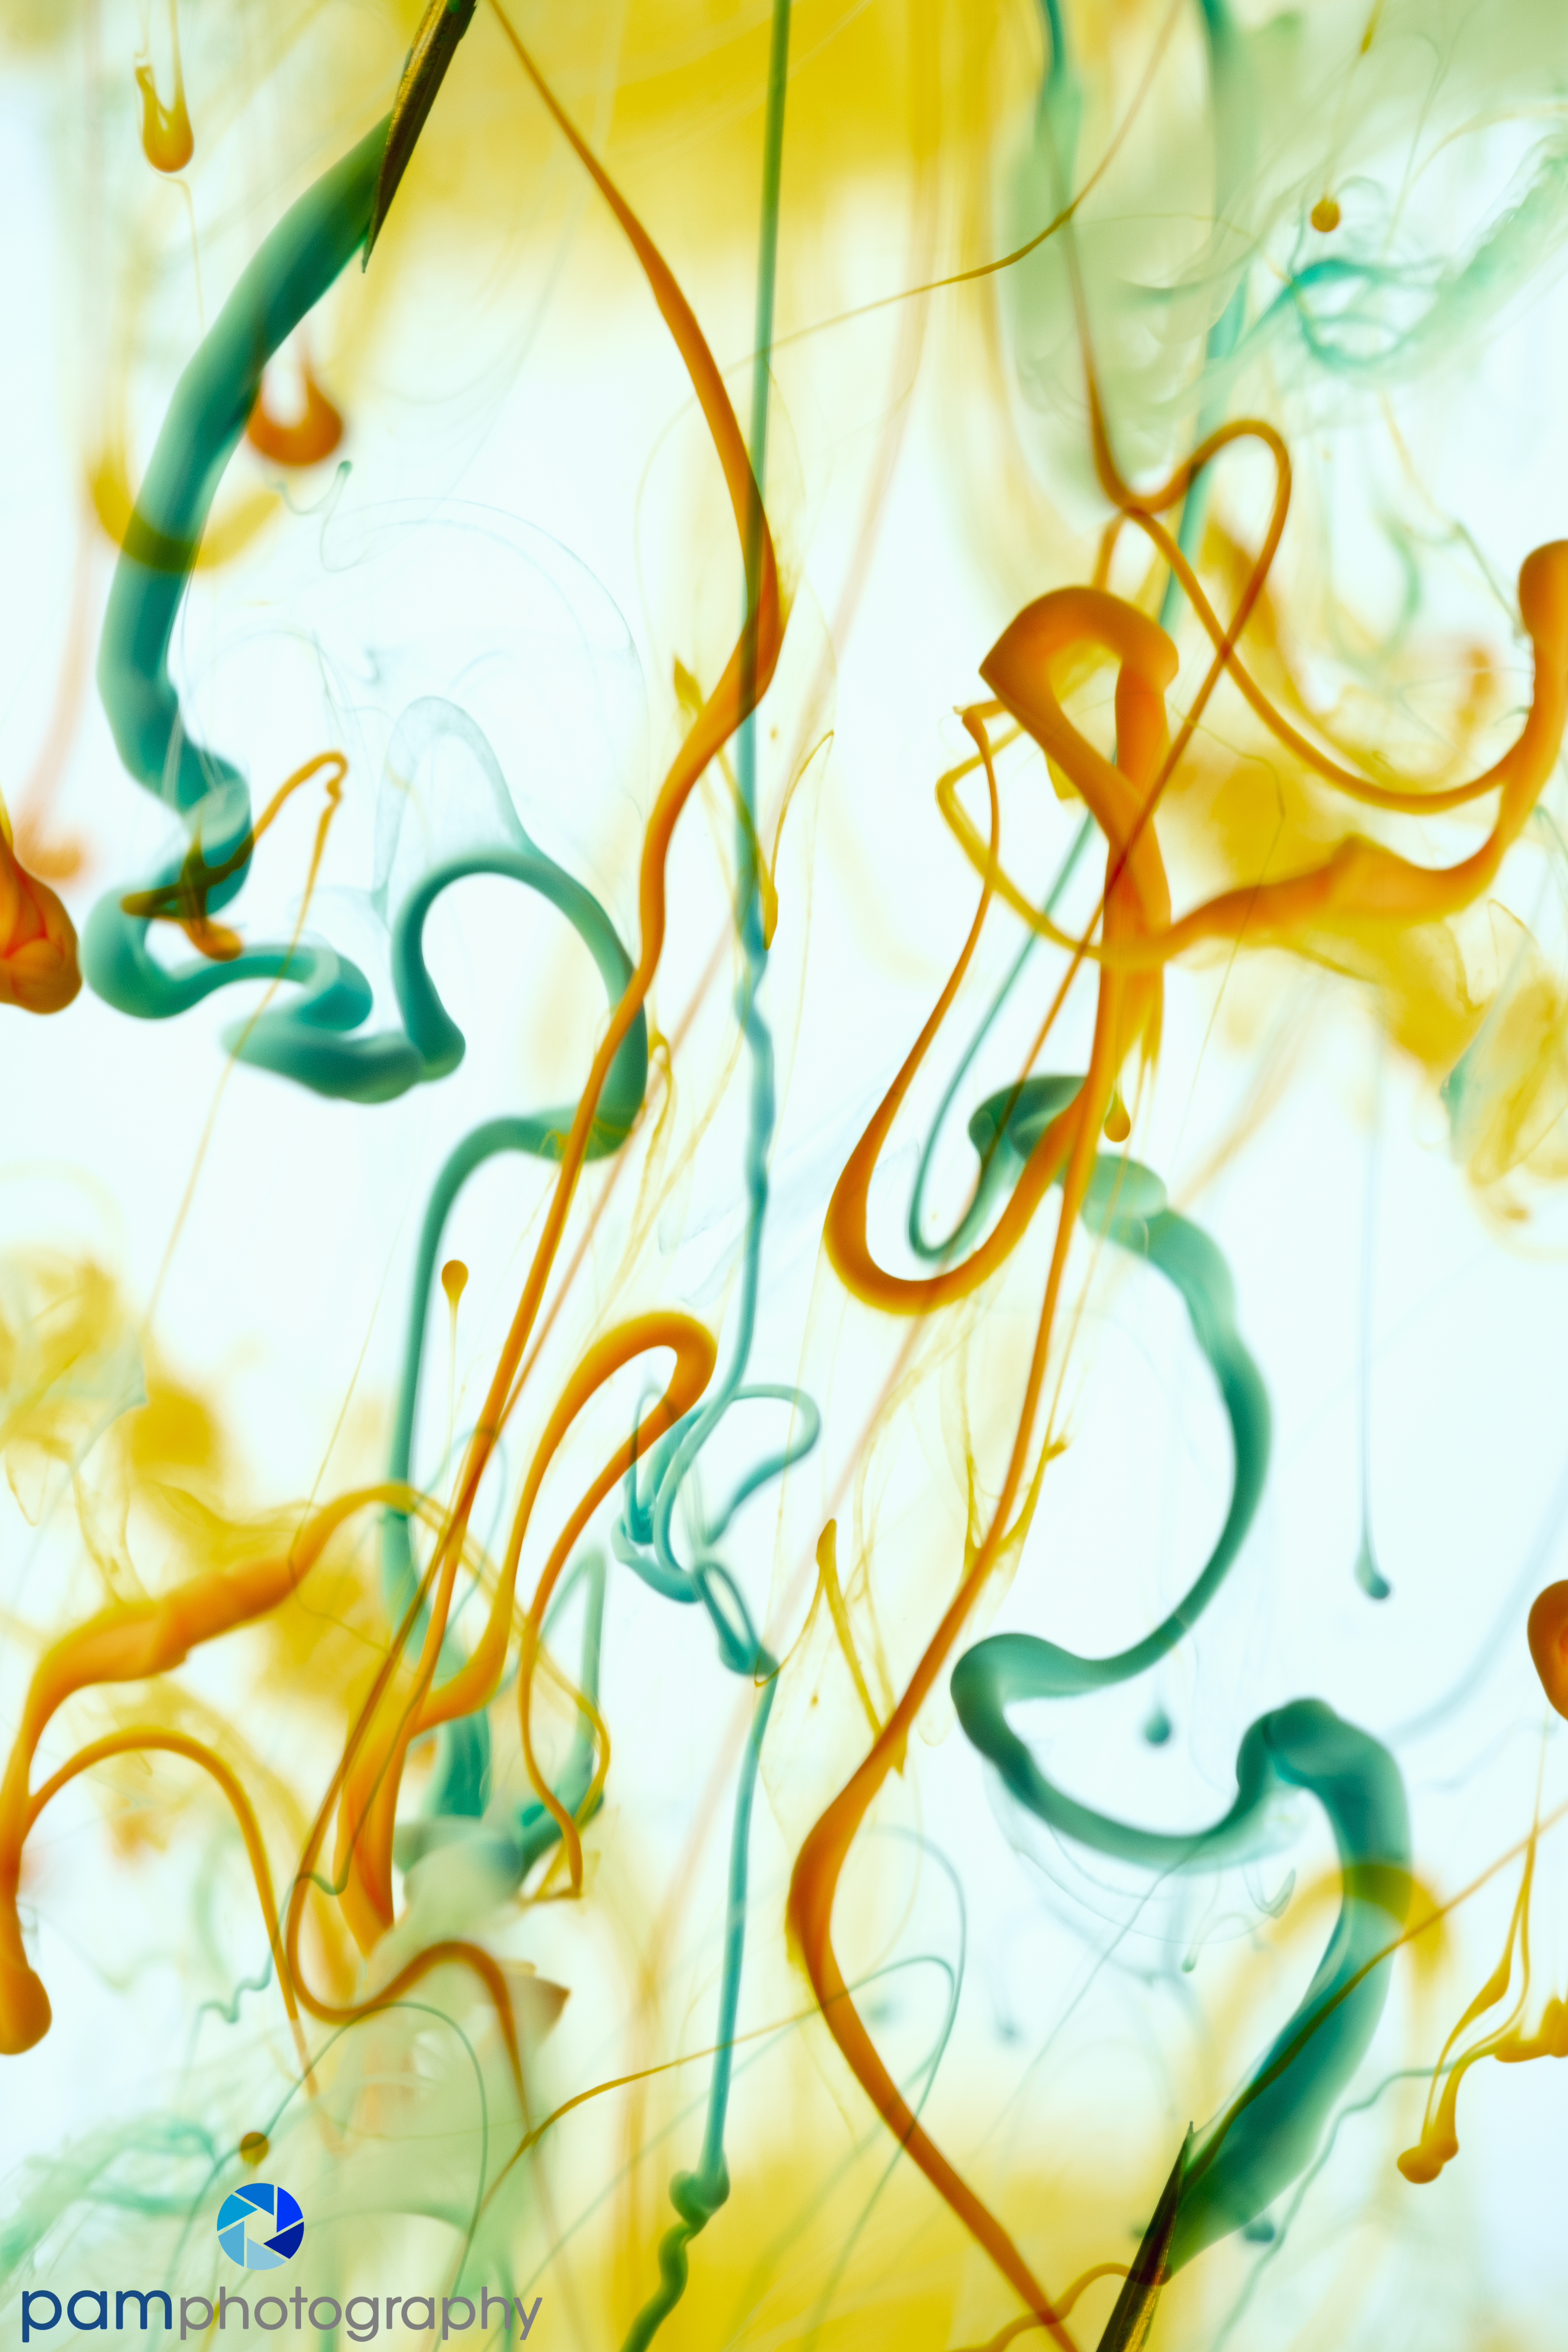
I spent about a month chasing this particular rabbit down the hole. This type of image is very common, but that didn’t mean I didn’t want to torture it to death with my own flair. My inspiration was this Ink and Motion video. I saw it a few years ago, and always wanted to give it a go. So I recruited my somewhat willing husband to spend days shooting ink into water for me……its not as easy as it sounds. Below is what I discovered.
The Set-up
I used a similar setup as the one in my post Creating Abstracts with Food Coloring, with one difference, I found diffused window light did not stop the motion of the ink and many of my initial captures were blurry. I added a flash set up and bounced light off foam core in the back. After much trial and error, this was my final set up:

- Square sided glass vase
- Acrylic Ink: I purchased Carmine Ink from Hobby Lobby so I could pick individual colors. You can also find them on Amazon.
- Flash: one for the ink, one for the backdrop
- Remote for the camera
- Straw for focus
- White towel/rag
- Medical syringes. I tried using syringes with the needle, and without. We found we had more control of direction and shape when we used the needle.
Capturing the Image
This involved a lot of trial and error. We used a straw to set focus manually, and then Peter would shoot the ink into the water. He did not completely unload the syringe with each capture, but would dribble the ink in slowly so I could confirm focus (and sometimes I used the dribbles for composites as you can see below). He would then he would unload about a third of the syringe. I tried with single shot and continuous shooting modes, although with continuous modes the flash could not recycle fast enough to keep up, so I captured every few frames.

Post- Processing
These images include compositing other shapes together to create one image. I also used Topaz’s Restyle plug-in to recolor some of the final images.


Leave a comment