


*Sigh* I have hit the dreaded dry creative well. I haven’t pulled my camera out in weeks, and have been coming up dry on inspiration. I’ve had some different blog ideas using ideas from books I’ve been reading. They just haven’t come together….yet. So this week, I turned to my huge binder full of magazine clippings and thumbed through it until I could find a processing technique to apply to an image in my “unprocessed” folder. Yes, I have one of those. Full of images, I couldn’t quite delete, but did not have the energy to process. This week, I learned some things about Lightroom, I didn’t know even after using it for 8 years. Below is a step-by-step of the process to create your own split-toned arty image, and a way to do it if you don’t have Lightroom.
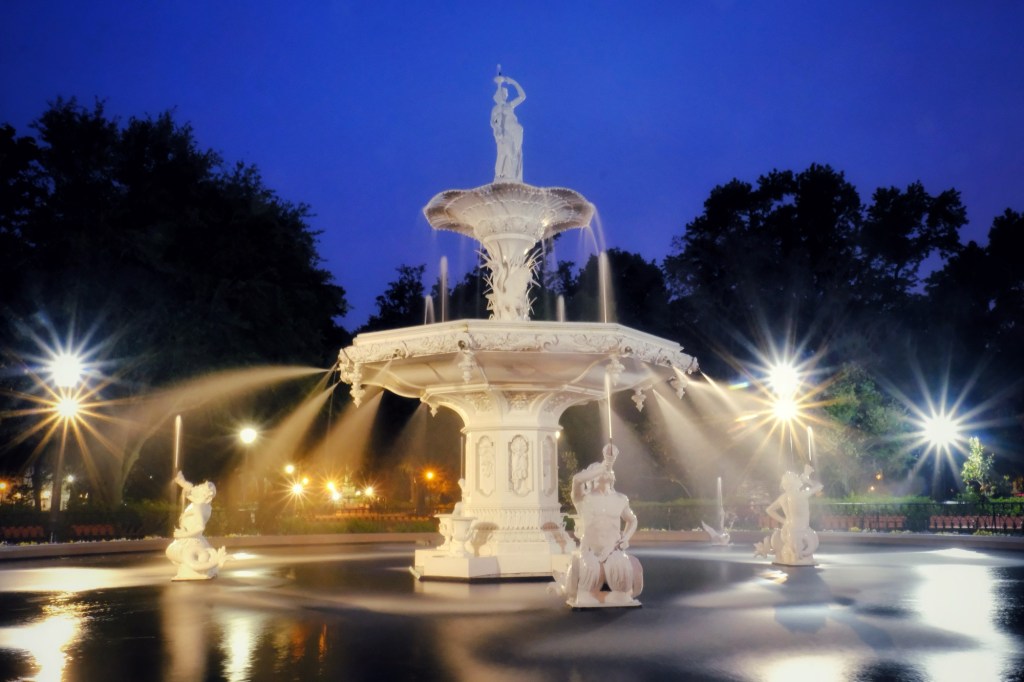
- Start with a street image. Even a mediocre one can take on new character with this split-toning technique.
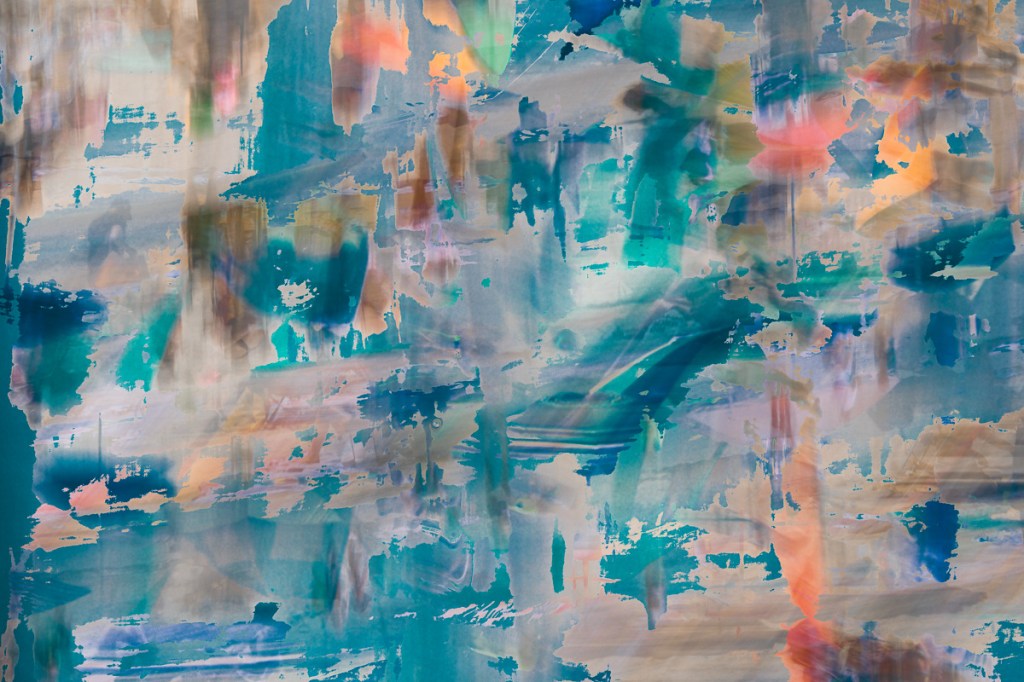
- Push the sliders in the Basic Tab to their extremes. This seemed heavy-handed and went against everything I understood about fine-tuning an image – but it was evidently time to challenge my fundamentals.
- Contrast = +100
- Shadow = +100
- Highlight = -100
- White slider: move slider until there is minimal clipping
- Black slider: move slider until there is minimal clipping
- Clarity = +100
- Saturation = -100 (yes – you are creating a monotone)
- Tone curve adjustments
- Make sure the Channel is set to RGB. Create a classic S-curve by lowering the shadows, and raising the highlights
- Change the Channel to Blue. Grab the left-side of the line and raise it up to the first row line. Grab the right-side line, and pull it down about half-way to the upper line. The image should have a blue tone
- Add split-toning. Start with the values below, and then adjust based on the image and your preferences
- Highlights: Hue = 45, Saturation =75
- Shadows: Hue = 240, Saturation = 75
- Balance: +15
- Add a Vignette
- Style = Highlight Priority
- Amount = -100
- Midpoint = 0
- Roundness = -100
And if all else fails, send your image to yourself via email, download it to your iPhone, and use the Camera Bag app with the Silver preset.

Leave a reply to pamphotography Cancel reply