


Last year, I attended a photography workshop and one of the participants showed her scanography work. I was dazzled, and thought I would dip my toes in. Throwing some interesting things on a flat bed scanner seemed simple, as I learned scanography is an entirely different technique that requires different skills.
I started as I always do, researching best practices on the web. Surprisingly very little has been written about “how” to do compelling scanography work. There are many sites that show the great creativity needed to create a compelling image. I plan to continue on this journey, especially on days when I’m cooped up inside and Peter is bored and willing to help. Here are a few things I picked up. You need:
- A flat bed scanner
- Interesting 3-dimensional subjects that can be laid flat
- A concept or plan. Many of the images I saw were painstakingly created, almost as if they were a set design.
- To do this in a dark room or at night. After setting up your scanner and pushing “scan” turn off the screen to your computer monitor to ensure a dark room
- To make sure everything is spotless. I draped a piece of black velvet over my scanner to ensure there was a dark background. The velvet had attracted lint and dust. I used a lint brush, but still had to do quite a bit of post-process work to clean up individual spots.
- Be aware of the depth of field of the scanner. I held the flowers upright over the scanner and initial my hand was in the image until I draped the velvet over it.
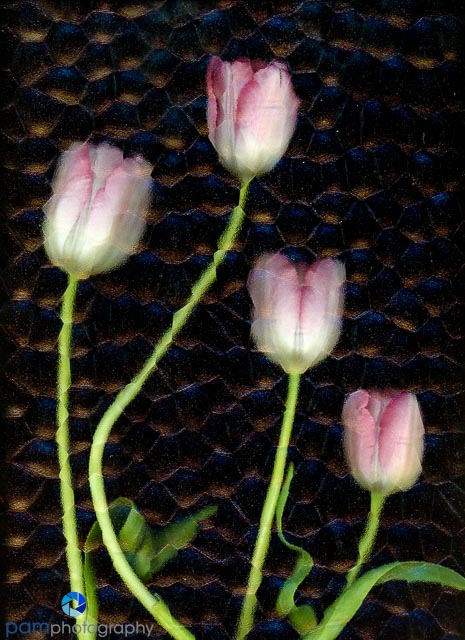
I also experimented with placing textured glass on the bed of the scanner and then imaging the flowers through the glass. I feel like there is something there but not sure I got it yet with these images. I’ll keep you posted on my progress, and if I’m able to derive some best practices after all the trail and error I’ll share them here.


Leave a comment