


This was one of those “roller-coaster” projects where delight and extreme disappointment mixed by the minute. I started simple, and proceeded to tear apart my house, before I found something that worked….for about 25% of the time. The only thing that was truly successful about this project, is that there was so much soap on my counter, when I finished, it has never been cleaner.
This project has been on my list for two years. I had torn out magazine articles from different magazines, and discovered that none appropriately emphasized how difficult this project would be. I started with the tips in one article, and was so frustrated I almost gave up (something I have never done before, I am always one to rise to a creative challenge). So I turned to the other article. I found its different approach to be more effective, but still not a formula I could follow for consistent results. Below is what I used, and what I learned. Fair warning: this project requires tremendous patience. If you change one variable, or the soap changes…. you have to start over from the beginning.
Recommended Equipment:
- Tabletop tripod – this allowed me to get positioned just right to catch the reflection of the light in the soap.
- Goosneck desk lamp with parchment paper over bulb. The parchment paper is key; without it the light reflects directly in the soap an you get the shape of the bulb or a large highlight.
- Soap bubbles and frame: both articles talked about building a wire frame. I found a kit at the local discount store that provided a “wand” and a tray to hold the soap. This worked better than the wire frame I built.
- Black background. I used foam core from the craft store.
- Long telephoto lens: I used a 180mm with two extension tubes. This was necessary so the lens didn’t cast a shadow or dark spot on the soap bubble. When I tried my 65mm lens at extreme magnification the dark shadow cast over the entire bubble.
- Cable release and live view: This allowed me to hold the wand in one hand and press the shutter without moving.

Technique
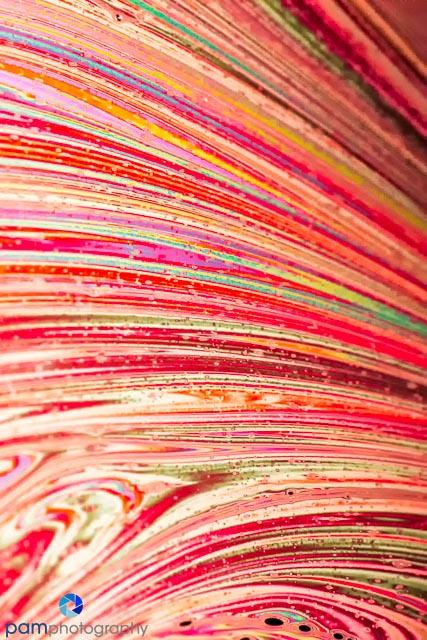
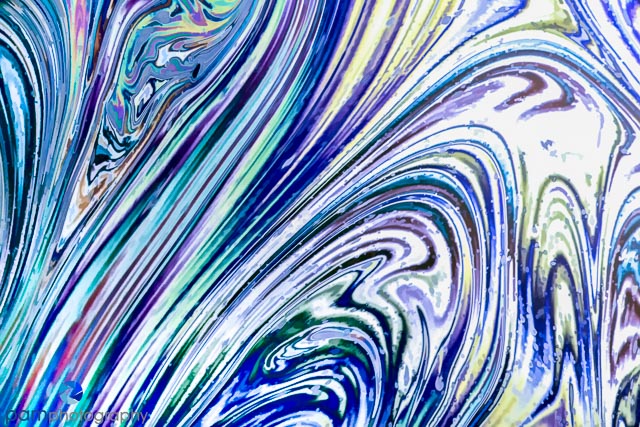
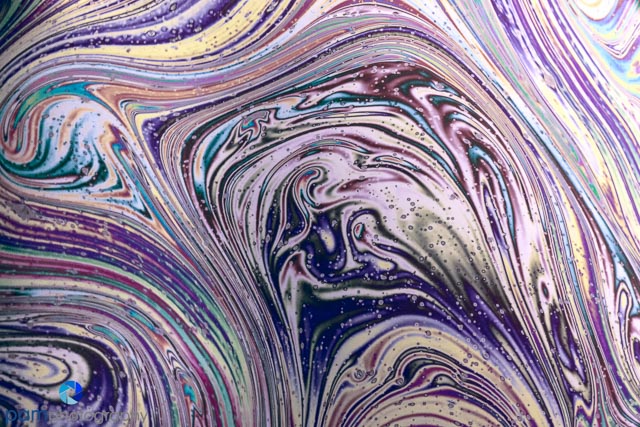
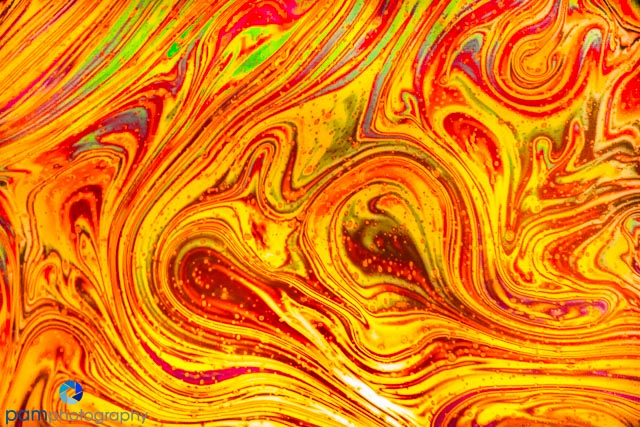
- First start by positioning the soap bubble against the light so you can get the colorful reflections
- Move the wand or frame toward and away from the lens until you achieve focus. This is the hardest part. It is difficult to get the camera lens on the same plane as the bubble so you have optimal depth of field. When I tried, the lens cast a shadow over the bubble, and I got a large dark spot.
- Try to get a large portion of the frame sharp. I found it almost impossible to get the whole frame sharp.
- If you have difficulty play with the angle of the light, the lens and the wand until you get the colorful reflection you are looking for with sharp lines.
- High ISO: The soap is in constant motion; use a high ISO for sharp images.
Processing
I used Topaz Restyle and Nik Color Effects Pro 4 for the processing you see in these images. I like to change the color profile to make things more subtle. Most soap bubbles had psychedelic oranges, yellows, pinks and greens. I preferred a simpler, less contrasty palette. I also used Topaz Simplify in a couple of the images, to help reduce the number of micro-bubbles that appeared throughout the soap.


Leave a comment