
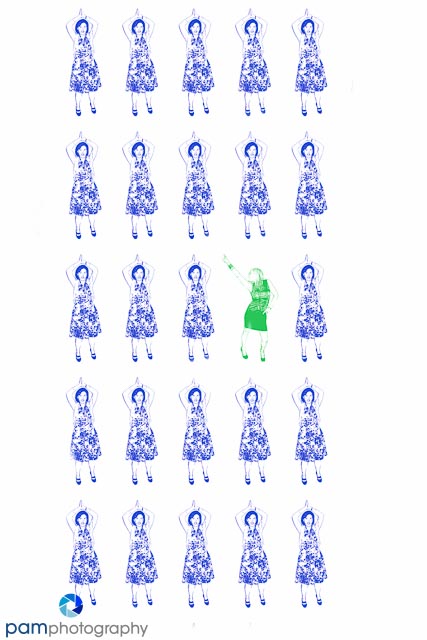
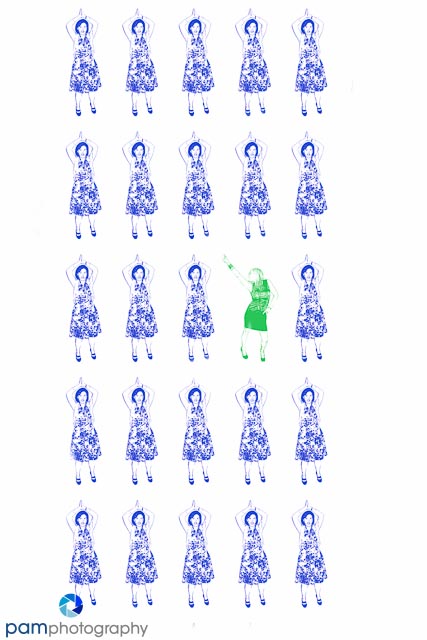
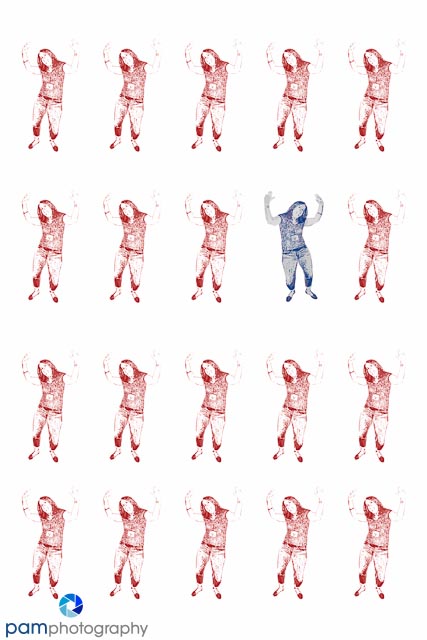
So first a big shout out to my colleagues (and I hope…still friends), for participating in yet another one of my crazy projects. I affectionately call this one “Bust a Move” and as you can see people are dancing to their own music. I had grand visions of doing an assortment of different moves on one poster, but after my tendinitis kicked in I thought I would keep it simple.
I was inspired to try this after reading, Digital Art Revolution by Scott Ligon. I have been looking for a resource to help me recreate the look of a mixed media collage in Photoshop. This book was focused more on fine art techniques, and while I found most of the projects fascinating, I think they are above my skill level. This is not a project for people who are looking for a “quick photography fix”, it requires large investment in time and patience. Most of the work occurs in post-processing.
Equipment and Photo Capture– nothing special here
- Camera
- Lens
- Fast shutter speed to freeze the movement
Post-processing
- Select the figure (I used the Quick Mask Selection tool)
- Isolate the figure from the background. I saved my selection (just in case), and then copied it onto a new layer with a transparent background. I turned off the original image layer. So now my dancer is the only thing on a transparent background
- Change your foreground color . This will be the only color of your figure
- Apply the stamp filter. Change the image to 8-bit mode. Go to Filter > Gallery >Stamp. Adjust the sliders to your preference
- Use the rectangular marquee tool and select the figure leaving space around the edges
- Copy onto a new layer and use Edit > Transform to resize. The size you choose will depend on how many “stamps” you want to put into a row.
- Now make it a pattern by going to Edit > Define Pattern
- Open a blank document and fill the background white
- Choose the Pattern Stamp Tool and select your new stamp from the Pattern Picker
- Now “brush” onto your canvas
- Use the Eraser tool to eliminate “partial stamps” and clean around the edges
- For the odd-man-out figure, I created a new transparent layer and brushed the figure on separately. This allowed me to move it around so I could place it correctly, and to resize if needed.
Alternative. Once you create your stamp pattern, brush it onto a blank white sheet. Copy it several times onto different layers. Align and space the stamped figures in one row. Group these layers, and then copy and move several times to make as many rows as you need. I think this might have been an easier approach to placing the figures just where you want them on the page. I used that technique for the poster below.
This one definitely goes under the “labor of love” category. If I try it again, I will need to settle in with a pot of tea…or perhaps a martini would give me more interesting results.
Update: Visual Toolkit Project – Week 4
This week’s project focused on panning. 200 images later and I still don’t think I have it down. I tried with both my SLR and Peter’s G15. The SLR was easier because you could use the viewfinder, and it was able to capture more frames per second. While I don’t advocate sending your loved one to play in a parking lot with a shopping cart (after awhile Peter was spinning out and making circles) and is good practice. I just hope the grocery store will let us continue to shop there after we almost took some of their customers out in the aisle.


Leave a comment