

So this project falls into the category of “extremely fun…..but not sure I would hang it on my wall”. Now that I think about it some possible uses could be for scrapbooks, greeting cards, etc. It could be especially challenging for the spatially impaired (such as myself). But once I developed a work flow it actually became fun. When I do projects like these, I always learn something, regardless of whether I will ever use the technique again. In this one, I learned to think about composition differently (what were the key elements that you needed to make the image work? how much “light” or negative space was necessary to create balance?), and I learned a handy selection technique in Photoshop. I found this project in the Digital Photography magazine, they called these types of collages “joiners” and provided some free templates to download. As usual, I couldn’t do just one, with one type of subject….. I had to try portraits, architecture, landscape, and of course a couple of abstracts.
If you decide to give it a try, here are a couple of things to consider:
Pick out the main elements in your photograph first and place them in the template. Then fill in the rest. In this image, I placed the lines on the highway first.

Balance strong elements with filler elements. Too much of a good thing….well could be too much. It was difficult not to pick every big flower in this mural (but I almost succeeded).

Recognize that things won’t line up perfectly and find peaceful co-existence with asymmetry (this is to my fellow spatially challenged people). It took me forever to get this portrait lined up like this, and I still wish it could be better.

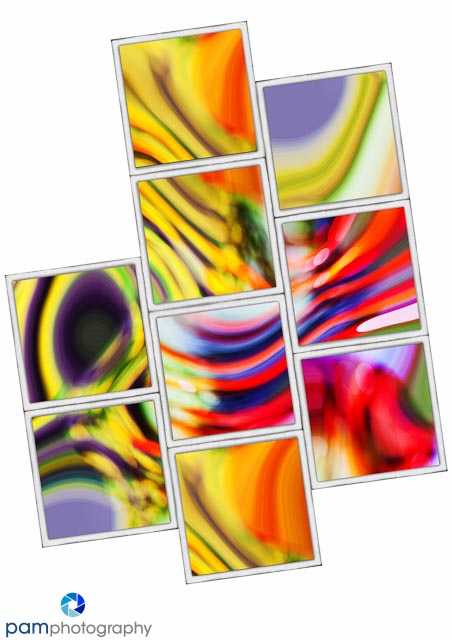
Try repeating a segment or two of a photograph over and over, using a different hue

Here are a few more


Leave a comment