

I love gadgets and software, so when I saw mention of Holga lenses that worked with a DSLR, I was on the internet trying to figure out how to get one. In a normal project week, I may take 10-20 photos on average. This week I took over a hundred…..it was that fun.
I purchased a Holga lens kit from Holga Direct. It arrived, complete with instructions, and I knew immediately I had to recruit Peter to help me figure it all out. The trickiest part was estimating the distance of the subject from the camera, and then adjusting the lens. Peter created a cheat sheet simple enough for a fourth-grader to understand (actually when it comes to spatial relationships, I am closer to a kindergartner.).
I became curious about the origins of Holga photography (it was started in China in the 1950’s as a “everyman’s” solution to photography) so I googled it an also found some very helpful tips’ on Holga Direct’s blog.
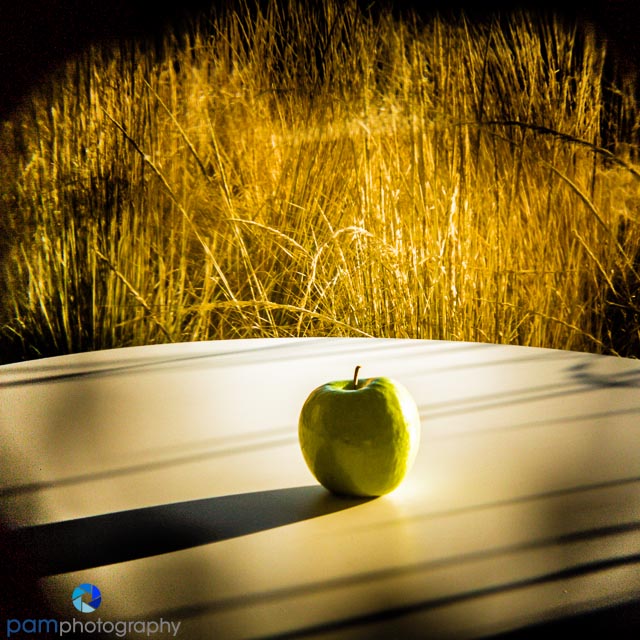
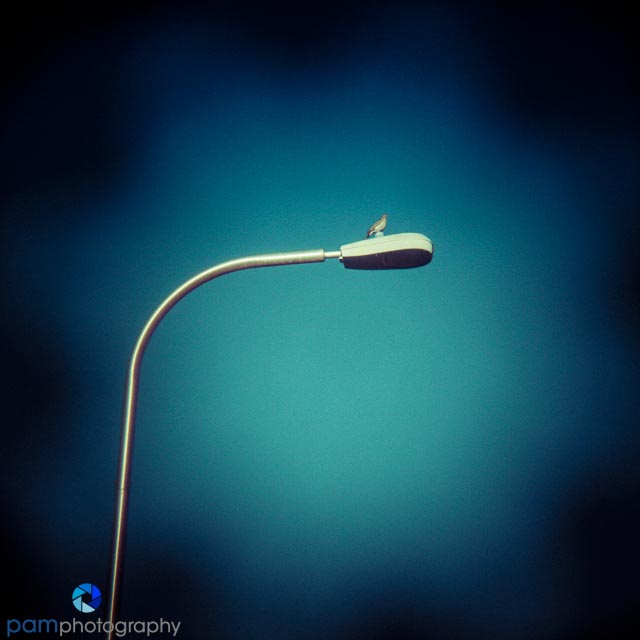
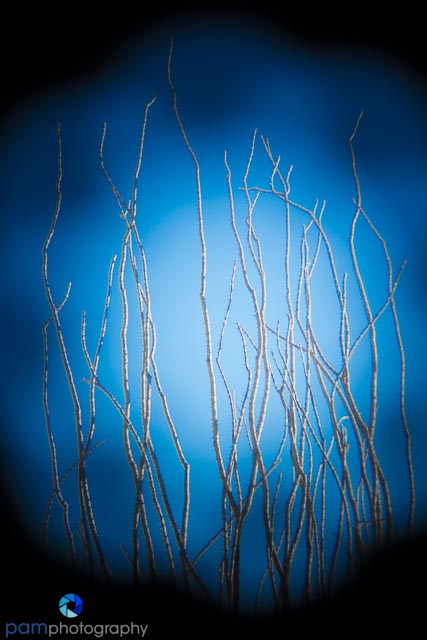
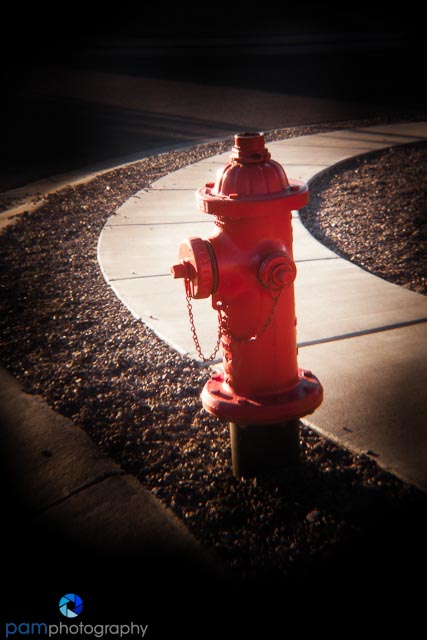
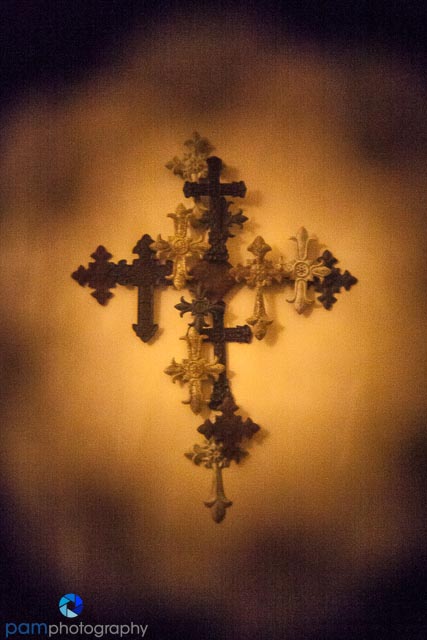
The lenses are plastic, and each one is unique in terms of the vignette it creates. As you can see from my images, my lens creates a flower-shaped vignette.
Here are a few things I learned:
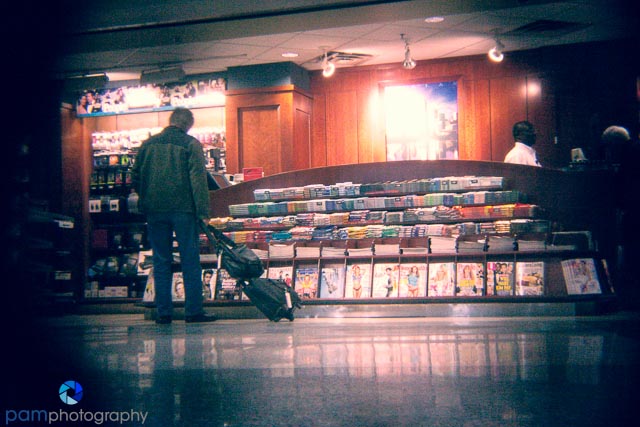
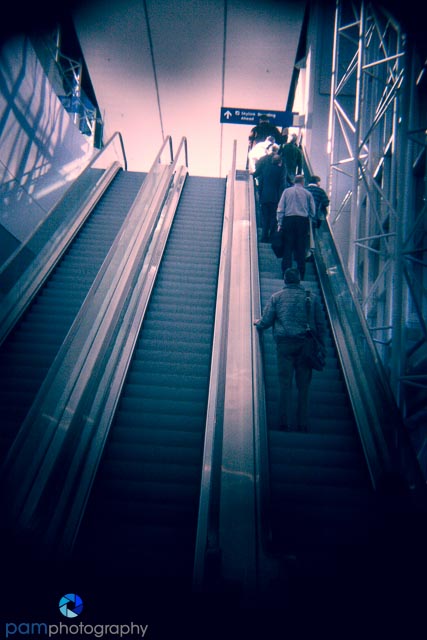
- There is a small range of focus – for my subjects, the middle of the frame tended to be sharp. Which really dictated my composition, and defied the rule-of-thirds.
- Due to the limited light reaching the sensor, I was not able to use live-view.
- For the same reason as above, I had to use ISO’s from 800 – 5000 – even when I was on a tripod.
- I used my Joby tripod when I traveled, it was essential in lower-light situations.
- I had to crop most of my images because the size of the vignette took up a large portion of the frame. I often used the square shape.
Here are my images from this week:


Leave a comment