

I admit it, I like to break rules. For the last couple of years I have been creating abstracts by moving my camera vertically. One of my Project 52 self-assignments, was to experiment with different ways to move my camera or lens on a variety of subjects. At the end of this post is a gallery of all of my “picks”, but before I go into more detail, here are some tips and lessons learned.
- Color makes an impact. Specifically bands or large sections of color. What I found that didn’t work is trying to create an abstract from one splotch of color against a uniform background. For example, a pink rose against a green background created a boring pink splotch.
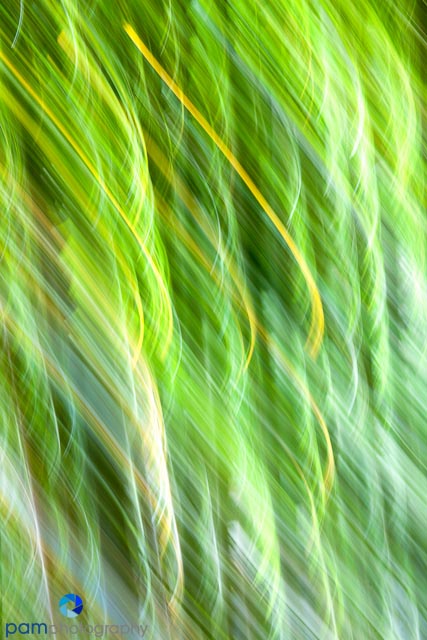
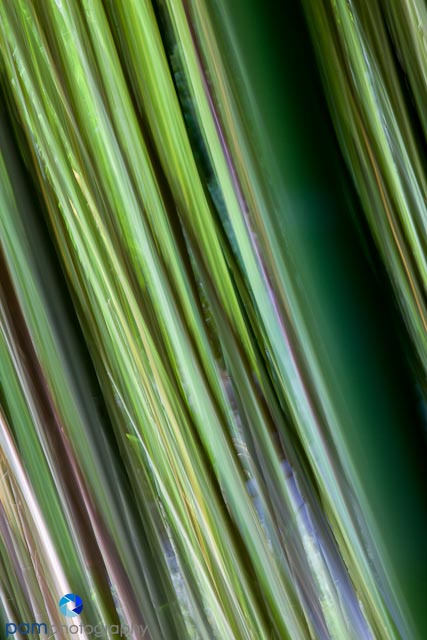
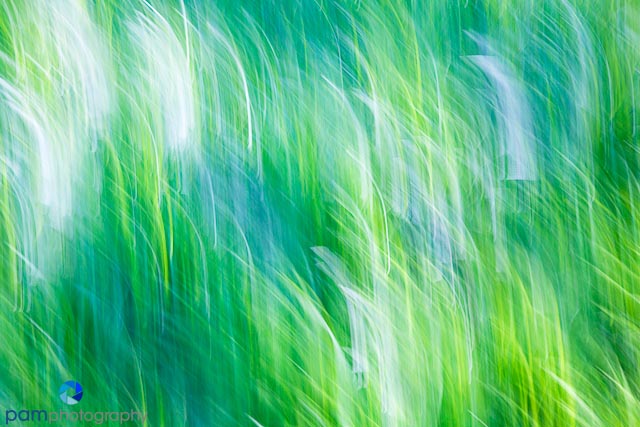
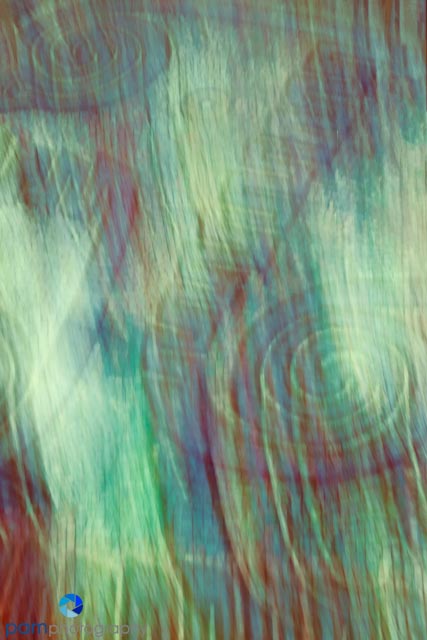
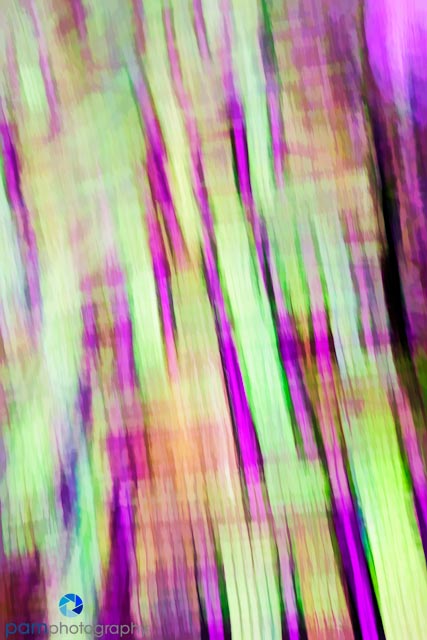
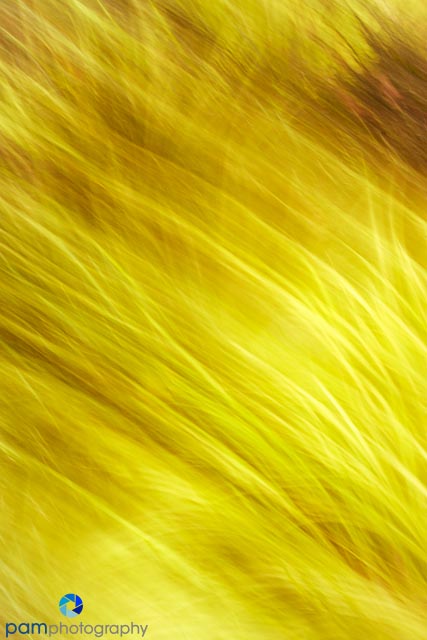
- Movement should be consistent with the shape of the subject. For example, when I moved my camera horizontally to capture a bamboo grove it was a mess. When I moved vertically, capitalizing on the strong vertical lines of the bamboo, it was a much stronger image.
- Architecture was challenging. I was not successful in making an image using architecture as a subject. I found the gray colors and the large shapes boring.
I discovered different camera movement possibilities after reading the e-book: A Guide to Pleasing Blurs by Arthur Morris and Denise Ippolito. Techniques I tried included:
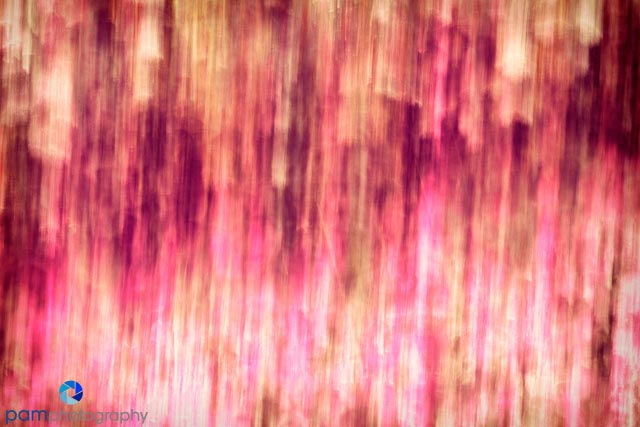
- Vertical Movement
- Horizontal Movement
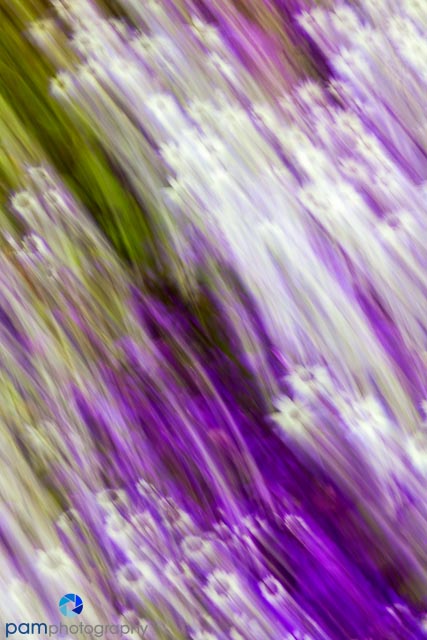
- Diagonal Movement
- An inverted “V” movement
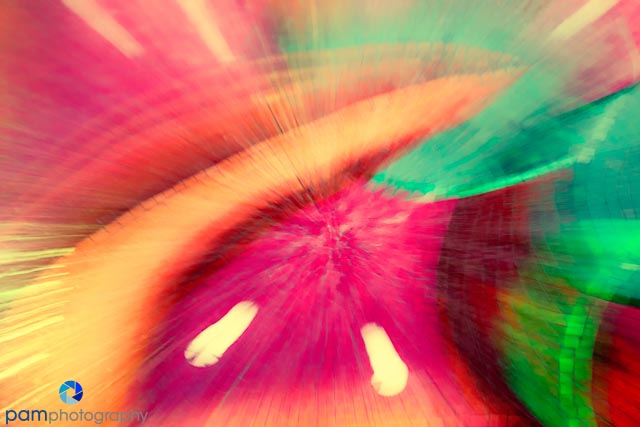
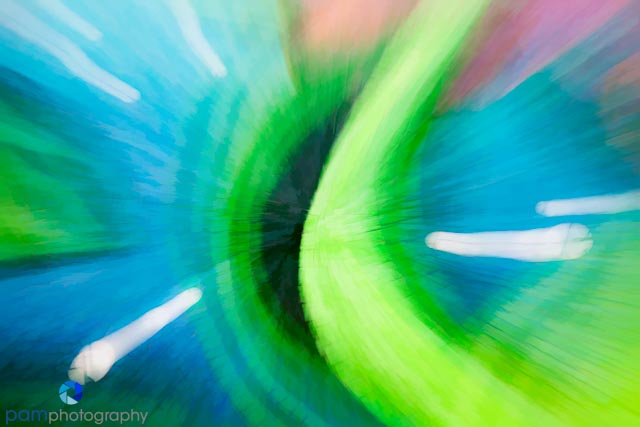
- Zooming my lens in and out
- Circular movements
Two things I didn’t try were to “wiggle” the camera during exposure or actually toss it in the air (yes – this was suggested in one of my creative technique books).
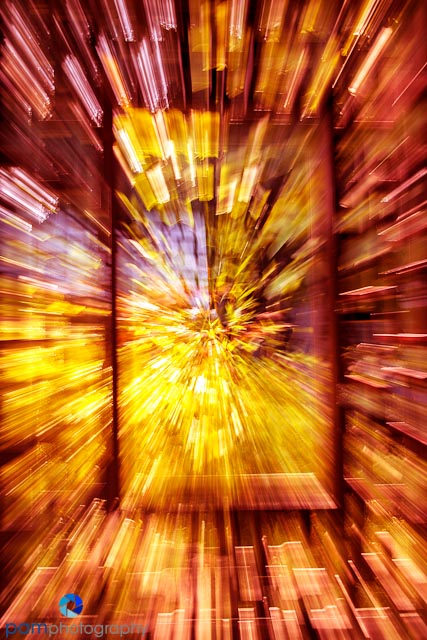
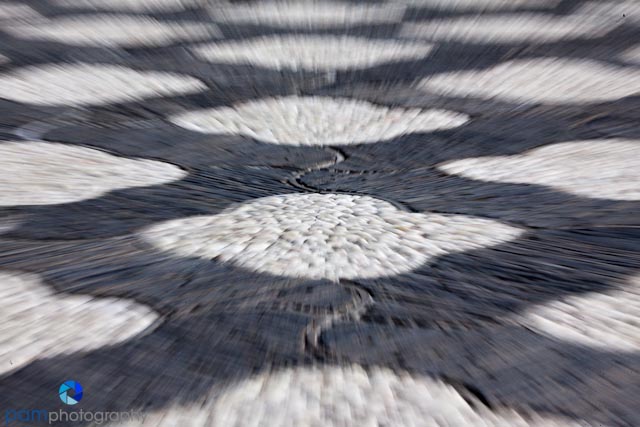
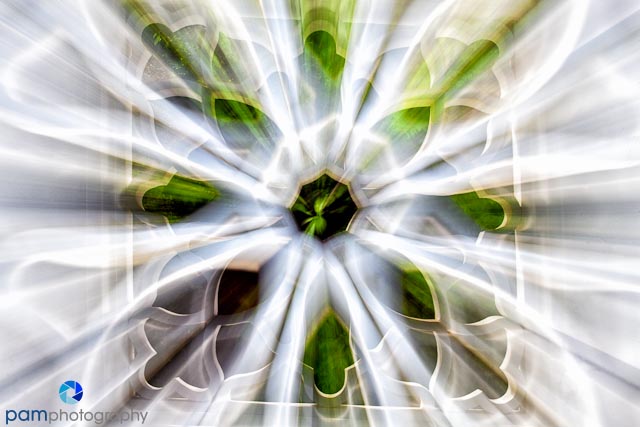
Examples of zooming the lens in and out
The speed of the zoom effects the blur. With architectural subjects, the faster you zoom the more you obscure the lines and shapes. I found I preferred slower zooms so that the underlying shape still was strong as in the second image of the picture window.


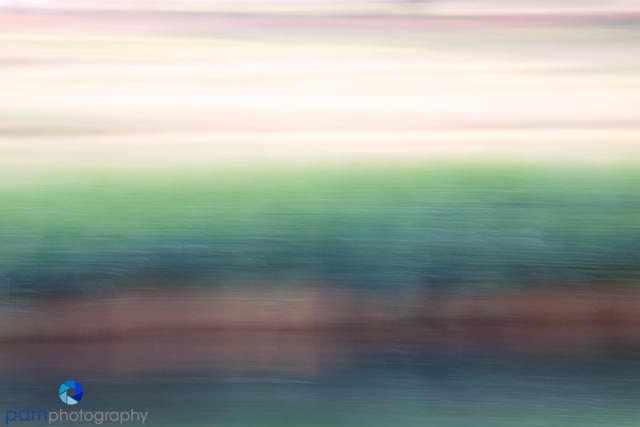
Example of horizontal movement
I didn’t have has much luck with this technique. I found it worked best when you had strong horizontal bands of color present.

Examples of an inverted “V”
In this technique, I started the camera movement along the diagonal and then quickly changed direction to the other diagonal. These were some of my most interesting images.


I won’t go into providing examples of all of the different types of movement I used, but did want to show you how I altered the color scheme of the zoom at the beginning of this post. The original was blue/green, and I changed it to red/orange. I really prefer the warmer colors. The last image also had a similar color scheme which I changed. I still can’t decide if I like it – or it is too muddy (the original had candy color blues, greens, and pinks).


Gallery – here are my favorite images (click on an image to enter into slide show view and see a larger version). I’m glad I took the time to explore the different techniques, I now have a better sense of what works better with what technique.


Leave a comment